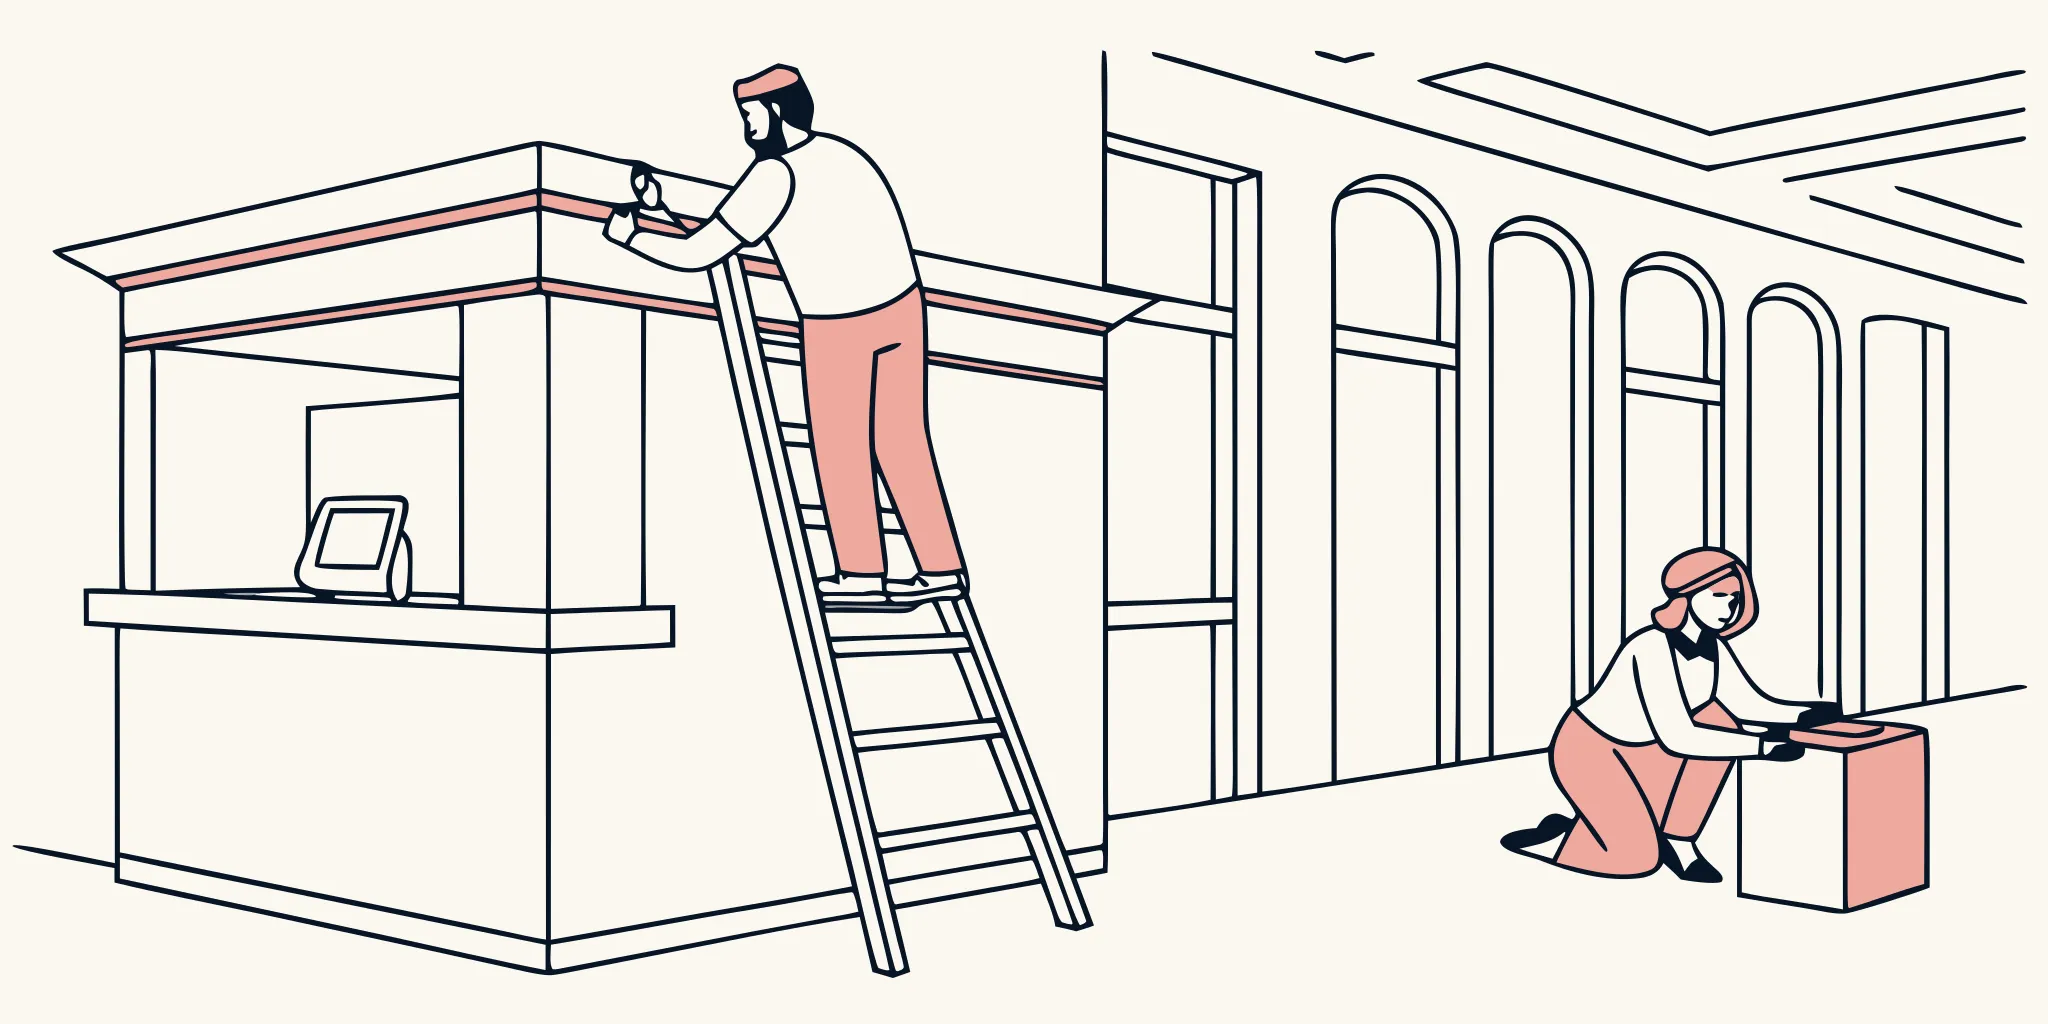
A bank rebrand succeeds only when every branch looks intentional on opening day.
Contact AP Installations to scope surveys, access requirements, and installation sequencing for your bank branch rollout.
Bank branch rebranding graphics rollouts require a controlled plan for surveys, approvals, security, installation, and closeout. Facilities and brand managers should establish one standards package, validate every site before production, stage branch-specific kits, coordinate after-hours access, and close each location with documented quality checks and a tracked punch list.
The work becomes easier to control when every decision has an owner, a due date, and a record. The path begins with a practical rollout plan before the first site visit.
Bank Branch Rebranding Graphics: Build the rollout plan before the first site visit
Planning for bank branch rebranding graphics begins with a portfolio-level rollout brief that defines scope, standards, approvals, sequencing, and exception handling. That operating framework gives facilities and brand managers one source of truth for every branch while reducing schedule drift, inconsistent execution, and avoidable field changes.
Map every branch location
Start by listing every branch that needs new graphics. You should group these by area or size to help with the work flow. Each site may have different needs for walls, windows, and floors. For multi-site projects, you can use a commercial graphics installation solutions to track each site. This step keeps the project on track and ensures no branch is left out.
High-quality visual products in professional settings depend on a clear visual hierarchy and steady elements. In a bank, this means your branch signs and murals must look the same at every site. A central tracker helps your team see the status of each location in real time. This keeps everyone on the same page from start to finish.
Define scope and standards
You need to set the rules for how the graphics will look and be set up. This includes picking the right films and finishes for each surface. Using a 3M Preferred Installer ensures your work meets top industry rules. It also lets you get a long warranty which can cover your graphics for up to 8-9 years. Setting these standards early stops errors and saves money over time.
You should also plan for wayfinding graphics for bank branches to help people move through the space. Clear signs and wall murals should guide customers to the right desk or ATM. Use short and plain words on your signs to make them easy to read for everyone. This helps keep the bank branch professional and helpful for all visitors.
- Audit all sites. Walk through every branch to find where old graphics are and where new ones should go.
- Pick your team. Find the key people at each branch who will help with the site visit and work.
- Set the timeline. Choose a start and end date for each site to avoid too much downtime for the bank.
- Check the surfaces. Make sure walls and glass are clean and ready for the new vinyl films.
- Track the work. Use a shared file to update the status of each branch as the rollout moves forward.
What should every branch site survey capture?
Every site survey should document verified dimensions, substrate condition, environmental constraints, equipment access, security protocols, installation windows, and branch-specific exceptions. This field intelligence becomes the production and installation control record, reducing the risk of fit errors, adhesion failures, access conflicts, and unplanned change orders. For bank branch refreshes, a 3M Preferred Installer uses these surveys to protect your brand. They find data that helps stop branch downtime. This ensures every branch looks the same across the country.
Exact sizes and surface checks
Getting the right measurements is about more than just height and width. An installer must measure every part of the space. This includes window frames and small gaps. They also check the surface, which is the wall or window material. Different surfaces need different types of vinyl film. For example, a rough brick wall needs a very different glue than a smooth glass pane. Knowing these facts early helps you plan for the right surface preparation for bank branch graphics. This step is needed to prevent early failure, such as peeling or lifting edges.
Hardware, light, and security needs
A deep survey also looks for hardware that could block a graphic. This includes light switches, heat controls, and fire alarms. If these items are not noted, a key part of your logo could be cut out when it is put up. Light is another big factor. Both sunlight and indoor lights change how colors look to your customers. High-quality visual signs depend on a clear focus to show key facts. Professional teams often look to expert rules for help. For instance, the CDC follows strict visual rules to ensure its facts are clear and professional.
Bank branches also have unique security needs. These needs change how and when teams can work. A site survey finds secure zones where installers may need a guide or a background check. It also finds the best doors for bringing in large tools. Finding these rules early stops delays on the day of the job. Many managers use a completed graphics installation projects to track these facts for every site. This planning helps keep the work on time and stays within the cost plan.
Photos and site notes
Finally, every survey should include a full set of high-quality photos. These images show the current state of the branch. They help the shop see the final look. Photos should capture close-ups of any damage or rough spots on the walls. They also show where old signs are and if they need to be taken down. These facts are vital for the 3M MCS Warranty. This plan covers the graphics for up to 8 to 9 years. Detailed notes and photos ensure that the team knows exactly what to do when they arrive.
Coordinate privacy, security, and branch access
Security coordination should define authorized personnel, credentialing, escort requirements, camera and alarm protocols, restricted areas, and daily sign-off procedures before installation begins. Documenting these controls protects branch operations, staff, customer privacy, and the installation schedule.
Manage staff and site access
A smooth discuss rollout logistics with AP Installations must include a plan for site access. Installers often work after hours or on weekends to stay out of the way of bank guests. This needs clear keys or codes from the branch manager. Team members may also need to show ID or pass checks before they can enter restricted spots near vaults or teller rows.
Good planning keeps the bank running without stops. Professional teams use rigorous research and planning to follow all industry standards for safe work. This helps managers save time and keeps the project on track across many branch sites. Proper coordination also ensures that tools and vinyl rolls do not block paths or fire exits during the day.
Protect cameras and privacy
Security cameras must stay clear while the team applies vinyl graphics for branch refreshes. Large wall murals or window films should never hide a lens or block a guard’s view. Installers check with the security lead to make sure every camera has a wide view of the floor. This protects the bank and the people working on the walls or windows.
Privacy is also a top goal when you add new graphics. Frosted films on glass walls can shield confidential conversations in offices or meeting rooms. These window graphics help guests feel secure while discussing financial matters. Using a 3M Preferred Installer supports a clean, durable application. Proper placement keeps sensitive conversations and client information out of sight from the main lobby.
Match window and wall graphics to each branch
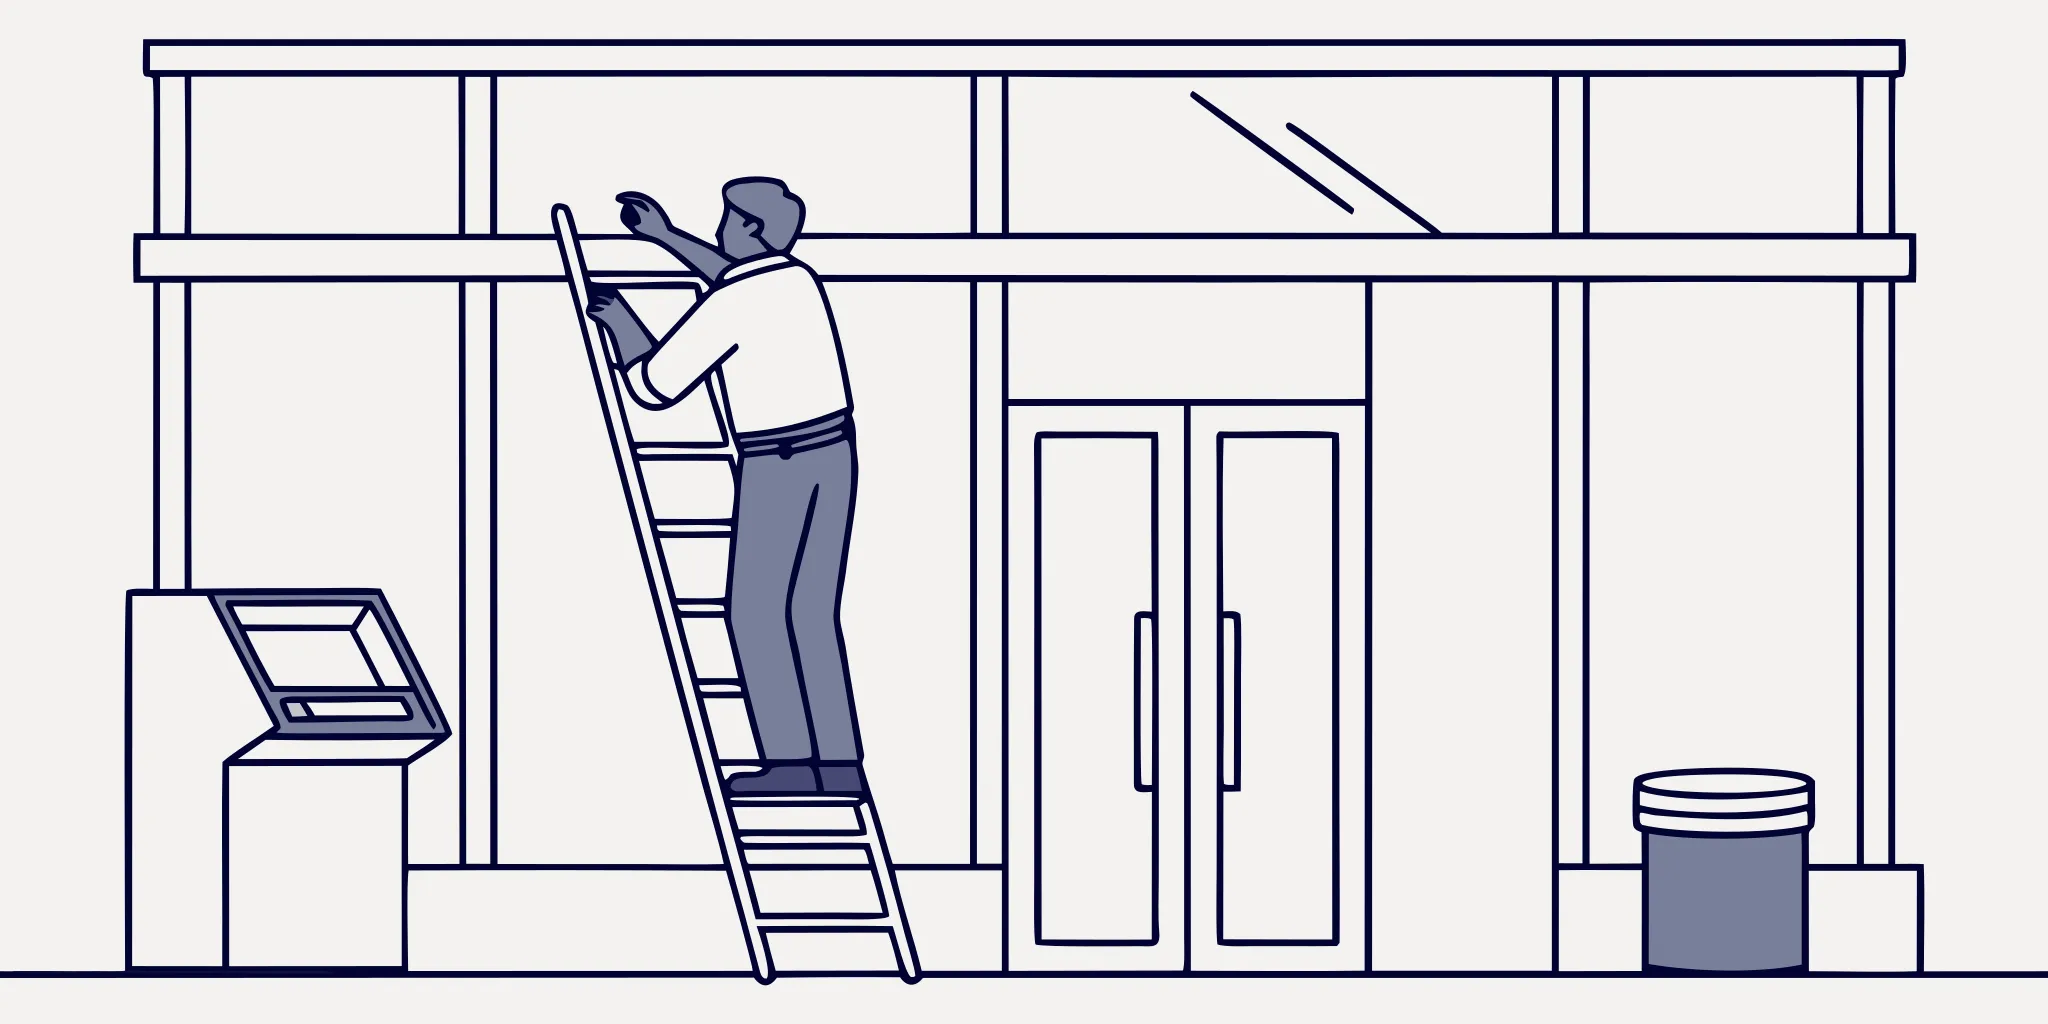
A consistent bank brand depends on matching the approved graphic specification to each branch’s actual substrates and dimensions. Window film, wall graphics, and wayfinding components should be adapted through documented site exceptions without compromising the portfolio-wide visual standard.
Find the right graphic types
Most bank branches use a mix of functional and decorative films for different needs. Window graphics often show brand names and branch hours. Privacy films work well in quiet areas like loan offices or teller desks to protect client data. Large wall murals can turn a plain lobby into a branded space that tells a local story.
Choosing the right film for each surface is key for long-term use. Expert installers make sure that the materials can handle sunlight, cleaning tools, and foot traffic. Using a 3M Preferred Installer helps make sure your vinyl graphics for branch refreshes meet the best industry rules for the job.
| Graphic Type | Main Use | Surface Need |
|---|---|---|
| First-Surface Window | Outdoor brand view | Clean glass and UV check |
| Privacy/Frosted Film | Private office space | Smooth, bubble-free finish |
| Wall Murals | Big lobby impact | Smooth, primed wall base |
| Second-Surface Window | Safety from damage | Indoor glass access |
Check and plan the work steps
Every site needs a full survey before any film is cut. Installers measure glass panels and check wall paint to avoid sticking issues. This step is a core part of any office rebranding rollout framework. Without a site check, logos may be cut off by door handles or window frames.
The time of the work also matters for a clean result. Graphics should be the last step in a branch refresh after all painting and floor work is done. This stops dust from getting trapped under the film. Following best practices for visual style makes sure that the key brand parts stay clear for every customer.
Expert work also gets you the best warranty for your money. Working with certified pros lets your branch get the 3M MCS Warranty. This gives you coverage for up to 8-9 years on certified work. This long-term care is vital for keeping brand value across your whole network.
How do you install graphics without disrupting customers?
Banks must stay open during regular hours to serve their clients. Most projects for bank branch rebranding graphics happen at night or on the weekends. This shift lets the work crew move through the lobby without getting in the way of staff. Our teams plan for these hours to ensure your bank stays open and busy. Working when the bank is closed is the best way to stop any disrupt for your clients.
Planning for off-peak hours
Great projects start with a clear schedule. We plan with your team to find the best time to start. Night work allows our crews to spread out tools and kits safely. This speeds up the job and cuts down on the total time we spend on site. We aim to finish each area before your staff arrives for the morning shift. This keeps the daily flow of your branch smooth and steady.
Clear talking helps prevent slips. We share our work plans with branch managers ahead of time. This ensures our team has access to the building and knows about any safety needs. By setting these goals early, we can avoid delays and stay on track. This careful planning is part of how a 3M Preferred Installer protects your brand and your time.
Protecting the site and daily closeout
A clean branch is vital for client trust. We use safety gear to keep floors and desks safe from dust or glue. Our team cleans up all waste and tools at the end of every shift. We make sure the bank looks neat and ready for business by the next morning. This care for detail shows respect for your space and your brand image. Proper surface preparation for bank branch graphics also ensures the new vinyl looks great from day one.
Daily closeout checks keep the project moving. Our crews review their work before leaving the site. This ensures every graphic is straight and bubble-free. If a job takes more than one night, we leave the area safe for public use. We never leave loose tools or scraps behind. This high level of care is why top banks choose expert help for their high-stakes branding needs.
Managing many site refreshes
Steadiness is key for a large bank brand. Every branch must look the same to build trust with the public. We follow industry standards for brand messaging to keep your image sharp. Using a multi-location graphics checklist helps us track the work at every site. This ensures that a branch in one city matches the branch in the next town over just right.
Staged kits and crew moves help cut down on building downtime. We group sites by area to make the work flow better. This lets us update a whole network of branches in just a few days. Our broad reach means we can handle large projects across many regions at once. We focus on speed and quality to help you get the best return on your brand spend. This smart approach keeps your project on budget and on time.
Keep every branch consistent without ignoring local conditions
Protecting your brand means making sure every site looks the same. When you manage many bank branches, small errors can add up fast. A logo that is two inches too low or a window film with bubbles hurts your image. To stop this, you need a strong plan for bank branch rebranding graphics. High standards help you keep your AP Installations service capabilities on track. By following set rules, you ensure that every customer gets the same feel when they walk into any branch.
Use clear kits and proofs for every site
Success starts with good branch kits. Each kit should have all the items for that specific site. You must also use approved proofs to guide the work. These proofs show exactly where each graphic goes. For multi-site projects, you should use version control to track every design change. This stops teams from using old files that do not match the new look. Most kits for a bank refresh will include:
- Window films and decals for front glass
- Wall murals for lobby areas
- Wayfinding signs for teller lines
- Fleet graphics for bank vehicles
Clear standards help public-facing programs stay steady and clean. You can find examples of these best practices in the CDC standards guide for creating clear visual messages.
Your team must also watch out for fitting rules. Even small gaps in how graphics are set up can be seen by sharp eyes. This is why having a national partner helps. We offer installation services across 9 US regions to keep your quality the same. A 3M Preferred Installer knows how to meet these tight rules. They make sure the fit is right the first time so you do not have to pay for fixes later.
Watch field work and handle changes
Local sites often have quirks that a main plan might miss. Walls might be uneven or windows might have odd frames. This is where surface preparation for bank branch graphics becomes key. Field reporting helps you see these issues in real time. Your teams should track every step from start to finish. If a wall is not ready, the installer must flag it right away. This prevents the vinyl from failing after they leave.
Installers should take photos of every finished piece. These photos prove that the work matches the brand rules. If a site has a problem, you need a clear way to report the error. This helps you fix the issue before it ruins the look of the branch. Managers should review these reports daily to keep the project on time. This is how you catch small shifts before they become big costs.
Reporting from the field also helps with future work. If one branch needs a special fix, you can record it for the next update. This keeps your brand equity safe across the whole network. Managing these shifts without losing the core brand look is a big part of a good rollout. By using field data, you can move fast and still get the perfect look every time.
Close every punch list with proof
A good launch of bank branch rebranding graphics ends with a clear final check. This stage ensures every site meets the same high bar. You must look at each graphic to find small flaws before they become big issues. A solid punch list helps you track what is done and what still needs work. It also gives you a record of success for your files.
Having the same look is key for any large brand. When you update many branches at once, small errors can creep in. A final walk helps you catch these items early. This step is vital to keep your brand image sharp in every city you serve. It protects the money you spent on new graphics.
Thorough site walk
The first step to close a project is a full walk of the branch. You should look at every wall mural, window film, and floor decal. Check for the right spot. Look for bubbles, peeling edges, or gaps in the vinyl. Even tiny errors can hurt the look of a bank. Using a examples of complex graphics installations helps keep this process the same at every site.
You must also check wayfinding signs and door logos. These graphics help customers find their way and trust the branch. Make sure every item is straight and clean. If a graphic is in a busy area, check that the edges are tight. This check helps stop future peeling. It ensures the space looks expert from day one.
Management of flaws
If you find a flaw, you must write it down right away. Take photos of the problem and note the branch site in your report. This record makes it easy for the team to fix the error fast. Rules for a brand must be tracked with care to stay the same across all public programs. A clear list of flaws helps you manage the repair process without stress.
Sometimes a site will have an odd item. This could be a wall that was not ready or a door being replaced. Write these items down clearly so you can plan a new visit. Once the team fixes a flaw or odd item, take a second photo as proof of the final repair. This “before and after” proof shows that the work is truly done. It gives the bank owners peace of mind.
A good report also notes the type of surface used. Different walls and windows may need different care. Knowing what was put up and where helps with future care. It also helps if a graphic needs a new part later. You will have all the details ready in your project log.
Records for the future
The last part of the process is getting a final sign-off from the site manager. This sign-off shows that the branch is happy with the work. Collect all photos, notes, and sign-offs in one place for the whole launch. This proof is helpful for future site updates or care needs. Working with an expert bank graphics installation partner ensures these records are ready for your files.
These records are also vital for warranties. High-quality vinyl often comes with a multi-year warranty. You will need proof of a good setup to use it if it fails later. Store your punch list and photos in a safe place. They are the proof that your bank branch rebranding graphics were set up to the best rules.
Finally, plan a follow-up check in six months. This lets you see how the graphics hold up over time. It shows your clients that you care about results. A smart plan keeps the branch looking great for years. It turns one project into a lasting success.
Frequently Asked Questions
What are environmental graphics in a bank branch?
Environmental graphics use vinyl films on walls, windows, and floors to create a branded physical space. In a bank, these include murals, privacy films for loan offices, and clear wayfinding signs. According to the Financial Brand, these designs help modernize the retail banking experience for customers. Professional installers use these visual cues to transform plain lobbies into engaging spaces that reinforce the bank brand and build trust with visitors.
Why is experiential graphic design important for bank branding?
Experiential design helps customers navigate the branch and feel safe during private talks. It uses visual hierarchy to guide guests to key areas like teller desks and ATMs. This approach empowers clients and provides a better user experience within the branch. High-quality visuals that meet industry standards ensure that brand messaging stays clear and consistent. Proper design also helps facilities managers minimize downtime by planning for a smooth flow of traffic throughout the building.
What is the difference between a bank branch refresh and a full transformation?
A branch refresh usually focuses on updating the visual parts of the site, such as new wall murals and window films. It is a faster way to update a brand across many locations. A full transformation may change the whole floor plan or add new building parts. Using a 3M Preferred Installer for a refresh ensures that the new graphics last for a long time. Certified work also allows for the 3M MCS Warranty, which covers vinyl graphics for up to 8 to 9 years.
How long does a bank branch network rebranding project take?
The time for a network-wide project depends on the number of sites and the depth of the work. Some large-scale conversions can be finished in just one weekend to avoid branch downtime. Most teams work during off-peak hours to keep the bank open for clients. Proper planning with a professional team allows for a swift and steady rollout across multiple regions. This speed helps managers protect brand equity and ensure all branches match the new brand look at the same time.
Ready to start your bank branch graphics rollout?
A controlled rollout begins with verified scope, site conditions, access windows, and approval responsibilities. AP Installations coordinates commercial vinyl installation around operating requirements so facilities and brand teams can protect consistency across every branch.
Ready to discuss your multi-location graphics rollout? Contact AP Installations or call (503) 924-6168 to review the project scope and installation schedule.