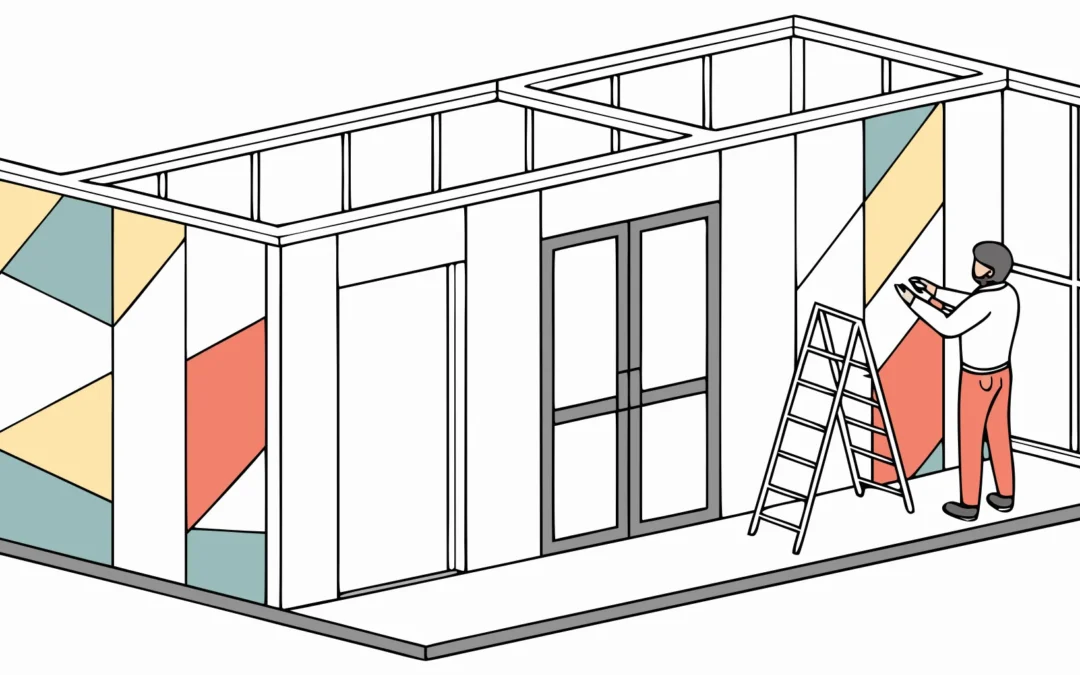
An occupied office cannot pause operations just because its walls, windows, and floors need new branding. A phased plan keeps employees moving while installers complete each zone with control.
Plan your office graphics installation with AP Installations
Office rebrand graphics installation works best as a zone-by-zone project with defined work windows, access rules, and handoffs. AP Installations coordinates surface checks, removals, installation, inspection, and signoff around workplace operations. Assign one decision-maker for each phase so crews can resolve field changes without delaying the next controlled zone.
Your main planning question is simple: how can the rebrand move forward without blocking staff, visitors, or critical daily work? The Office rebrand graphics installation checklist below turns that question into practical decisions for facilities, marketing, security, and installation teams. The path begins with the practical checklist below.
Office rebrand graphics installation checklist
AP Installations recommends that a smooth office rebrand start before an installer arrives. Facilities teams should turn the design plan into a clear site plan that covers every surface, work zone, approval, and access need. This checklist helps prevent late changes while keeping staff, visitors, and installers informed.
Before the survey, collect the current floor plan, design files, building rules, and key contact names. Also note business hours and planned office events. These details give the installer a clear starting point and help the team find conflicts early.
Scope and site decisions
Start with one marked plan that lists each graphic, its final size, and its exact location. Include walls, windows, floors, doors, and shared spaces. For projects across several sites or departments, use a phased office rebrand graphics installation plan to keep the scope clear.
-
Confirm the scope. Match each approved design to a location and surface. Note which existing signs or graphics must be removed before work starts.
-
Complete a site survey. Record surface materials, measurements, corners, outlets, fixtures, and other limits. Check whether lifts or special tools can reach each work area.
-
Secure final approvals. Ask brand, facilities, leadership, and property management to approve the marked plan. Resolve design, placement, and building-rule questions before production.
-
Plan site access. Confirm loading areas, parking, elevators, door widths, badges, keys, and escort rules. Reserve freight elevators and restricted spaces when needed.
-
Set the schedule. Choose work windows that limit noise, blocked routes, and staff disruption. Sequence busy zones, meeting rooms, and public areas around office use.
-
Prepare surfaces and work zones. Finish repairs, paint, and cleaning before installation. Move furniture, protect nearby items, and keep the required work area open.
-
Review safety and handoff. Share emergency routes, site contacts, and safety rules with the crew. Set a final walk-through time and name the person who can approve completed work.
Surface and schedule readiness
Surface condition can affect the result, so do not treat preparation as a day-of task. Flag fresh paint, texture, moisture, damage, or old adhesive during the survey. A professional installer can then confirm the right preparation plan and installation sequence.
Review how each zone supports the intended brand message, not just whether the graphic fits. Carnegie Mellon notes that workspace features can shape how people view a company’s quality and innovation. That makes placement review a useful part of the final design approval.
Stakeholder signoff
Give one on-site contact authority to answer questions and approve small placement choices. At the walk-through, compare the finished work with the marked plan. Record any fixes, owners, and due dates in one shared list. Facilities teams can also review the broader professional graphics installation process before approving the handoff.
How should corporate office graphics be phased?
A sound office rebrand graphics installation plan follows how people move through the workplace. It also keeps each new graphic safe from later construction, cleaning, and furniture moves.
Start by dividing the office into work zones and shared zones. Then map each graphic to its surface, access needs, and required approval.
Site readiness before installation
Confirm final artwork, measurements, surface condition, lighting, and furniture locations before setting dates. This review should also flag fresh paint, repairs, or electrical work that must finish first.
Ask department leads when installers can enter each zone. A phased office rebrand graphics installation plan gives teams a clear model for sequencing approvals, access, and handoffs.
| Phase | Main dependencies | Workplace impact | Signoff |
|---|---|---|---|
| 1. Wayfinding and room IDs | Final floor plan and room names | Short access near doors and halls | Facilities confirms routes and labels |
| 2. Privacy film | Clean glass and approved coverage | Brief limits near meeting rooms | Facilities checks privacy and alignment |
| 3. Lobby graphics | Finished reception desk, paint, and lighting | May affect the main entrance | Brand lead approves the first impression |
| 4. Wall murals | Cured paint and clear wall access | Zone closures may be needed | Brand lead checks seams and placement |
| 5. Floor graphics | Heavy work complete | Temporary route changes | Facilities accepts walk-through |
A sequence built around daily work
Install wayfinding early because it helps staff and visitors use the space during later phases. Privacy film can follow once glass is clean and room use is final.
Schedule lobby graphics after nearby work is complete, since reception areas carry the clearest public brand message. Research from Carnegie Mellon University notes that workplace design cues can shape how people view a company’s creativity and innovation.
Place large wall murals after paint has cured and furniture is out of the work area. Install floor graphics and small finish details last, so other trades do not damage them.
Signoff at every handoff
Use one named approver for facilities and one for brand. Each should review a sample or first completed area before the installer repeats the work elsewhere.
Document signoff with marked plans, approved proofs, and photos of finished zones. For complex walls, a professional graphics installation review can catch edge, seam, and surface issues before the next phase starts.
Keep a short buffer between phases for corrections and cleaning. This step prevents a small issue from spreading across the full office rollout.
How do you minimize workplace disruption during installation?
An occupied office needs a clear plan that separates installation work from daily business. Start with a site walk that maps busy areas, key meetings, staff schedules, and safe access for installers. This planning gives the office rebrand graphics installation team a practical way to protect both workflow and finished graphics.
Work zones and access routes
Divide the project into small work zones instead of closing a whole floor. Finish and reopen each zone before moving to the next one. A phased office rebrand graphics installation also gives facilities teams clear checkpoints for reviewing completed work.
Mark each active zone with signs, barriers, or floor tape. Keep exits, restrooms, elevators, and accessible routes open at all times. Installers also need a set path for moving tools and rolled graphics without crossing crowded desks or reception areas.
- Place tools and materials in one secure staging area.
- Post alternate routes before closing a hallway or shared room.
- Schedule high-traffic zones separately from quiet work areas.
- Limit active work to spaces the crew can finish and reset that day.
Scheduling and staff communication
Plan noisy, dusty, or high-traffic tasks before work, after hours, or during quiet office periods. Reserve normal hours for low-impact tasks when possible. The installation schedule should list each zone, its closure window, and the staff member who can approve changes.
Send a short notice before work begins, then share daily updates during the project. Tell staff where the crew will work, which routes will change, and when each area will reopen. Workspace design can shape how people view a company, as Carnegie Mellon research on office settings explains. Clear updates help staff understand the change without feeling displaced by it.
Keep one facilities contact available for quick decisions. This person can confirm access, handle schedule conflicts, and approve field changes. For larger projects, the planning methods in a corporate office rebrand can help teams coordinate surfaces, spaces, and timing.
Noise control and the daily reset
Control noise at its source. Cut and prepare graphics in a separate staging space, close nearby doors, and avoid loud work near calls or meetings. If a task will create strong odors or debris, confirm ventilation and isolate the area before starting.
End each shift with a full reset. Remove scraps, tools, liners, tape, and temporary signs that are no longer needed. Wipe nearby surfaces, inspect installed graphics, and reopen safe routes. Then report completed zones, remaining closures, and the next day’s plan to the facilities contact.
A reliable reset keeps the office usable between phases and makes progress easy to track. It also gives staff a clean, finished space each morning rather than a worksite that spreads across the office.
See AP Installations office graphics projects
What should facilities teams expect on installation day?
Employee and security coordination
Installation day should begin with a clear plan for people, access, and active work areas. Tell employees which rooms, halls, or entry points will be unavailable. Share the schedule before crews arrive, then post simple signs near each work zone.
Give security staff the crew list, expected arrival time, parking details, and approved access points. Arrange badges or escorts in advance, including access for any after-hours work. Employee communication also matters because people respond better when they understand changes. Carnegie Mellon research on office design links workplace choices with how people view a company’s creativity.
Site access and workspace readiness
Crews need a direct route from the loading area to each work zone. Reserve a loading space, confirm elevator access, and protect any floors along the route. Remove carts, boxes, and other items that could slow material handling.
Clear furniture, wall decor, monitors, and personal items from the marked installation areas. The installer may also need nearby space for tools and graphic panels. Keep that staging area clean, dry, and away from regular foot traffic. These steps help a phased office rebrand graphics installation move between zones with less disruption.
- Confirm where the crew can park and unload.
- Reserve freight elevators and provide needed keys or badges.
- Clear walls, windows, floors, and nearby work surfaces.
- Mark restrooms, break areas, and approved staging space.
- Tell the crew about alarms, restricted rooms, and safety rules.
Fast decisions during installation
Name one facilities contact who can answer questions throughout the day. That person should know the approved artwork, placement plan, and scope. They should also have authority to resolve access issues and approve minor field adjustments.
Before work starts, walk through the site with the lead installer. Confirm graphic locations, final alignment points, room order, and areas that must stay open. If a surface or placement differs from the plan, pause that area. A professional graphics installation depends on resolving those issues before the graphic is applied.
Expect installers to control their work zones and keep materials organized. Facilities teams should keep employees outside those zones until the installer releases them. At the end of each phase, review the finished area and note any open items before furniture returns.
Close the project with a clear quality-control plan
A joint punch-list review
Quality control should start before the installer packs up. Walk each finished area with the installer, designer, and site lead while the approved artwork and placement plan are close at hand. Review every wall, window, floor, and sign from normal viewing distance, then inspect edges and seams up close.
Record each issue on one shared punch list. Note the exact location, the needed fix, the owner, and the due date. Photos help all teams agree on what needs attention. This review gives a corporate office rebrand a clear path from installation to final acceptance.
- Confirm each graphic matches the approved artwork, size, color, and orientation.
- Check alignment with walls, doors, windows, furniture, and nearby signs.
- Look for lifted edges, bubbles, wrinkles, gaps, surface damage, or visible residue.
- Test sightlines, door swings, and walking paths before reopening the area.
Care instructions and project records
Closeout documents protect the work after the installation crew leaves. Ask for written care and cleaning instructions that match each film and surface. Give those instructions to the facilities team, cleaning vendor, and anyone who may move furniture near the graphics.
Keep a final record set with approved artwork, placement plans, product details, finish photos, and completed punch-list notes. Add installer contacts and any warranty information supplied for the project. Reviewing examples from AP Installations’ completed projects can also help stakeholders define the finish standard before acceptance.
Assign one person to store these records and handle future questions. That simple step keeps later repairs or updates tied to the right files. It also helps a new facilities lead understand what was installed and how to care for it.
Final acceptance and risk control
Final acceptance should happen only after the team verifies all agreed fixes. Have the site lead sign a short acceptance record that names the reviewed areas and any open items. If an item must remain open, record its owner and completion date instead of relying on a verbal promise.
Certified installation and clear communication reduce avoidable risk during office rebrand graphics installation. A trained installer can explain material limits, flag surface concerns, and document the finished work. Clear updates also help the client decide when each area is ready to return to use.
The closeout review should include the people who use and manage the space. Research from MIT Sloan Management Review found that office customization gains disappeared when workers felt their choices were overridden. Gathering practical feedback before acceptance can reveal issues that a visual check alone may miss.
How do you choose an office graphics installation partner?
The right office rebrand graphics installation partner should reduce risk before the first panel reaches a wall. Facilities teams need more than a price and an available date. They need clear proof that the installer can plan, communicate, and work safely around active offices.
Credentials and relevant experience
Start by asking which manufacturer credentials the installers hold and whether those credentials match the specified vinyl. Confirm who will perform the work, since a company’s certification does not always describe every crew member’s training. Ask for examples from offices with similar surfaces, access limits, and occupancy needs.
Past work should cover more than one clean lobby wall. Look for experience with glass, textured walls, floors, elevators, tight corridors, and areas near sensitive equipment. AP Installations’ graphics installation solutions show the range of environments a qualified partner may need to manage.
- Which crew members hold relevant certifications, and who supervises the site?
- What surface problems could change the schedule, finish, or warranty?
- How will the crew protect furniture, floors, doors, and occupied work areas?
- Who records approvals, change requests, and completed punch-list work?
Site surveys and clear scope
A strong proposal begins with a site survey, not assumptions from artwork files. The installer should inspect each surface, measure key areas, note access limits, and flag repairs or curing concerns. Ask what the survey includes and who documents final dimensions.
Request a written scope that names materials, surfaces, removal work, installation zones, and acceptance steps. Coordination also includes the people who use the space. A study of office customization found that productivity gains disappeared when workers felt their choices were overridden. Confirm who approves designs, placement, and last-minute changes before production.
Scheduling and communication
Ask the installer to turn the scope into a zone-by-zone schedule. It should show delivery timing, prep work, installation windows, cure time when needed, and reopening steps. For occupied offices, compare weekday, evening, weekend, and phased options.
A phased office rebrand graphics installation checklist can help facilities teams test whether a proposed schedule covers each location or zone. Ask how the partner will handle delays, blocked access, damaged graphics, or an office event that changes the plan.
Communication plans matter as much as the schedule. Name one lead for the facilities team and one for the installation crew. Agree on how they will share daily progress, surface issues, change requests, and completed punch-list items. This process keeps decisions clear while several teams coordinate around active workspaces.
Request a phased office rebrand installation plan
Frequently Asked Questions
How long does a phased office rebrand graphics installation take?
The schedule depends on the number of zones, graphic types, surface conditions, access limits, and approved work hours. A site assessment should happen before production and scheduling. The installer can then divide the facility into manageable phases and set completion targets for each zone. Final timing should also allow for surface preparation, quality checks, and any needed corrections.
How can office graphics be installed without shutting down the workplace?
Divide the facility into zones and schedule each zone around meetings, employee traffic, and critical operations. Move work teams only when their immediate area is active, then reopen that zone after inspection. According to AP Installations, phased installation helps limit operational downtime during large office graphic updates. Clear daily notices and a single facility contact also reduce conflicts.
What should be completed before office rebrand graphics installation begins?
Complete a site assessment, confirm final artwork, verify measurements, and document the condition of every installation surface. The project team should also approve zone order, work hours, access rules, safety requirements, and furniture moves. Before installers arrive, identify sensitive departments, confirm who can approve field changes, and tell employees which areas will be unavailable during each phase.
What affects the cost of a phased office graphics installation?
Cost depends on graphic size, material, surface condition, installation height, removal needs, access restrictions, and the number of separate work phases. Night or weekend scheduling may also affect labor planning. Request a site assessment before comparing proposals so each installer prices the same scope. The proposal should separate production, removal, preparation, installation, equipment, and possible change-order costs.
Ready to Plan Your Office Rebrand Installation?
Delaying your office rebrand can extend outdated branding, create scheduling conflicts, and force installation work into busier periods for employees and visitors. Starting the planning process now gives your team more time to confirm priorities, coordinate access, and divide installation into manageable phases. A clear sequence also helps each department prepare for the work while keeping daily operations moving and avoiding preventable last-minute changes.
Ready to create a practical rollout plan for your facility? Request an office rebrand graphics installation consultation to discuss your project goals, site access, phasing options, preferred timing, and workplace needs. Contact AP Installations now to start planning each phase before schedules tighten and installation choices become limited.