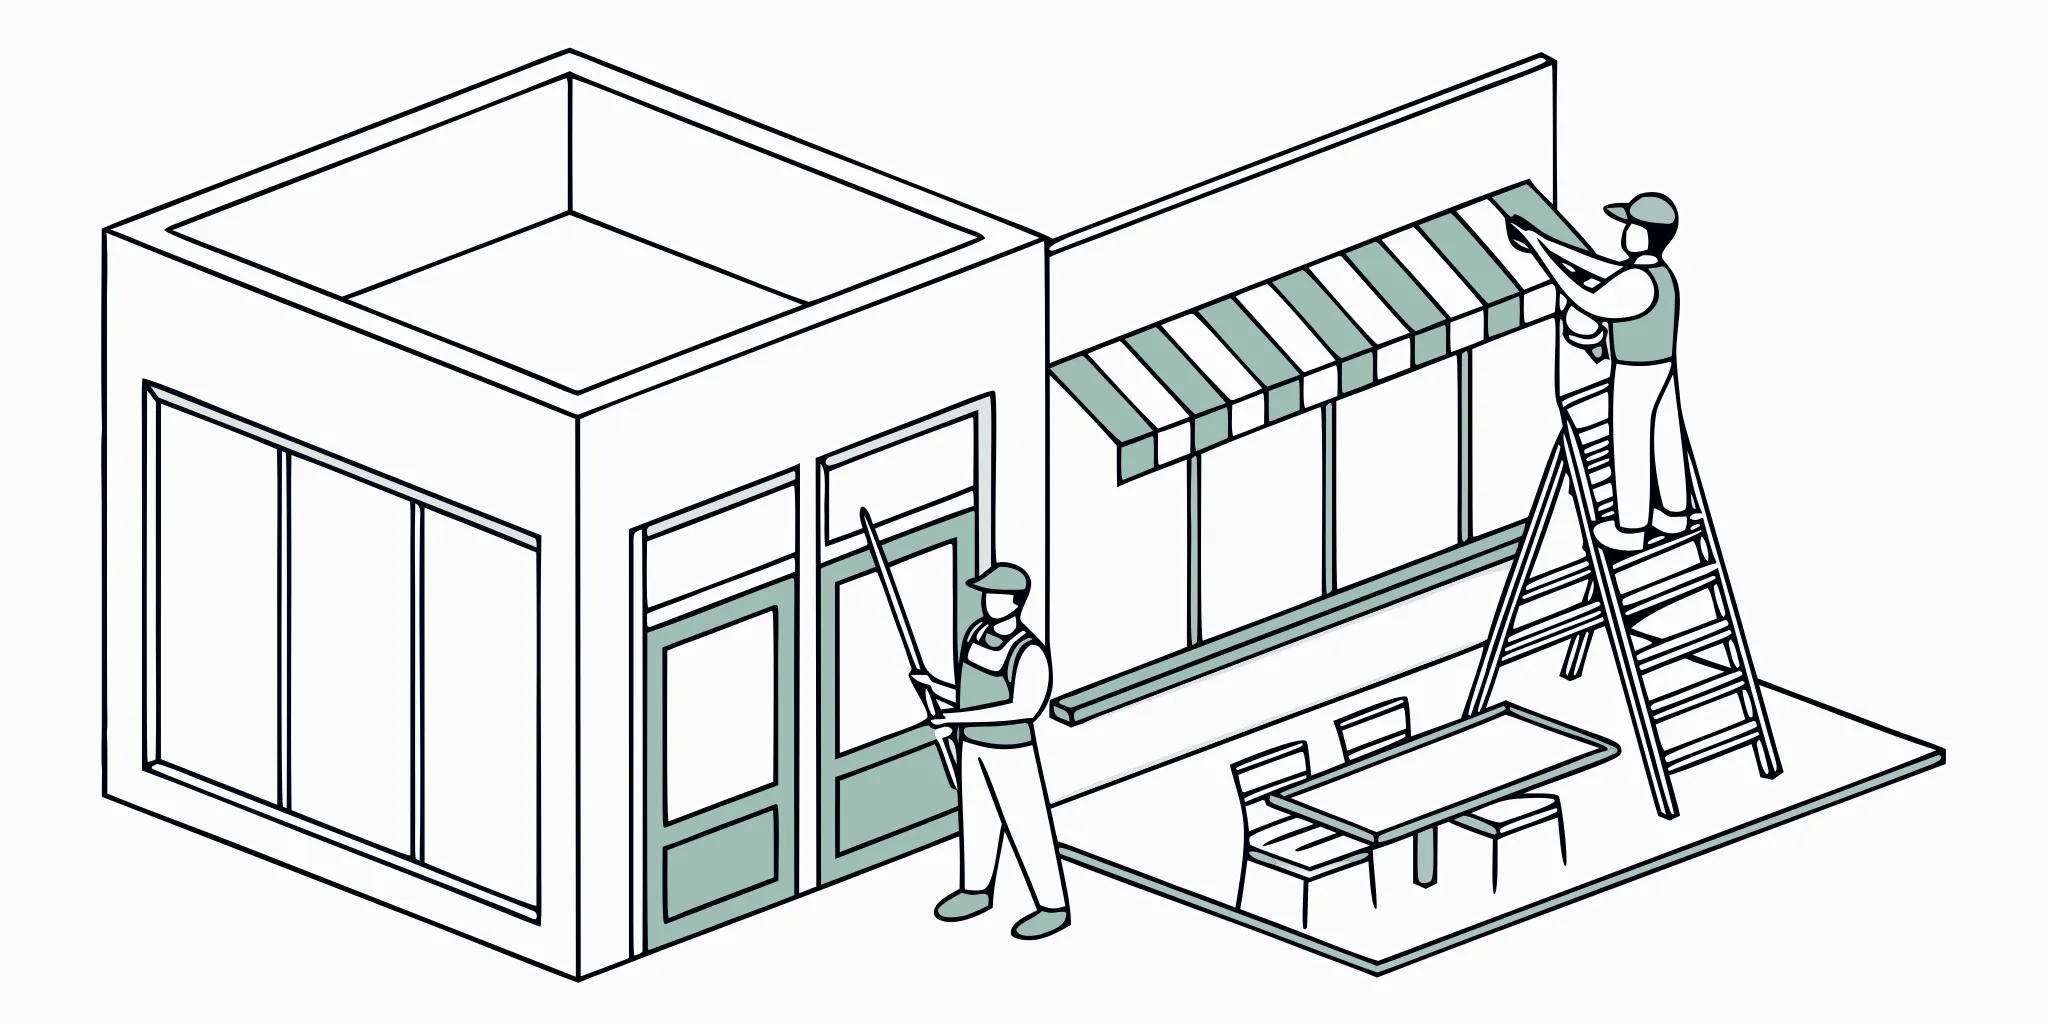
A multi-location restaurant rebrand can look simple on a presentation deck and become complicated the moment installers arrive at the first store. Windows differ by location. Interior walls have different finishes. Managers have different operating constraints. Landlords may have rules about exterior graphics. Deliveries, guests, and staff schedules all have to keep moving while the brand changes around them.
Need a certified installation partner for a restaurant rollout? Contact AP Installations to discuss your locations, timeline, and graphics package.
Restaurant rebrand graphics installation works best when the rollout is treated as an operations project, not a last-mile task. The goal is not just to apply vinyl cleanly. The goal is to protect the new brand, reduce disruption, document each location. And keep every storefront, wall, window, and interior touchpoint consistent from the pilot store to the final closeout.
Restaurant rebrand graphics installation starts with a rollout map
The first step is a location-by-location rollout map. This document connects brand intent to field execution. It should list every restaurant, the graphics package assigned to that location. The target install window, local contacts, access notes, and any business constraints that could affect the work.
For restaurant groups, the rollout map should also separate locations into waves. A flagship store, high-traffic market, new opening, or remodel site may need to go first. Lower-risk locations can follow after the install team confirms the package, sequence, and documentation process. A pilot installation gives the agency, printer, restaurant team, and installer a real-world standard before the full chain moves.
Each location should have a clear owner. That owner may be a facilities manager, operations manager, agency producer, or brand lead. Without ownership, field questions turn into delays. If the installer finds a surface issue, missing panel, blocked access point, or manager conflict, the rollout map should make the escalation path obvious.
The map should include business-hour constraints. Some restaurants can accept daytime installation in low-traffic windows. Others need early morning, late night, or phased work around service. Planning this in advance keeps the rebrand from interfering with guests, delivery drivers, kitchen operations, or staff prep.
AP Installations works in the exact environment where these details matter: storefronts, windows, walls, floors, murals, fleet graphics, and brand activations. A strong rollout map lets the installation team plan labor, equipment, travel, and sequencing before materials arrive on site.
Survey every location before production handoff
A site survey is the difference between confident production and expensive guessing. Multi-location restaurant brands often assume locations are identical because the concept is consistent. In the field, even sister locations can have different glass dimensions, wall textures, trim details, counter placements, ceiling heights, and access limits.
Start with accurate measurements for every graphics area. For storefronts, confirm each glass panel, mullion, door swing, handle position, alarm decal, and code-required visibility zone. For interior graphics, confirm wall dimensions, substrate, paint condition, outlet locations, lighting, and any furniture or fixtures that will affect access. For floor graphics, confirm traffic patterns, cleaning routines, slip requirements, and surface condition.
The survey should also capture environmental factors. Exterior window graphics may face direct sun, moisture, repeated cleaning, or heavy pedestrian contact. Interior wall graphics may be applied to textured paint, tile, sealed concrete, or a surface that needs prep before vinyl will perform. A certified installer can flag these issues before production locks material choices.
Photos are essential. Each survey should include wide shots, close-ups, measurements, obstructions, surface defects, and reference angles. These images become the shared record for the restaurant group, agency, printer, and installer. They help production teams build panel maps and help installers understand what they will see before they arrive.
Access planning belongs in the survey too. Note parking, loading zones, mall or landlord rules, lift requirements, security procedures, kitchen delivery windows, and whether work can happen while the restaurant is open. A location that needs a ladder, lift, special insurance certificate, or landlord approval should not surprise the team on installation day.
AP Installations’ service delivery model includes site assessment, surface compatibility review, environmental checks, access planning, and post-installation documentation. Those details are especially important when a restaurant rebrand has to look consistent across many locations with different field conditions.
Build a production handoff that installers can actually use
The production handoff should make the installer’s job clear before the first panel is opened. A good handoff is not just final artwork. It is a complete field package that connects files, materials, location notes, contacts, and approval rules.
Start with final approved art and scale. Each file should match a location, surface, and panel map. Use consistent naming that includes the brand, location ID, graphic area, version, and date. If the same storefront kit is used across multiple restaurants, note which locations use the standard kit and which require custom sizing.
Include material specifications. The installer needs to know whether the package includes window film, opaque vinyl. Perforated window graphics, wall vinyl, floor graphics, laminated decals, temporary promotional graphics, or long-term brand elements. Material choices affect surface preparation, installation technique, durability, removability, and closeout documentation.
Panel maps are critical. They should show placement, overlap, trim lines, alignment points, and install sequence. For complex interiors, add elevation drawings or annotated photos from the site survey. For storefronts, mark doors, handles, mullions, code-required visibility areas, and any graphics that must align across multiple panes.
The handoff should also define the change process. Field changes happen. A wall may be different than expected. A manager may ask for a placement adjustment. A panel may arrive damaged. The installer should know who can approve changes, how to document them, and when to pause for direction.
AP Installations is a pure-play installation specialist. That matters for agencies and print partners because the company is built to execute the installation phase without competing for the creative or print relationship. For teams that already have design and production partners, a clear handoff helps AP Installations protect the work those partners created.
For more on AP Installations’ installation capabilities across retail, fleet, and experiential projects, review the company’s vinyl graphics installation solutions.
Match the graphics package to each restaurant environment
Restaurant graphics live in demanding spaces. Guests touch glass. Staff clean walls and floors. Sun hits windows. Grease, moisture, and temperature shifts can affect surfaces. The graphics package should match each environment, not just the brand concept.
Storefront graphics usually carry the first impression. They may include window branding, hours panels, door decals, promotional graphics, privacy film, or temporary campaign messaging. Interior graphics may include murals, brand statements, wayfinding, menu-adjacent elements, hallway graphics, restroom graphics, or back-of-house communications. Floor graphics can support wayfinding or promotions, but they need the right surface and durability plan.
| Graphic area | Survey checks | Installation considerations |
|---|---|---|
| Storefront windows | Glass size, mullions, door hardware, exposure, visibility rules. | Panel alignment, cleaning, edge finishing, exterior conditions. |
| Interior walls | Paint type, texture, outlets, fixtures, moisture, lighting. | Surface prep, test adhesion, seam placement, final inspection photos. |
| Floor graphics | Floor material, cleaning routine, traffic path, slip concerns. | Durability, laminate choice, edge wear, removal plan. |
| Menu or service-area graphics | Heat, grease, cleaning chemicals, guest flow. | Install timing, protection, alignment with fixtures. |
| Temporary promotions | Campaign dates, removal timing, surface sensitivity. | Removable materials, manager instructions, closeout notes. |
The best restaurant rebrand graphics installation plan identifies permanent brand elements separately from temporary campaign pieces. Permanent graphics need long-term durability and precise brand consistency. Temporary graphics need clean installation, easy removal, and a schedule that matches the marketing calendar.
AP Installations installs storefront, window, wall, floor, retail, and experiential graphics. That range helps restaurant groups plan the full environment instead of treating each graphic as a separate one-off request.
How do you phase installation across multiple restaurants?
Phasing turns a rebrand from a stressful chain-wide event into a controlled rollout. The right schedule depends on opening dates, market priorities, production capacity, restaurant hours, and the amount of graphics in each location.
- Start with a pilot location. Use one representative restaurant to test the production package, install sequence, documentation format, and approval process. Capture lessons before the full rollout begins.
- Group locations into practical waves. Build waves by region, access needs, store priority, and operating constraints. This reduces travel waste and helps managers know when to expect installation.
- Schedule around restaurant operations. Avoid peak service periods, delivery rushes, and staff prep windows. For high-traffic locations, off-hours installation may be the cleanest option.
- Confirm materials before each wave. Do not release installers until graphics, tools, access approvals, and local contacts are ready. Missing pieces create repeat trips and inconsistent closeout.
- Build contingency time into the schedule. Weather, surface repairs, shipment issues, and landlord approvals can shift dates. A rollout plan should absorb those issues without breaking the whole chain schedule.
- Close each wave before starting the next. Review photos, punch lists, manager signoff, and field issues. Then apply those lessons to the next group of restaurants.
Restaurant groups often focus on the grand reveal, but installation teams focus on the path to a clean reveal. A phased schedule protects both goals. It gives the brand team a controlled visual rollout and gives operators a plan that respects live restaurant conditions.
When agencies are involved, phasing also improves communication. The agency can review the pilot, refine documentation, and support the client before installation scales across many locations. That reduces the risk of repeating the same issue across an entire market.
Keep brand consistency from first store to final closeout
Brand consistency is the reason the rebrand exists. It should be measured in the field, not just approved in the design file. Every location should use the same placement logic, install standard, photo documentation, and closeout process unless a site condition requires a documented exception.
Start with an approved install standard. This can include placement rules, spacing, edge alignment, acceptable tolerances, finishing details, and photo angles. If the pilot location becomes the reference store, document it carefully. The team should know what good looks like before the second wave begins.
Use a punch list for each restaurant. The list should identify missing graphics, bubbles, lifting edges, alignment issues, damaged materials, manager notes, and any approved deviations. It should also state whether the location is complete, complete with exceptions, or waiting on follow-up.
Photo documentation should be consistent. Capture before photos, installation progress, final wide shots, close-ups of critical details, and any field conditions that affected the work. These photos protect the restaurant group, agency, printer, and installer. They also make it easier to support future refreshes or repairs.
Closeout should include final location status, completed areas, open issues, warranty or care notes when applicable, and manager signoff. AP Installations’ installation process includes inspection, photography documentation, immediate correction of imperfections when possible, and follow-up availability. Those details turn a graphics rollout into a documented brand asset.
Restaurant groups can also use closeout documentation to plan future campaigns. If one location has difficult glass, another has textured walls, and a third has limited access, that information should not be rediscovered during the next promotion. It should become part of the brand’s location knowledge base.
What should agencies hand off before installation day?
Agencies protect the client relationship when installation feels organized. Before installation day, the agency should give the installer a complete package that removes ambiguity and keeps field decisions aligned with the approved brand.
The handoff should include final art, production proofs, material specifications, location list, site survey photos. Panel maps, install sequence, packing list, shipping details, receiving contact, local manager contact, and approval path. If an agency producer or account lead must approve field changes, that contact should be available during the installation window.
Agencies should also clarify what cannot change in the field. Some graphics may have strict brand placement rules. Others may allow practical adjustment if a wall obstruction or window detail requires it. Installers need to know the difference before they are standing in a live restaurant with staff waiting.
Use one shared status tracker for the rollout. Include location, wave, shipment status, install date, installer notes, photo links, punch list status, and final approval. The tracker keeps the restaurant group, agency, printer, and installer aligned without relying on scattered email threads.
AP Installations’ graphics installation projects show the range of commercial environments where careful coordination matters. For agency-led restaurant rebrands, the strongest handoff is the one that gives the installation team enough context to execute without slowing the brand team down.
Frequently asked questions
How do you rebrand a restaurant across multiple locations?
Start with a rollout map, survey every location, approve a production handoff, run a pilot installation, then install in phased waves. Each location should have clear contacts, access notes, photo documentation, and closeout status.
What should be included in a restaurant rebrand graphics installation checklist?
Include location data, site survey photos, measurements, final artwork, material specifications, panel maps, installation schedule, access requirements, manager contacts, approval path, punch list process, and final photo documentation.
How do restaurant groups keep brand graphics consistent across locations?
Use one install standard, one production naming system, one documentation process, and one approval path. A pilot location helps define the field standard before the full rollout begins.
When should installation happen during a restaurant rebrand rollout?
Installation should happen after surveys, production proofing, material delivery, and access approvals are complete. Schedule around restaurant operations, often in off-hours or phased windows that avoid peak service periods.
Ready to plan your restaurant graphics rollout?
A restaurant rebrand is too visible to leave installation details until the end. AP Installations helps restaurant groups, agencies, and brand teams plan certified vinyl graphics installation across storefronts, windows, walls, floors, and experiential spaces.
Contact AP Installations to talk through your restaurant rebrand graphics installation schedule, location list, and closeout needs.