
Grocery Store Floor Graphics Installation and Safety Guide
Grocery store floor graphics can turn unused aisle space into a clear path for shoppers, sales, and seasonal messages. The installation has to do more than look clean on day one. It has to hold up under carts, foot traffic, floor cleaning, product resets, and busy store hours.
Contact AP Installations to plan grocery store floor graphics with a certified vinyl installation team.
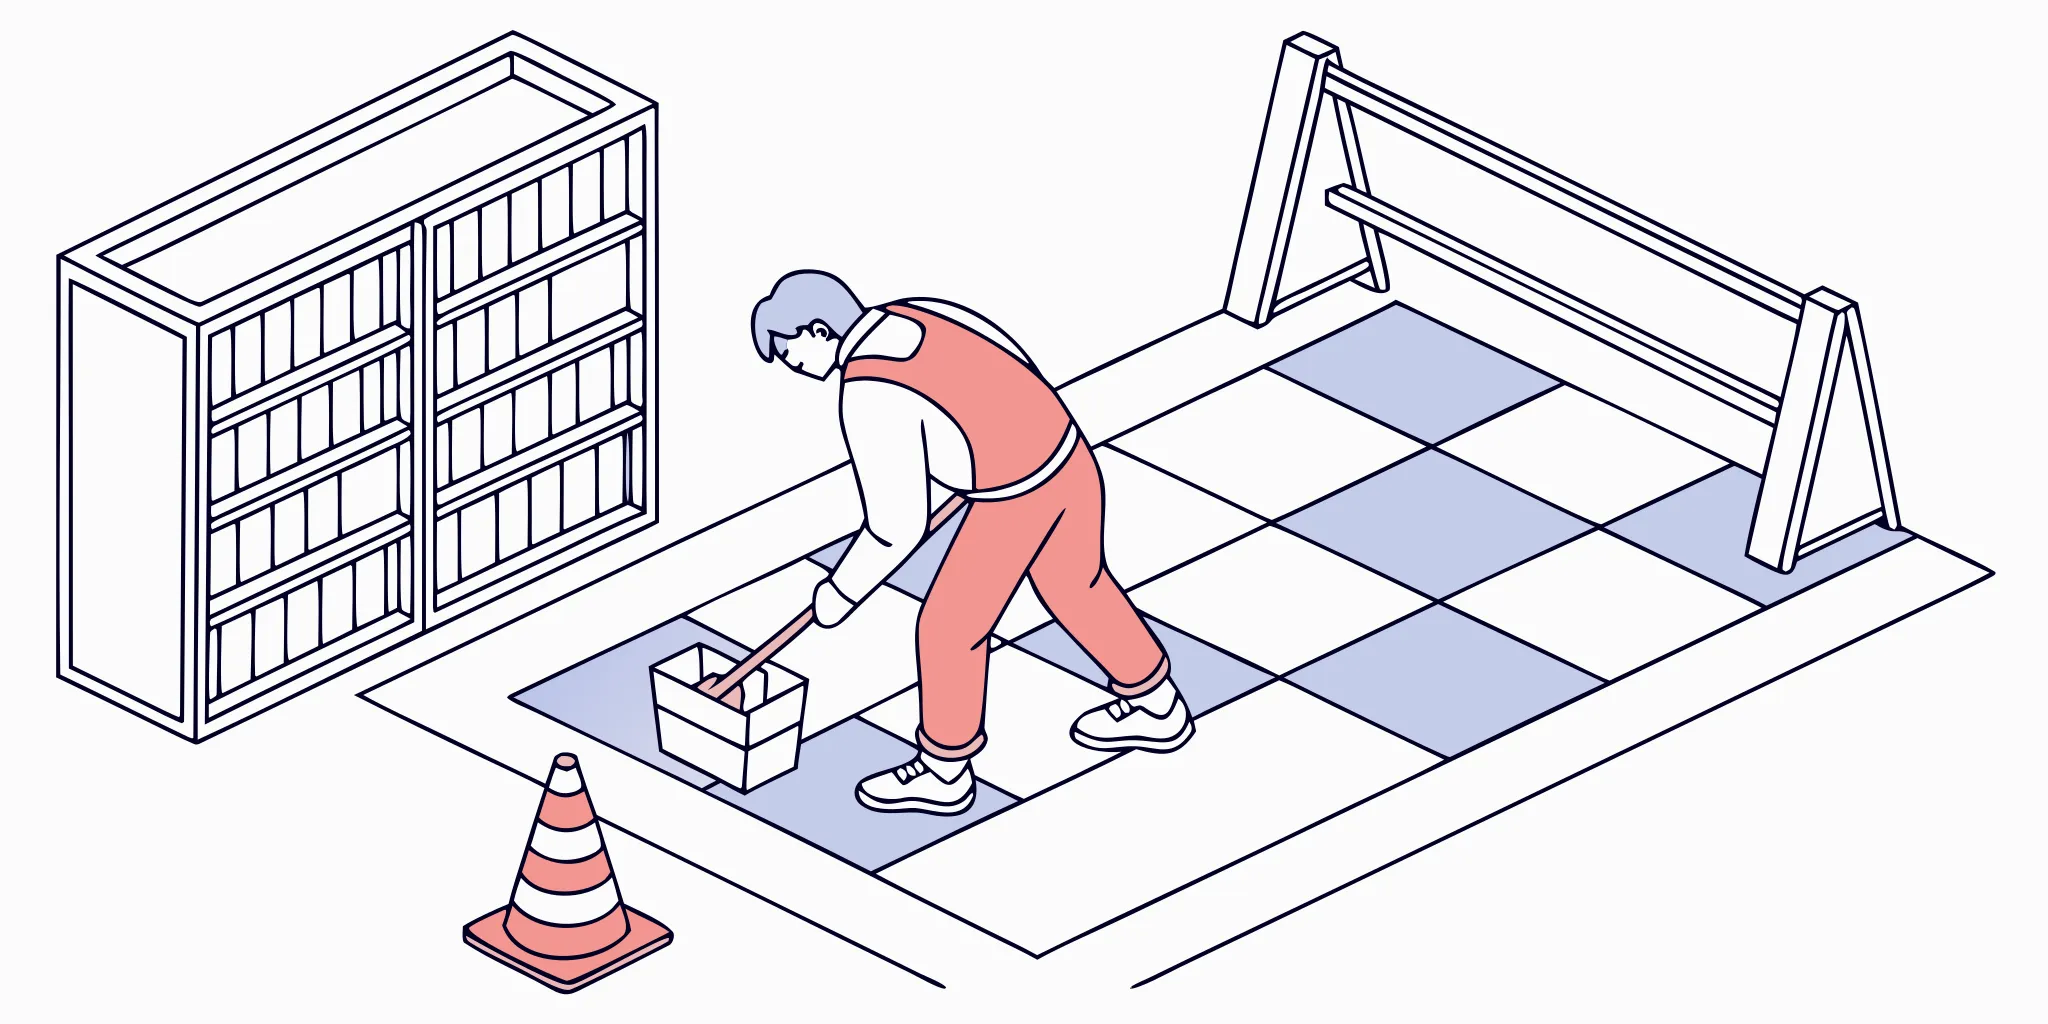
Grocery store floor graphics are vinyl floor decals used in grocery aisles, entrances, end caps, queue lines, and display zones to guide shoppers, promote products, and support seasonal campaigns. A safe, durable installation starts with surface checks, material confirmation, slip-resistance documentation from the graphic system provider, precise placement planning, careful cleaning, firm squeegee work, edge control, and a final inspection. Retail research cited by WhatTheyThink reports that floor graphics can increase grocery product sales by about 16 percent when they are placed well. But results depend on the store layout, the offer, the print system, and the quality of installation. For grocery teams, the best approach is to treat floor graphics as an operational project, not a simple sticker job.
AP Installations brings a certified installation mindset to that process. As a Beaverton-based 3M Preferred Installer, the team helps print shops, brands, agencies and retail operators plan vinyl graphic installs that fit the site, the schedule, and the surface. The guide below explains what to check before a grocery floor graphic is installed, where to place it, how to plan for high traffic, and how to remove or change it when the promotion ends.
Why grocery store floor graphics need a professional installation plan
Floor graphics sit in one of the hardest parts of a store. Shoppers walk over them. Carts roll across their edges. Staff clean around them. Displays move, pallets pass, and seasonal traffic can spike without much notice. A graphic that looks fine in a proof can fail fast if the floor, material, location, and install method do not match.
That is why grocery store floor graphics need a plan before the installer removes any liner. The plan should answer a few practical questions. Is the floor clean, dry, and sound? Is the vinyl system meant for floor use? Has the overlaminate or traction layer been specified for the traffic level? Will the graphic sit in a dry aisle, a wet entry, a produce zone, or a cart path? Will store cleaning crews know how to maintain the area without lifting the edges?
Floor graphics are part of store operations
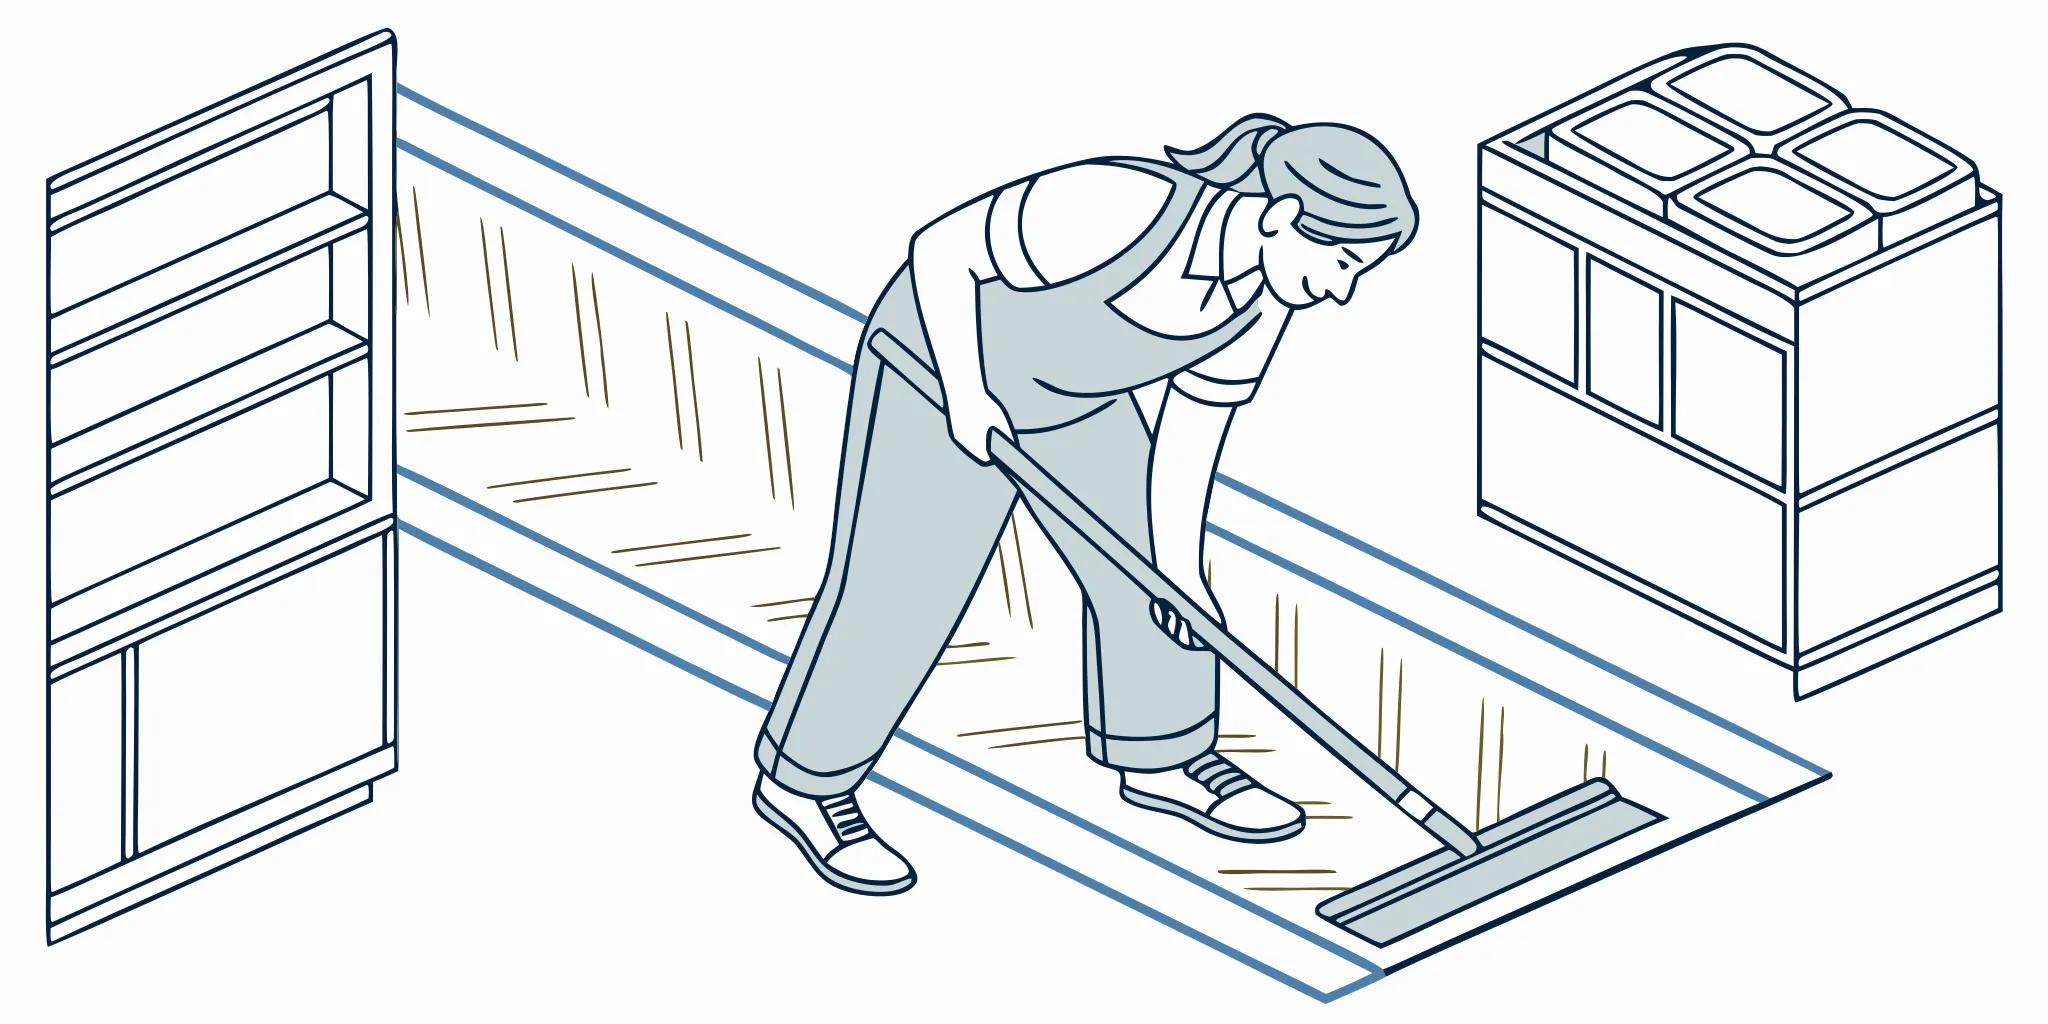
A grocery store is not a blank showroom. It is an active workplace with shoppers, staff, vendors, and equipment all moving at once. Professional installers look at the path around the graphic, not only the square footage of the decal. They plan around open hours, delivery windows, cleaning schedules, refrigeration cases, checkout lanes, and shopper flow.
- Confirm the campaign goal, store zones, and launch date.
- Review the floor surface, cleaning schedule, and traffic pattern.
- Match the printed graphic system to the site conditions.
- Install during a window that keeps shoppers and staff clear.
- Inspect edges, bubbles, alignment, and removal notes before signoff.
This matters most when the graphic supports a dated campaign. A seasonal produce push, holiday sale, or brand-funded end-cap program may have a tight launch window. If the project is rushed, the store may lose time to rework. If the graphic is placed in the wrong area, it may wear out, curl, or become a distraction. Careful planning reduces those risks.
Certification helps protect the final result
AP Installations uses a detail-first process built around vinyl installation experience, surface prep, and quality checks. The company’s 3M Preferred Installer status is a trust signal for brands and print partners that need a trained installer on site. For floor graphics, that expertise helps connect the printed product to the real condition of the store floor. The same surface-first approach is useful for teams comparing floor decals for concrete with tile, sealed, or older grocery surfaces.
The goal is not to promise that every floor graphic will last forever. No installer should make that claim. The goal is to install the right product on the right surface in the right location. Then inspect the work so the graphic has the best chance to perform through the campaign.
What should be checked before floor graphics are installed?
Pre-installation checks decide whether a floor graphic is ready to go down or needs a change in material, location, timing, or prep. This step protects the store, the print provider, and the installer. It also helps prevent common issues such as poor adhesion, bubbles, edge lift, and early wear.
Surface condition comes first
The installer should inspect the floor for dirt, wax buildup, moisture, damaged tile, loose grout, cracks, coatings, texture, and residue from prior graphics. A smooth, clean, dry surface gives the adhesive a better chance to bond. A rough, oily, wet, or damaged surface can make even a strong floor graphic system fail early.
Cleaning is more than a quick wipe. Competitor installation guides also stress that floor graphics start with cleaning the surface before placement. For grocery stores, that may mean coordinating with the store team so the install area is clear, dry, and free from cleaning chemicals that could interfere with adhesion.
Substrate and material must match
Not every grocery floor is the same. Some stores use polished concrete. Others use tile, sealed surfaces, textured flooring, or older floors with repair patches. The installer should confirm that the selected vinyl, adhesive, and overlaminate are suitable for that surface and use case. When a print shop or brand supplies the graphics, the installer should review the product data and flag any mismatch before installation.
Temperature and humidity can also affect the work. AP Installations’ service process includes site assessment and environmental awareness, which helps the team plan the install for better adhesion. If the area is too cold, too damp, or too busy to prep well, the right call may be to shift the schedule rather than force the graphic into place.
Documentation avoids guesswork
A professional floor graphics project should not rely on memory or verbal claims. The team should know what material was printed, what overlaminate was used, what surfaces were checked, where the graphics were placed, and what concerns were found on site. That record helps store managers plan cleaning, removal, and future changeouts.
Documentation is also useful when several stores are involved. If one location has a different floor type or cleaning routine, the same graphic system may not act the same way. A clear site check helps the project team adjust before the rollout expands.
How slip-resistance documentation supports safer retail graphics
Slip-resistance should be part of the floor graphics conversation from the start. Floor graphics are placed where people walk, so the print system and installation method must support a safe retail environment. That does not mean making broad guarantees. It means confirming product documentation, reviewing placement, and avoiding avoidable hazards.
The U.S. Access Board explains that accessible floor and ground surfaces should be stable, firm, and slip resistant. It also notes that the ADA Standards do not set one minimum coefficient of friction because there is no single accepted rating method. That is why retailers should avoid simple claims like “ADA approved” unless the material provider has documented support for the specific claim.
Ask for the right product information
Before installation, the project lead should confirm that the graphic system is intended for floor use and that the overlaminate or surface layer is suitable for the store environment. The printer or material supplier should provide the relevant product data. The installer can then compare that information with the site conditions found during the survey.
This step is especially important in grocery stores because floor zones vary. A dry cereal aisle is different from a produce area where mist, carts, and spills are more common. A checkout queue is different from an entry vestibule that sees rain and tracked-in grit. The material and placement should match the real use of the area.
Placement is part of safety
Even a well-made floor graphic can create problems if it is placed in the wrong spot. Avoid broken tile, curled transition strips, uneven grout lines, door thresholds, and areas where pallet jacks or heavy carts turn tightly. Avoid spots where water or floor cleaning solution may pool. Keep graphics out of places where they could distract from steps, ramps, exits, or other safety cues.
Edge control matters, too. A clean edge, firm bond, and careful inspection help reduce lift points. If an edge begins to lift later, store staff should treat it as a maintenance issue, not a cosmetic one. The graphic should be repaired or removed before it becomes a trip concern.
Where should grocery store floor graphics be placed?
The best location depends on the message and the movement pattern. Grocery store floor graphics can guide shoppers to a seasonal display, draw attention near an end cap, mark a queue, support a vendor promotion, or help explain a temporary change in store flow. The right spot is where the message is useful and the floor can support the graphic.
High-value placement zones
Common locations include entrances, main aisles, checkout lines, promotional end caps, category aisles, demo areas, pickup zones, and seasonal displays. For broader store environments, AP Installations also explains how retail graphics connect windows, walls, floors, and displays into one coordinated shopper experience. Each zone has a different purpose. Entrance graphics can set the campaign theme. Aisle graphics can steer shoppers toward a product. Queue graphics can manage spacing or promote loyalty offers. Display graphics can connect a floor message to a shelf, stack, or end cap.
For brand and agency teams, placement should be mapped before the installer arrives. Store diagrams, photos, and walk-through notes help the team avoid last-minute decisions on the sales floor. If several stores are included, the plan should allow for local variation rather than forcing one exact layout into every location.
Avoid the wear traps
Some spots look good on paper but wear hard in real life. Cart wheel turning points can grind an edge. Wet entry areas can expose adhesive to moisture and grit. Floor scrubber paths can stress a graphic if the store team is not briefed. Door thresholds and transition strips can cause edge lift. Refrigerated and produce areas may have spills or frequent cleaning that shorten the campaign life.
Professional installers look for these wear traps and suggest small moves when needed. Moving a graphic a few feet can improve visibility, reduce abuse, and help the store keep the area clean. That kind of field judgment is one of the main reasons to use an experienced installation partner instead of treating placement as a last-minute task.
AP Installations can also coordinate with project teams that need off-hours work to avoid shopper disruption. That is often the cleanest option for grocery environments because the install area can be cleared, cleaned, dried, installed, and inspected without constant foot traffic.
Need installation support across several stores? Review AP Installations’ vinyl graphic installation solutions for retail, commercial, and experiential projects.
Durability planning for high-traffic grocery environments
Durability is not one feature. It is the result of the floor, the graphic system, the install method, the traffic level, and the maintenance plan working together. A floor graphic in a quiet corner may last longer than the same graphic at the end of a busy aisle. A store with strong cleaning routines may need more detailed care instructions than a low-traffic retail site.
| Risk factor | Why it matters | Installation response |
|---|---|---|
| Heavy cart traffic | Cart wheels can stress edges and scuff the surface. | Place graphics away from tight turns and inspect edges after install. |
| Floor cleaning routines | Scrubbers, chemicals, and moisture can affect adhesion. | Confirm cleaning windows and share basic care notes with store staff. |
| Uneven tile or grout | Low spots can trap air or leave weak bond areas. | Check the surface first and avoid poor substrate zones when possible. |
| Wet or high-spill areas | Moisture and grit can shorten campaign life. | Use only suitable floor graphic systems and avoid high-risk placement. |
| Seasonal changeouts | Fast replacement can damage floors if removal is rushed. | Plan removal timing, angle, and cleanup before the campaign ends. |
Installation details protect the campaign
Small steps make a large difference. Accurate measurement keeps the message aligned with the aisle or display. Proper squeegee work helps push out air and build contact with the floor. Edge attention helps reduce early lift. Final inspection catches bubbles, loose edges, or dirt under the graphic before the installer leaves the site.
These details matter because grocery graphics often support time-sensitive promotions. If a graphic fails during the first week of a campaign, the store loses more than a decal. It loses the visual cue that was meant to guide sales. Careful install work protects the marketing spend behind the print.
Maintenance should be simple and clear
Store teams do not need a long manual, but they do need clear notes. They should know when the graphic was installed, where to look for edge lift, how to report damage, and whether the floor cleaning team needs to avoid aggressive work at the edges. The goal is to make the graphic part of normal store care without adding confusion.
For multi-location grocery work, AP Installations’ project coordination helps keep the install standard consistent while still accounting for local floor conditions. That balance is key when one brand campaign needs to look unified across several stores.
How should floor graphics be removed or changed out?
Removal should be planned before installation starts. Seasonal graphics, sale messages, and vendor campaigns often have a clear end date. If the team waits until the last minute, removal can become rushed, messy, or disruptive to store operations.
Plan the removal window
The best removal window is usually outside peak store traffic. That gives the installer room to work and gives the floor time for cleanup. The store may also need to move displays, block a small area, or coordinate with cleaning crews. For larger changeouts, the removal and new install should be sequenced so aisles are not closed longer than needed.
Some product guides recommend pulling the edge of a floor decal back toward you at a 90-degree angle during removal. The exact method can vary by material, adhesive, floor type, and age of the graphic, so an installer should follow the product guidance and adjust to the site condition. The priority is clean removal with less residue and less risk to the floor finish.
Use each changeout as a site check
A changeout is a useful time to inspect the floor. The installer can check whether the prior graphic wore evenly, where edges lifted, whether cleaning routines caused issues, and whether a new placement would work better. Similar planning applies to custom floor decals with logos, where brand visibility has to be balanced with traffic, substrate, and removal needs. That feedback helps the next campaign perform better than the last one.
For seasonal retail programs, this learning loop is valuable. A grocery store may run back-to-school, holiday, local produce, loyalty, and vendor campaigns in the same year. Each install gives the team more site knowledge if the results are documented and shared.
Frequently asked questions about grocery store floor graphics
Are floor graphics effective for grocery store advertising?
They can be effective when the message, placement, and install quality are aligned. Industry reporting on retail floor graphics notes that well-placed graphics can lift product sales in grocery settings. Treat those numbers as context, not a guarantee. Results depend on the campaign, the store, the product, and the traffic pattern.
How do you properly apply floor decals?
Proper application starts with a site check and a clean, dry, compatible floor. The installer then measures the location, positions the graphic, removes the liner in stages, uses firm squeegee pressure, checks for trapped air, and inspects the edges. The process should follow the graphic system provider’s instructions.
What is the best way to remove floor decals?
Removal depends on the material, adhesive, floor finish, and how long the graphic has been in place. Many product guides recommend lifting an edge and pulling back at a controlled angle. A professional installer can adjust the method to reduce residue and protect the floor surface.
What types of grocery messages work well on floor graphics?
Floor graphics work well for seasonal displays, produce promotions, brand-funded end caps, pickup directions, checkout queues, loyalty reminders, and path cues. The best messages are short, placed close to the action, and supported by nearby shelf or display graphics.
Contact AP Installations for grocery store floor graphics
Grocery store floor graphics need more than print production. They need a surface-aware installation plan, clear safety documentation, careful placement, and a changeout process that respects store operations. AP Installations helps brands, agencies, printers, and retail teams install vinyl graphics with precision across the Pacific Northwest and beyond.
Ready to plan a safer, cleaner retail floor graphics rollout? Contact AP Installations to discuss your grocery store floor graphics project.