Every missed turn in a public building costs visitors time and staff attention. Careful installation turns approved wayfinding designs into clear, durable guidance across walls, windows, floors, and other surfaces.
Municipal facility wayfinding graphics installation places clear directional, identification, and informational graphics throughout city halls, libraries, community centers, transit spaces, and other public buildings. It covers site review, surface preparation, accurate placement, clean application, and final inspection across walls, windows, floors, and approved sign panels. Installers must follow the approved location and message plan while protecting public access, maintaining visual consistency, and limiting disruption during operating hours. Permanent-room signs also require visual and tactile features under ADA standards, so graphics and signs must work as one accessible system. A certified installation partner coordinates with municipalities, designers, and print shops to deliver durable guidance that matches the plan from entrance to destination.
The practical question is what must happen between an approved graphic plan and a dependable public-facing system. To answer it, start with What municipal facility wayfinding graphics installation includes, then follow each step from site review through final inspection. Here’s how.
What municipal facility wayfinding graphics installation includes
Municipal facility wayfinding graphics installation coordinates directional, identification, informational, and regulatory graphics across walls, windows, floors, and sign panels. A complete scope connects approved artwork, suitable materials, accessible placement, careful surface preparation. Precise application, and final inspection so visitors can follow a consistent route from entrance to destination.
Municipal facility wayfinding graphics installation brings each visual cue into one clear system. It covers the graphics that help visitors find entrances, service counters, meeting rooms, restrooms, exits, and other key spaces. The work also includes planning how those cues connect across each part of the visitor’s route.
A coordinated set of visual cues
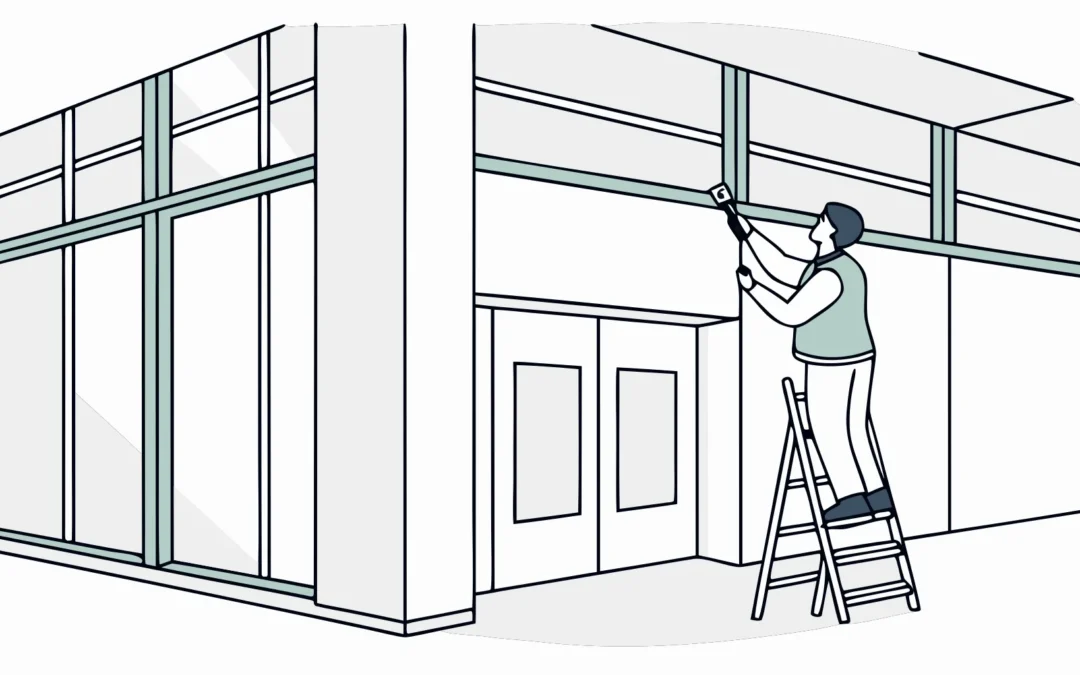
A public building may use wall graphics for major destinations and window graphics to mark entrances or departments. Floor graphics can reinforce a route at busy intersections. Directional graphics then guide people between those points with clear arrows, labels, colors, or symbols.
These elements work best when they share a common visual language. Consistent colors, type, symbols, and placement help people recognize the next cue without stopping to study it. AP Installations’ graphics installation solutions cover walls, windows, floors, and other surfaces within one coordinated project.
Accessibility and placement needs
A wayfinding system must serve the many people who use a municipal building. That group may include first-time visitors, staff, delivery crews, and people with disabilities. The State of Ohio describes wayfinding as a holistic approach to navigating an environment, rather than a set of isolated signs.
Placement decisions account for sightlines, viewing distance, glare, foot traffic, and likely decision points. Installers also need to know where vinyl graphics support the sign plan and where required permanent signs take priority. For example, ADA standards for signs apply visual and tactile rules to signs that identify permanent rooms and spaces.
From site review through final checks
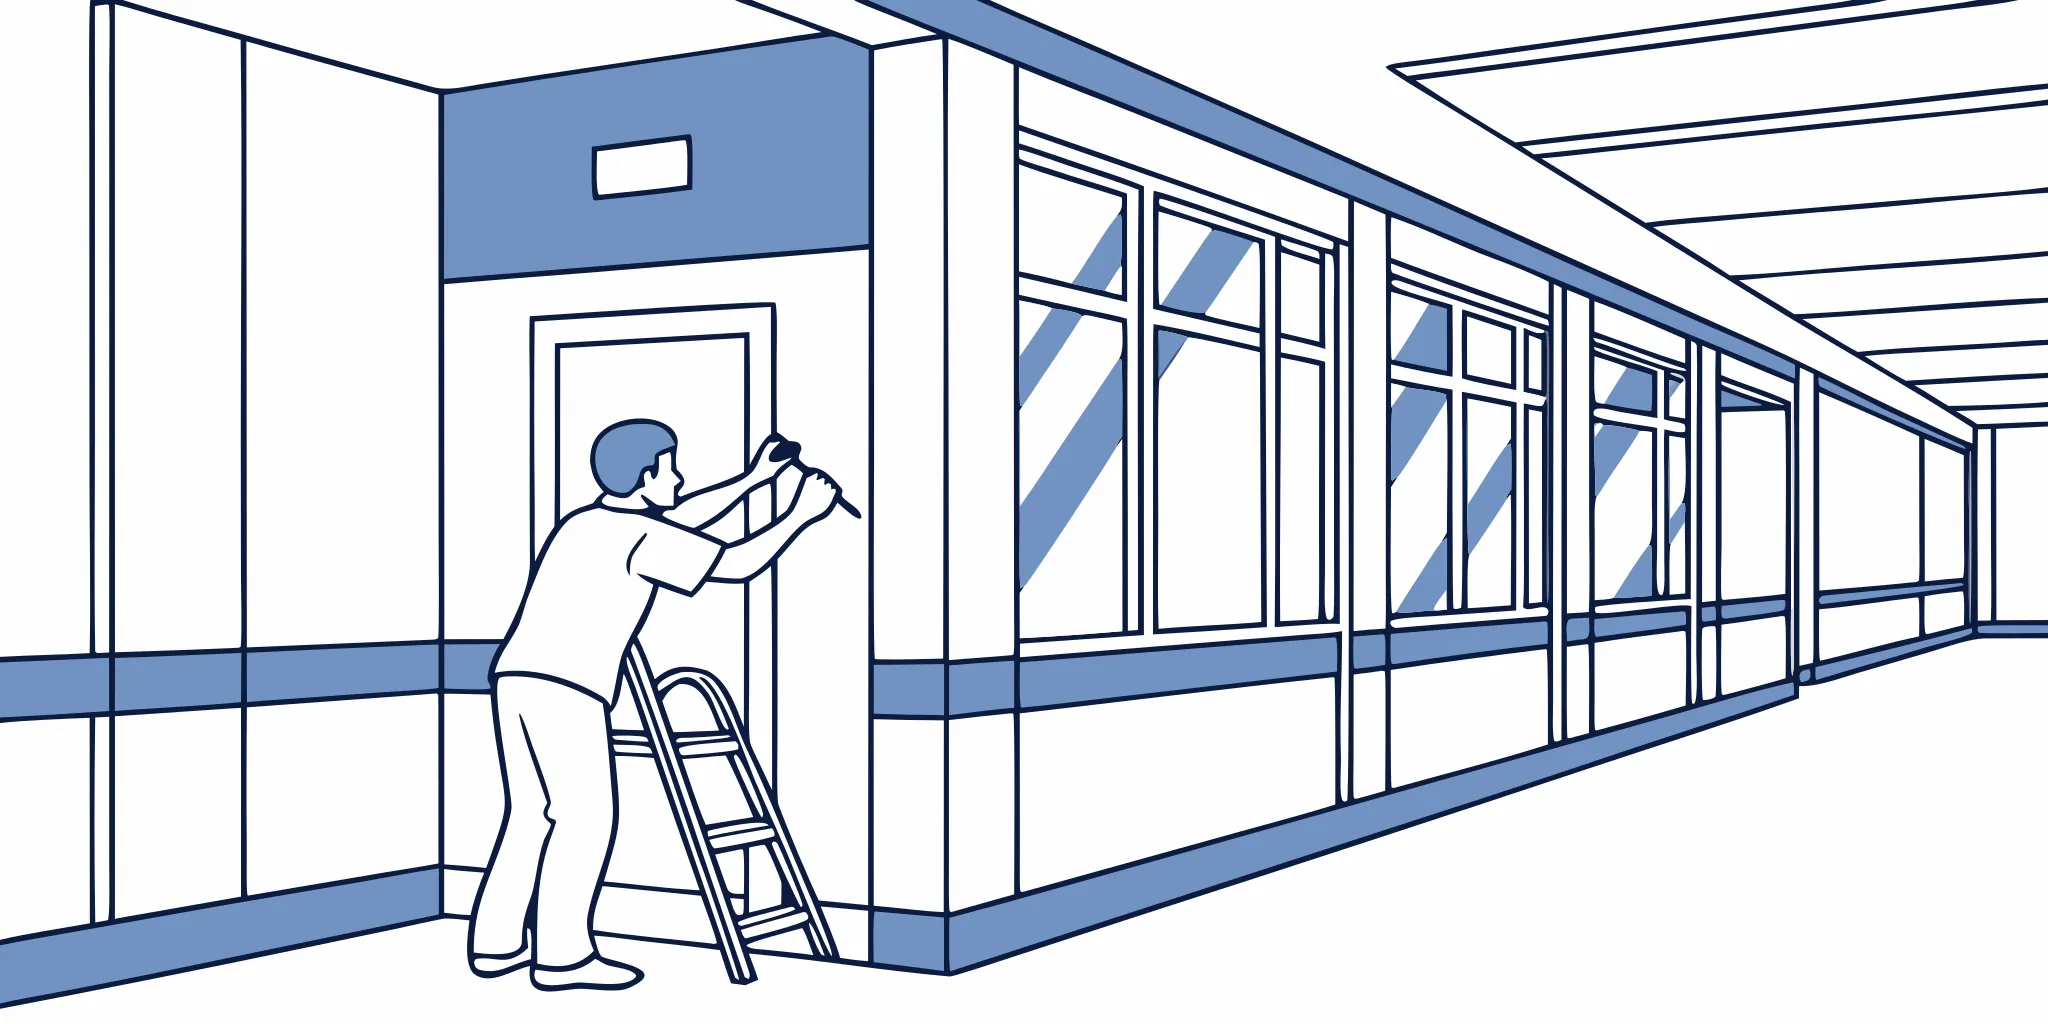
The installation scope starts before vinyl reaches a surface. A site review confirms measurements, substrate types, access limits, and the planned location of each graphic. Installers can then flag uneven walls, treated glass, worn floors, or other conditions that may affect adhesion and finish.
Preparation often includes cleaning surfaces, checking graphic sets against plans, and setting accurate reference points. During installation, the crew aligns panels, manages seams, and keeps routes open when possible. This care supports consistent wayfinding across active public spaces.
Final checks confirm that graphics match the plan, read clearly, and point visitors in the right direction. The team also reviews edges, seams, and surface contact. Together, these steps turn separate wall, window, floor, and directional graphics into a dependable navigation system.
How should a public facility plan its wayfinding graphics?
A public facility should plan wayfinding graphics by mapping visitor routes, marking every decision point, and creating one approved message schedule. Teams should align names, symbols, placement, accessibility needs, surfaces, and viewing distances before production, then test proposed routes with people unfamiliar with the building.
Effective planning starts with the routes people take, not with a list of signs. Map each trip from the visitor’s point of view before choosing graphic sizes, colors, or materials.
Route planning at decision points
Start with a floor plan and trace common trips from each public entrance. Follow routes to reception desks, service counters, departments, restrooms, elevators, stairs, and exits. Mark every point where a visitor must choose a direction.
Each decision point needs a clear message before the visitor reaches it. Place confirmation graphics after turns so people know they chose the right path. Repeat key names in the same form throughout the building.
Planning must also account for visitors with different access needs. Ohio’s guidance describes wayfinding as a holistic approach that helps people move through an environment. Check routes for wheelchair access, sight lines, lighting, and places where crowds may block a graphic.
A shared message plan
Bring facilities staff, department leads, accessibility reviewers, emergency planners, designers, printers, and installers into the process early. Each group sees different risks, from changing office names to difficult wall surfaces. Operations staff can confirm traffic patterns and peak service times.
Build a message schedule that lists each graphic, exact wording, location, viewing distance, surface, and owner. Use one approved name for every department across directories, wall graphics, and door signs. For added planning context, review AP Installations’ guide to municipal wayfinding graphics installation.
Review permanent-room, elevator, stair, and exit signs before production. The U.S. Access Board notes that visual and tactile rules apply to permanent room signs. Test the planned routes with people who did not help create the system, then record needed changes.
Graphic types and best uses
Four graphic types work together in a clear public facility system. Use the fewest messages needed at each location, while keeping names, arrows, and visual cues consistent.
| Graphic type. | Best use. | Typical location. |
|---|---|---|
| Identification. | Names a destination or room. | Entrances, departments, service counters. |
| Directional. | Guides the next route choice. | Corridors, intersections, elevator lobbies. |
| Confirmation. | Shows that the route is correct. | After turns, stairs, and elevators. |
| Regulatory and safety. | Marks rules, exits, and access needs. | Doors, stairways, restricted areas. |
Match each graphic to its viewing angle, surface, and expected wear. Floor graphics can support a route, but they should not carry the only direction. The final installation plan should also protect public access and keep services open during the work.
Temporary graphics keep service changes understandable
Temporary graphics help visitors navigate renovations, elections, events, and relocated services without confusion. Each removable message should appear before a changed route, repeat at every decision point, and confirm the destination. Materials must suit the surface and planned duration, while required permanent signs remain visible.
Public buildings rarely stop serving people while work, elections, or special events change normal routes. Temporary graphics can explain what changed, where to go, and when the change ends. They should work as one clear layer within a broader wayfinding system that helps all users move through a space.
Messages for short-term changes
Start with the decision a visitor must make at each point. A sign near the entrance might announce a relocated permit counter. The next graphic should confirm the correct hallway, while a final marker identifies the temporary service desk.
Renovation detours need the same linked sequence. Place messages before a route closes, at every turn, and where people rejoin the usual path. Keep each message brief, use the same names throughout, and remove old directions as soon as they expire.
- Name the affected service or destination.
- State the change in plain language.
- Show the next action with a clear arrow.
- Add an end date when staff can confirm it.
Election and event traffic
Election days, hearings, and public events can bring many first-time visitors through one entrance. Temporary graphics should separate check-in, voting, meeting, and staff routes before lines begin to cross. Large, consistent labels help people scan choices while they are still moving.
Floor graphics can support that path when wall space is limited or portable barriers shift during the day. AP Installations’ guide to wayfinding floor graphics explains how floor-based messages can direct short-term traffic. Floor markers should reinforce signs at eye level, not carry the whole route alone.
Removable materials and clean removal
Choose the removable film after reviewing the surface, expected wear, cleaning process, and planned display period. Painted walls, glass, sealed floors, and textured surfaces each need a suitable product. A small test area can reveal weak grip, visible residue, or risk to the finish before full installation.
The installation plan should also include removal. Record each graphic’s location, material, install date, and removal date so expired messages do not remain in view. For municipal facility wayfinding graphics installation, that record helps staff keep temporary directions aligned with current service changes.
Temporary signs must not obscure required permanent signs or make their message unclear. The U.S. Access Board notes that signs identifying permanent rooms and spaces have visual and tactile requirements. Installers should protect those permanent cues while adding short-term direction around them.
How is installation phased in an occupied public building?
Installation in an occupied public building should proceed zone by zone around operating hours and essential services. Crews verify field conditions, protect active routes, communicate short closures, complete and inspect each area, and reopen it before moving forward. Temporary directions keep visitors oriented throughout every phase.
Occupied public buildings cannot simply close while crews complete wayfinding work. A phased plan keeps entrances, service counters, corridors, and emergency routes usable. It also gives facility staff clear points to review each completed area.
Field checks and work-zone planning
Before work starts, the installer and facility team verify every location against current field conditions. This check catches changed room uses, blocked surfaces, and measurements that differ from plans.
-
Verify the field. Walk each route with the approved location plan, then check surfaces, measurements, lighting, and nearby fixtures. Mark conflicts before graphics enter production or crews arrive on-site.
-
Map work zones. Divide the building into small areas that crews can finish and reopen on schedule. Protect active paths, set staging locations, and keep materials away from public service areas.
-
Share the schedule. Give facility leads a zone-by-zone plan with work times, access needs, noise risks, and points of contact. Staff can then warn visitors and direct them around short closures.
-
Plan off-hours work. Schedule busy entrances, main corridors, and service counters before opening or after closing when possible. Confirm building access, escorts, alarms, lighting, and cleanup rules before each shift.
-
Install and reopen by zone. Prepare each surface, place the graphics, inspect edges and alignment, then remove protection and tools. Reopen that zone before moving to the next planned area.
-
Walk through and close the punch-list. Review every installed location with the facility lead, then log missing, damaged, or misaligned items. Set a return date for corrections and record final approval.
Public access during each phase
Phasing must preserve a clear wayfinding system, not just an open hallway. Temporary signs should direct visitors whenever an installed route is incomplete or a work zone changes normal travel. Ohio’s accessibility guidance describes wayfinding as a holistic approach to navigating an environment.
Permanent room signs also need a compliance check before final placement. Federal ADA guidance for signs applies visual and tactile rules to signs that identify permanent rooms and spaces. Reviewing ADA compliant wayfinding graphics before production helps teams catch placement or content issues early.
Walkthrough and closeout records
The final walkthrough should follow the same routes used during field verification. Facility staff can test each decision point from a visitor’s view while the installer checks finish and placement. A written punch-list assigns each correction, its location, and the person responsible.
For a municipal facility wayfinding graphics installation, closeout records should show what was installed and approved in each zone. This creates a clear handoff for future repairs, updates, or additions without reopening completed work.
Surface preparation determines installation quality
Surface preparation determines whether wayfinding graphics adhere cleanly and remain presentable. Installers assess every wall, window, floor, or masonry surface; confirm coatings have cured; remove dust, grease, wax, and moisture; and test uncertain areas. Documented preparation reduces lifting edges, weak adhesion, residue, and avoidable rework.
Surface preparation starts before the installation team opens a roll of vinyl. Each location needs an assessment of its material, finish, condition, and daily use. This review helps the team choose a sound cleaning method and flag surfaces that may not accept graphics well.
Assessment for each surface
Painted drywall should be smooth, fully cured, and free from dust, grease, loose paint, and repair residue. Fresh paint needs time to cure before a test application. The installer should also note patched areas, uneven texture, and low-sheen or specialty coatings that may affect adhesion.
Glass needs close review for film, coatings, sealant, and residue near frames. Masonry calls for a check of porosity, mortar joints, dust, and loose material. A small test application can show whether the selected graphic conforms and bonds as planned.
Floors face foot traffic, cleaning equipment, spills, and changes in surface finish. Teams should inspect wear patterns and confirm that a clean, sound area is available for each graphic. AP Installations also explains key uses and planning points for wayfinding floor graphics.
Cleaning and curing checks
Cleaning removes the layer that stands between the adhesive and its intended surface. The right process depends on the surface and the graphic maker’s instructions. Installers should avoid leaving cleaner, lint, wax, or moisture behind, then allow the area to dry.
Curing matters on newly painted or repaired walls. A surface may look dry while the coating still releases material that can interfere with adhesion. Rather than relying on appearance alone, the team should confirm cure guidance with the paint maker and facility contact.
- Document the surface type, finish, repairs, and visible damage.
- Confirm that paint, sealers, coatings, and patch materials have cured.
- Clean with a method suited to the surface and graphic system.
- Keep the prepared area free from dust, traffic, and new residue.
Test applications and installation planning
Textured walls and masonry can create gaps beneath a flat graphic. A test application gives the team a practical view of contact, edge behavior, and visual fit. It also helps identify whether another material or installation approach should be reviewed before full production.
Municipal facility wayfinding graphics installation also requires coordination with the full sign plan. Surface readiness cannot fix a graphic placed in the wrong location or mounted at an unsuitable height. The U.S. Access Board signage guide explains visual and tactile rules for signs that identify permanent rooms and spaces.
Test areas should match the actual installation conditions as closely as possible. Record the surface, cleaning method, graphic material, test location, and result. This simple record supports clear decisions among the municipality, designer, print partner, and installer before work moves across the facility.
How do accessibility requirements affect the project?
Accessibility requirements shape the purpose, design, placement, and installation of municipal wayfinding graphics. Project teams must distinguish supportive vinyl graphics from regulated permanent signs, review contrast and readability. Protect accessible routes, and confirm applicable visual and tactile requirements with qualified reviewers and the authority having jurisdiction.
Accessibility choices should be settled before artwork reaches production. Municipal facility wayfinding graphics installation can support clear navigation, but vinyl alone does not prove that a sign meets every code requirement. The project team must review each graphic’s purpose, location, message, and relationship to permanent signs.
Shared compliance decisions
Start by bringing the facility owner, designer, accessibility consultant, and authority having jurisdiction into the review. Each party sees a different part of the project. The owner knows building operations, while the designer controls the visual system and the consultant reviews access needs.
The authority having jurisdiction decides how local rules apply to the site. Ask that office to review uncertain sign types, mounting conditions, and routes before fabrication. This step helps prevent late changes after surfaces, materials, and installation dates are set.
Build a sign schedule that states the purpose of each item. Mark directional graphics, room identification, safety information, and decorative graphics as separate categories. This makes it easier to spot items that need more than printed vinyl.
Contrast, readability, and placement
Good wayfinding must remain clear for people with different vision, mobility, and reading needs. Review color contrast, letter size, type style, viewing distance, glare, and the amount of text. A simple layout often works better than a crowded panel.
Placement matters as much as design. Check whether doors, open door leaves, furniture, queues, or seasonal displays could hide a message. Also review the path a visitor follows, not just how the graphic looks from directly in front.
Wayfinding works as a full navigation system, rather than a set of isolated signs. Ohio’s accessibility guidance describes wayfinding as a holistic approach to moving through an environment. Teams should test key routes from arrival points to service counters, public rooms, elevators, restrooms, and exits.
Vinyl graphics and permanent signs
Some graphics provide helpful visual direction but cannot replace required tactile or permanent-room signs. The U.S. Access Board states that signs identifying permanent rooms and spaces have both visual and tactile requirements. Its guidance also covers certain exit stairway and elevator labels.
Use vinyl for the role approved by the project team. That role may include visual direction, route reinforcement, wall graphics, or floor cues. Coordinate it with raised characters, braille, permanent plaques, and other required sign components when those elements apply.
A documented approval process keeps these roles clear. Record sign locations, surface conditions, material choices, and the party responsible for code review. For a closer look at related requirements, see AP Installations’ guide to ADA compliant wayfinding graphics.
What should project teams confirm before installation?
Before installation, project teams should approve the final scope, artwork, message schedule, locations, materials, surfaces, access plan, work hours, public notices, and closeout process. One shared plan should assign decisions and document changes, helping crews avoid delays while keeping municipal services and visitor routes available.
A smooth municipal facility wayfinding graphics installation starts before crews arrive at the building. The project team should confirm scope, approvals, materials, access, timing, and closeout in one shared plan. This checklist helps prevent late changes that can disrupt public services or delay installation.
Scope and artwork approvals
Start with a final artwork package that names every graphic, message, color, size, and placement. Match each item to a location plan and a unique sign number. This gives reviewers and installers one clear source of truth.
- Confirm that facilities, communications, accessibility, safety, and department leads have approved the final artwork.
- Check room names, arrows, building names, hours, translations, and emergency information for accuracy.
- Mark which graphics are decorative, directional, informational, or required signs.
- Record who can approve a field change if site conditions differ from the plan.
Do not treat required signs like decorative vinyl. The U.S. Access Board guidance for permanent-room signs explains that visual and tactile rules apply to signs identifying permanent rooms and spaces. Have the responsible accessibility reviewer approve those items before production.
Surface, material, and site readiness
A site survey should confirm each exact surface, not just the room or wall. Record the surface type, finish, condition, measurements, temperature concerns, and any repairs needed. Note nearby doors, fixtures, outlets, cameras, and sight lines that could affect placement.
Choose each graphic material for its surface, location, expected traffic, cleaning routine, and planned service life. Confirm samples or test applications when a finish is unknown. AP Installations can help teams plan municipal wayfinding graphics installation across complex sites with many buildings and surfaces.
- List approved materials, finishes, and installation methods for every graphic type.
- Confirm walls are cured, clean, dry, and free of loose paint or damage.
- Verify loading areas, parking, elevators, keys, badges, lifts, power, and secure-room access.
- Identify occupied areas that need barriers, escorts, or work outside public hours.
Schedule, public notices, and closeout
Build the schedule around public hours, council meetings, court sessions, events, and other facility work. Assign one site contact for each shift and share crew access rules in advance. Include time for setup, installation, cleanup, review, and corrections.
Public notices should explain affected entrances, routes, rooms, or service desks before work begins. Provide temporary directions when a normal path will close. Since wayfinding supports independent movement, review temporary routes with accessibility and safety leads.
Plan the final walkthrough before installation starts. The project lead and installer should compare completed work with the approved location plan. Record missing items, placement concerns, damage, and needed corrections. Then assign each item an owner and due date.
Frequently Asked Questions
What are the 4 types of wayfinding signage?
The four common wayfinding sign types are identification, directional, informational, and regulatory signs. Identification signs name a destination, while directional signs guide visitors toward it. Informational signs explain services, hours, or facility details. Regulatory signs state rules, warnings, and access limits. A municipal system often combines all four across walls, windows, floors, and freestanding signs.
What are the guidelines for wayfinding signage design?
Effective wayfinding signage uses consistent names, clear visual hierarchy, readable type, strong contrast, familiar symbols, and predictable placement at decision points. Designers should map visitor routes and test signs from each likely approach. Accessibility must be planned from the start. The U.S. Access Board explains that signs identifying permanent rooms and spaces must meet both visual and tactile requirements.
What is wayfinding in graphic design?
Wayfinding in graphic design is a coordinated system of visual cues that helps people understand where they are and how to reach a destination. It may combine signs, maps, colors, symbols, wall graphics, and floor graphics. In municipal facilities, the system should support clear navigation for first-time visitors while remaining consistent across entrances, corridors, service counters, and public rooms.
Is ADA compliance required for municipal facility wayfinding signs?
Yes. ADA requirements apply to certain signs in municipal facilities, especially signs identifying permanent rooms and spaces. According to the U.S. Access Board, tactile requirements also apply to specified exit stairway labels and elevator signs. Directional and informational signs may follow different visual rules. Municipal teams should review each sign type and location against applicable standards before approving artwork or beginning installation.
Ready to Plan Your Municipal Wayfinding Installation?
Delaying wayfinding improvements can leave visitors confused, increase routine questions for staff, and make busy public spaces harder to navigate throughout the workday. Starting now gives your team more time to align stakeholders, coordinate production, and schedule installation around public access and essential daily operations well in advance. Early planning also reduces rushed decisions, helps avoid disruptive last-minute changes, and supports a consistent result across walls, windows, floors, and other surfaces.
AP Installations can help your team build a practical installation plan that accounts for each facility, surface, schedule, and group of project stakeholders. Ready to make your municipal spaces easier to navigate? Request a consultation to discuss your wayfinding graphics project and specific next steps.