Blog
Stadium Sponsorship Branding: From Handoff to Install
Plan stadium sponsorship branding from artwork handoff to final install with practical guidance on venue access, surface readiness, safety, and closeout.
Blog
Plan stadium sponsorship branding from artwork handoff to final install with practical guidance on venue access, surface readiness, safety, and closeout.
Stadium sponsorship graphics are judged in public, but the work that makes them succeed happens before the first panel reaches the venue. A reliable project connects approved artwork, print specifications, venue access, surface readiness, safety planning, and installation quality from the start.
Successful stadium sponsorship branding depends on a coordinated handoff between the sponsor, agency, printer, venue team, and installer. The scope may include graphics across concourses, seating areas, premium spaces, facades, and team areas, with placement shaped by venue approval and site conditions. Planning should also account for site surveys, access windows, surface compatibility, environmental conditions, and any required equipment or permits. AP Installations supports this process as a 3M Preferred Installer with Pacific Northwest service and nationwide project experience. For official context, review 3M's installer resource and graphics warranty guidance; project-specific qualifications and warranty eligibility depend on the materials, documentation, substrate, exposure, and installation conditions.
Before installation begins, buyers should define exactly what is being produced, where it will be installed, and who owns each approval. That foundation makes the physical scope easier to manage and gives the project team a clear path from artwork review to final walk-through.
Request a stadium sponsorship branding project review from AP Installations
Stadium sponsorship branding is the physical execution of a sponsor presence throughout a venue. It can include coordinated design, production, fabrication, and installation of large-format graphics, rather than only placing an advertisement in one location. The goal is to connect sponsor messaging with the venue's identity and the visitor experience through a consistent visual system.
Depending on the agreement, venue approvals, and site conditions, the branding footprint may extend across exterior facades, entry areas, concourses, seating sections, premium spaces, and team areas. Graphics might include wall and window vinyl, murals, banners, floor graphics, dimensional elements, or other venue-approved applications. The final scope should be confirmed through artwork review, a site assessment, and coordination with the venue team.
For buyers, the installation scope is as important as the creative concept. A workable project accounts for approved artwork, print specifications, surface compatibility, access requirements, public routes, event schedules, and closeout documentation. That coordination helps a brand, agency, print partner, and venue work from the same plan.
AP Installations' stadium and venue project examples show the type of physical execution involved. This article focuses on the buyer-side workflow from artwork handoff through final walk-through. For broader context on venue sponsorship applications, see the broader sports venue sponsorship guidance, then use the sections below to plan the installation itself.
A stadium sponsorship branding project should not move into production on the strength of a promising concept alone. The sponsor, agency, print partner, venue team, and installer need one approved source of truth. That handoff should identify the final artwork files, intended locations, dimensions, bleed and trim requirements, panel maps, seam positions, and any approved color references.
Include the material assumption for each graphic as well. A wall mural, concourse panel, floor graphic, exterior banner, and other venue applications may require different films, adhesives, finishes, or installation methods. If the substrate or final material is still under review, label that decision clearly instead of allowing an installer to infer it from an old proof. AP Installations can also support graphics installation planning when artwork, production, and field coordination need to be aligned.
Define who can approve the sponsor's logo treatment, who owns venue or facilities approval, who releases production files, and who resolves a late revision. A simple revision log should record the file name, version, date, approver, and affected location. Centralized file control and color-managed production are commonly used to maintain consistency across multiple graphics and venue touchpoints, rather than relying on informal email attachments. The Purdue Brand Studio signage process illustrates how a venue or institution may separate planning approval from brand review before production.
Brand review belongs before production, not after printed material arrives. Purdue's process, offered here as an example rather than a universal stadium rule, asks for banner designs to be reviewed before production and for campus-planning approval before mock-ups enter brand compliance review. Its guidance also calls for approved installation instructions and vendor safety procedures. Requirements vary by venue, but the principle is consistent: obtain the relevant brand, facilities, and operations approvals before releasing files to print. Finish the handoff with a graphics installation checklist, including file status, dimensions, locations, materials, access notes, and the named decision-maker for final questions.
Venue access planning should begin before installation dates are treated as final. A stadium may have games, concerts, public hours, deliveries, rehearsals, and maintenance activity competing for the same corridors and loading areas. Use this checklist to build an installation plan that protects operations while keeping the sponsorship branding scope on track.
Stadium sponsorship branding is only ready for installation when the venue, substrate, graphics, and access plan work together. A wall, panel, railing, floor, facade, or other mounting surface may have different adhesion and preparation requirements. Before production is locked, confirm what the surface is made of, whether it is painted or coated, and whether it has damage, residue, moisture, texture, or previous graphics that could affect the installation.
Preparation should follow the applicable material and manufacturer specifications. That can include cleaning, removing contaminants, allowing coatings or repairs to cure, and testing adhesion in a representative area. AP Installations also considers temperature and humidity during the work because environmental conditions can affect application and finishing. Review the vinyl surface preparation steps before the site visit, then confirm the venue-specific plan with the installation team.
| Readiness factor. | What to confirm. | Why it matters. |
|---|---|---|
| Substrate condition. | Surface type, texture, coatings, repairs, moisture, residue, and existing graphics. | Determines whether cleaning, repair, primer, testing, or a different material system is needed. |
| Environment. | Temperature, humidity, weather exposure, ventilation, and indoor climate control. | Helps the crew plan application and finishing under suitable conditions. |
| Material specification. | Film, adhesive, laminate, surface compatibility, finish, and intended exposure. | Aligns the graphic system with the venue location and operating conditions. |
| Access and equipment. | Working height, lift or scaffold requirements, floor loading, safety controls, and permits. | Supports a safe, practical installation plan without relying on equipment that the venue cannot accommodate. |
A test area is especially useful when the substrate, coating, or environmental conditions are uncertain. It gives the venue and installer a chance to assess adhesion and appearance before the full run. A venue-specific assessment may also be necessary when graphics span multiple substrates, reach elevated areas, sit near public routes, or require lifts or scaffolding. These checks do not guarantee a particular lifespan or warranty outcome. They establish a documented, project-appropriate basis for selecting materials and preparing the site.
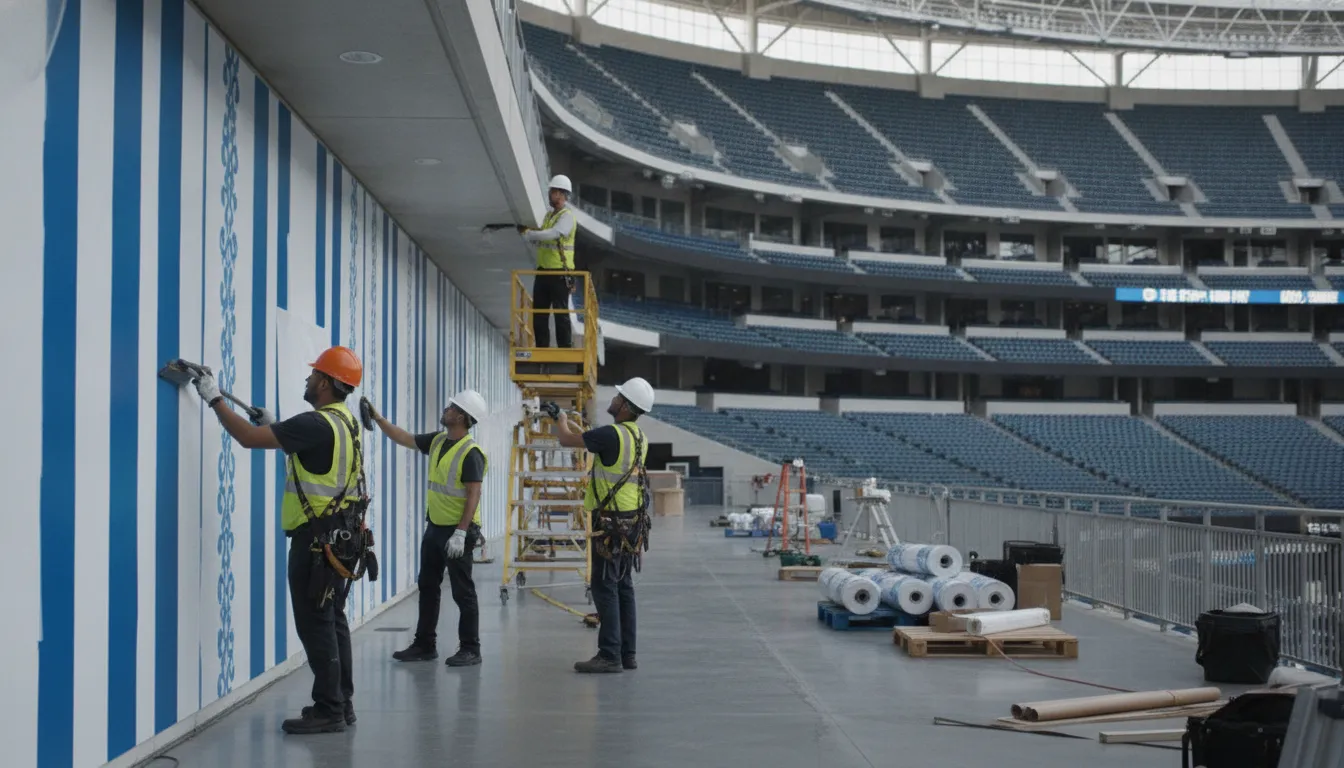
Once the venue approves the artwork, installation begins with preparation rather than immediate application. The crew protects adjacent floors, walls, equipment, and finished surfaces as needed, then confirms the approved layout against the actual space. Panel seams, alignment points, clearances, and placement are checked before adhesive work starts. This is especially important when graphics appear near accessible routes, egress paths, sightlines, or other public-area requirements.
The installation method depends on the substrate, graphic scale, access conditions, and venue environment. A wall mural, concourse graphic, seating-area application, and exterior element may require different tools and handling. Surface preparation follows the applicable 3M specifications, while temperature and humidity are monitored because environmental conditions can affect application. The installer then applies the material progressively, controlling alignment and minimizing trapped air or visible distortion.
After the main application, the crew finishes edges, seams, corners, and transitions so the graphic is properly integrated with the surrounding surface. These details receive particular attention in high-contact areas or locations viewed from multiple angles. The venue's approved installation instructions and safety requirements remain part of the execution plan throughout the work.
Quality control happens during the installation, not only at the end. The team inspects completed areas, identifies imperfections, and makes appropriate corrections before leaving the site. Photo documentation records progress and the finished condition, giving the buyer and venue team a useful project record without implying that every project follows the same timeline or equipment plan.
For related guidance on public-facing environments, see AP Installations' public-space graphics installation resource. A final review with the client representative confirms what was completed and identifies any remaining closeout items.
A stadium sponsorship branding program can span exterior facades, concourses, seating areas, premium spaces, and team areas. That range makes centralized control essential. Use one approved source file set with final dimensions, panel maps, color references, material notes, and placement details. A controlled handoff helps the sponsor, agency, printer, venue, and installer work from the same version instead of solving discrepancies during load-in.
Color-managed production and standardized materials can help keep sponsor marks consistent across different surfaces and viewing conditions. The installer should also review placement in the actual venue. Sightlines, lighting, substrate changes, public circulation, and nearby graphics can affect how a mark reads. AP Installations provides stadium and venue project examples that show the value of evaluating the installation environment rather than treating every location as interchangeable.
Venue approval is project-specific. As one external example, Purdue separates planning approval from brand compliance review and asks teams to submit designs before production. Its guidance also treats some permanent graphics as building alterations requiring authorization. Those steps are not universal stadium requirements, but they illustrate why the venue owner, sponsor, and installation partner should define approval gates before materials are produced. Confirm local brand standards, surface permissions, safety requirements, and installation instructions with the venue.
Plan for change while the system is being developed. Modular panels or replaceable graphic components may support sponsor transitions, seasonal campaigns, or playoff updates without rebuilding every structure. The right approach depends on the substrate, attachment method, material specification, and venue access plan. Documenting those decisions creates a repeatable path for future refreshes while preserving the approved brand system.
For broader context on coordinating sponsorship graphics in live venues, review AP's sports venue sponsorship guidance.
Closeout should make the installation easy to inspect, approve, maintain, and revisit. Start with a punch list that records each branded location, the expected finish, and any item requiring correction. Review alignment, edges, seams, adhesion, surface cleanliness, and protection around adjacent venue finishes. The exact inspection criteria depend on the approved artwork, materials, substrate, and venue requirements.
Photograph completed graphics from useful distances and angles, including wide views that show placement and detail views that document edges or transitions. Organize the images by area or asset name so the venue team, sponsor, agency, and print partner can find the record later. A graphics installation checklist can help structure the handoff without replacing project-specific requirements.
Before the final walk-through, restore access routes and work areas. Remove protective materials, equipment, debris, temporary barriers, and installation supplies. Confirm that accessible routes, egress paths, sightlines, and venue operating requirements remain clear. Venue-specific planning may also involve documenting permits, credentials, lift use, or other access controls. The venue graphics installation planning guide offers a related framework for coordinating work in active entertainment facilities.
During the walk-through, review the punch list with the client representative and venue contact. Record accepted corrections, outstanding items, approved completion photos, and the date of sign-off. Preserve the final artwork, panel map, material details, installation locations, access notes, and maintenance or changeover guidance. Those records can make a future sponsor refresh more repeatable, although replacement methods and material choices must be confirmed for the specific venue and substrate.
Provide approved artwork, final dimensions, panel or placement maps, color references, material assumptions, and any venue-specific brand rules. A clean handoff gives the sponsor, agency, printer, venue, and installer one controlled set of files to review before production.
Start with a site survey and the venue's event calendar, then confirm credentials, load-in routes, work windows, equipment needs, and public-area restrictions. The plan may use off-hours, phased installation, or contingency windows. Permit coordination, lifts, or scaffolding may also be required depending on the site and scope.
The installer evaluates the substrate, existing coatings, cleanliness, texture, temperature, humidity, and exposure conditions before application. Surface preparation and material selection should follow the applicable product specifications. A test area can help confirm compatibility before the full installation begins.
Often, yes, when the original project uses a suitable modular approach and the substrate and material system support replacement. The update still requires a review of access, surface condition, artwork, approvals, and installation requirements. Do not assume every graphic or surface is designed for repeated changeovers.
Review placement, alignment, edges, seams, surface adhesion, finish quality, and any visible imperfections. Photograph completed areas, resolve the punch list, restore access routes, and complete a walk-through with the client or venue representative. Keep the final records available for future maintenance or refresh planning.
A coordinated installation review can help align artwork, venue access, surface conditions, and closeout expectations before production and scheduling are finalized. Request a stadium sponsorship branding project review and quote from AP Installations to discuss your venue, scope, and installation requirements.