Bare construction walls often make a busy project look messy and unsafe to the public. Professional vinyl graphics fix this by hiding the mess while showing off your brand and site safety rules.
Construction hoarding graphics installation is the process of putting large vinyl wraps on the temporary walls that go around a building site. These graphics do more than just hide a messy job zone; they turn plain walls into a base for your brand and site rules. Good work makes sure your message stays flat even in harsh wind and rain. For developers, these wraps are a key part of a project that helps with sales and site safety. As stated by AP Installations, this work serves two goals: building your brand and meeting safety laws. Working with a 3M Preferred Installer is the best way to get a finish that lasts and has full warranty help. This step keeps your site looking clean for the full life of the build.
Managing a large job site means you have to track many parts at once. From the first site walk to the final wrap, you must know what to expect from your team. Knowing what construction hoarding graphics installation includes will help you plan your budget and timeline. The work begins with these key parts.
What construction hoarding graphics installation includes
Construction hoarding graphics installation is the way to put large vinyl wraps on short-term site walls. These walls surround active building spots. An expert team takes plain wood or plastic walls and turns them into a clean marketing tool. This work helps owners keep the site safe while sharing project facts with people.
The scope of this work focuses on the real setup. While a design firm creates the look, the crews make sure the final product looks right on the wall. They handle the construction wall graphics installation to make sure it lasts through sun, rain, and wind. This way turns a dull fence into a bright brand message.
Beyond basic site barriers
These graphics do more than just hide a messy job. They act as a strong marketing canvas for the owner or brand. High-quality hoarding wraps help the local area by hiding the view of the work. This creates an expert look that builds trust with neighbors and buyers before the building is even done.
Safety is also a major part of the job. Graphics often include required safety signs. These signs help people move around the site without getting hurt. According to OSHA, safety signs must stay clear at all times while work is in progress. This keeps the project in line with local rules and keeps people safe.
Essential site checks
A good setup starts with a deep look at the site. Crews must check the wall surface to make sure the vinyl will stick. They also look at how much wind the wall will face. A full site survey checklist for graphics helps find any risks before the work starts. This step makes sure the wrap does not peel or fall off over time.
Proper size is also key for local rules. Many projects need walls that cover the whole site and stand at least eight feet tall. The team must also talk to other trades on the site. Good teamwork helps the crew work fast without stopping other construction work. This keeps the whole project on time and avoids extra costs.
Certified vinyl setup
The best teams use certified crews for these big jobs. Being a 3M Preferred Installer means the team has the right training for high-value work. This status gives the client a 3M MCS warranty. This warranty protects the graphics from fading or failing early. It serves as a key layer of safety for your brand costs.
The final setup needs a smooth touch to avoid bubbles or tears. Crews use tools to press the vinyl onto the boards for a tight bond. This results in a tough finish that stays clean and bright for months. By using expert teams, you make sure your site looks its best from the start.
Start with a site survey before materials are chosen
You must get exact sizes before you print any film. A small error can ruin a large panel. We check the height and length of every part of the wall. This includes gaps for gates and corners. If the wall is not flat, the graphics will not line up. We use a site survey checklist for graphics to track every inch. This helps us plan where to put seams so they do not cut through logos.
Checking the wall type
The kind of wall changes how the glue sticks. Most site walls use wood, plastic, or metal. We look for loose paint or rough spots. We also check for dirt and damp spots. Wet wood can cause the vinyl to peel off later. Our team looks at the wall state to see if it needs a primer. This step makes sure that the construction hoarding graphics installation stays in place for months.
Access and safety needs
We check the area around the site. We need to know where people walk and where trucks move. Signs must follow rules for safety. OSHA safety rules say that danger and caution signs must be easy to see at all times. We also look for gates that need to open and close. We plan the graphics so they do not block these parts. This keeps the site safe for every worker.
Walking flow and ADA rules
The hoarding must not block the sidewalk. We check for a clear path for people to walk. Based on ADA standards, a path of travel must be at least 36 inches wide. We make sure the wall does not stick out too far. We also check for signs above the head that might be too low. This keeps the site legal for all who pass by.
Weather and sun
The sun and rain can damage your graphics. We look at which way the wall faces. Walls that face south get the most sun. We pick films that can stand the heat and rays. We also look for wind paths. High winds can rip vinyl if it is not put on right. Knowing the weather helps us choose the best cover for the job. This keeps the colors bright for a long time.
Why survey data prevents rework
Fixing a bad install costs a lot of time and money. If the sizes are wrong, we have to print all again. A good survey finds small problems before they grow big. We check for bolts or nails that stick out. These can poke holes in the film. We also look for oil or grease on the wall. By finding these issues now, we save you from costly delays later. We want the job done right the first time.
Temporary vs. long-term hoarding graphics materials
Choosing the right materials for a construction hoarding graphics installation depends on how long the project lasts. Short projects and long builds vary in needs for strength and cost. Using the wrong film can lead to peeling or high costs that you do not need.
Short-term ways to mark a site
If a barrier stays up for less than two weeks, you might not need a full wrap. For these quick tasks, large posters or simple signs work well. This choice saves money and still meets basic safety needs. But these simple signs lack the look of a full wrap and may not hold up to harsh rain or wind.
When projects move fast, you still need clear signs. These signs must stay easy to see while work happens on the site. If the hazard goes away, you should remove or cover the signs right away. Simple vinyl or posters are easy to pull down once the job ends.
Tough materials for long-term construction
Projects that last six weeks or more need a full hoarding wrap. These wraps cover the entire wall to hide the work site and build your brand. High-quality vinyl can turn a basic barrier into a construction wall graphics installation that acts as a big marketing tool for your team.
For these long projects, a site survey is a must. A survey checks if the wall is strong and the surface is ready for glue. As a 3M Preferred Installer, we use top-tier vinyl that stays stuck even on rough wood or metal. This ensures your brand looks great from day one until the end of the project. We use materials that resist shrinking or cracking over many months.
| Feature. | Short-Term Signs. | Long-Term Wraps. |
|---|---|---|
| Project Length. | Under 2 weeks. | 6 weeks or longer. |
| Material. | Poster or thin vinyl. | Heavy-duty adhesive vinyl. |
| Coverage. | Partial site branding. | Full perimeter coverage. |
| Weather Strength. | Low strength. | High with laminate. |
| Cost. | Lower cost. | Higher cost. |
The role of laminates and weather care
Weather in the Pacific Northwest can be tough on outdoor signs. Rain, wind, and sun can cause vinyl to peel or fade over time. To stop this, we add a clear laminate layer over the print. This layer shields the ink and makes the surface easier to clean if it gets dirty from site dust.
Choosing the right glue is also vital. Long-term vinyl uses a strong glue that bonds well but can still be removed without leaving a mess later. We work with your other site teams to make sure the job goes smoothly. This helps us avoid delays on busy job sites and ensures the film stays flat against the hoarding panels.
How professional installers prepare hoarding panels
Expert construction hoarding graphics installation starts long before the first piece of vinyl hits the board. A smooth and clean surface is key for a wrap that looks great and lasts for months. If the prep work is poor, the graphics may peel or show lumps. This is why expert teams follow a strict plan to get the site ready. Careful prep work protects your brand and keeps your site looking sharp.
Cleaning and surface prep
Installers must remove all dust, grease, and dirt from the hoarding panels. Construction sites are messy places by nature. Fine grime and sawdust can keep the vinyl adhesive from sticking well. Teams use expert cleaners to wipe down every inch of the surface. They often focus on the edges where peeling is most common.
The team also checks for moisture. Damp wood or metal panels will cause the wrap to fail. If the boards are wet from rain, they must dry out fully before the work starts. Expert teams look at the type of panel too. Some boards, like raw plywood, may need a primer to help the vinyl stay in place. Using the right prep steps for the part ensures a strong finish that can withstand the wind and sun.
Fixing damage and build issues
A pro team looks for holes, cracks, or rough spots on the boards. They may need the builder to fix or replace broken panels before the wrap goes up. Installers take notes on any damage they find. They share these notes with the property team so repairs can happen fast. Small gaps between boards can be filled to create a flat canvas. This step makes sure the graphics look like one solid image instead of a series of broken parts.
Safety is also a top concern during this stage. A thorough site survey checklist for graphics helps find build risks early. Installers check that the hoarding is sturdy and meets local rules. For instance, many sites must have walls that are at least eight feet high. Proper prep also helps the team plan where to put safety signs. Under OSHA safety rules, danger and caution signs must be clear at all times to protect workers and the public.
Weather and safety windows
Timing and weather play a huge role in a construction wall graphics installation. The air and the surface must be within a set heat range for the vinyl to bond well. If it is too cold, the glue will not stick. If it is too hot, the vinyl might stretch or bubble. Expert teams track the weather to find the best window for the job.
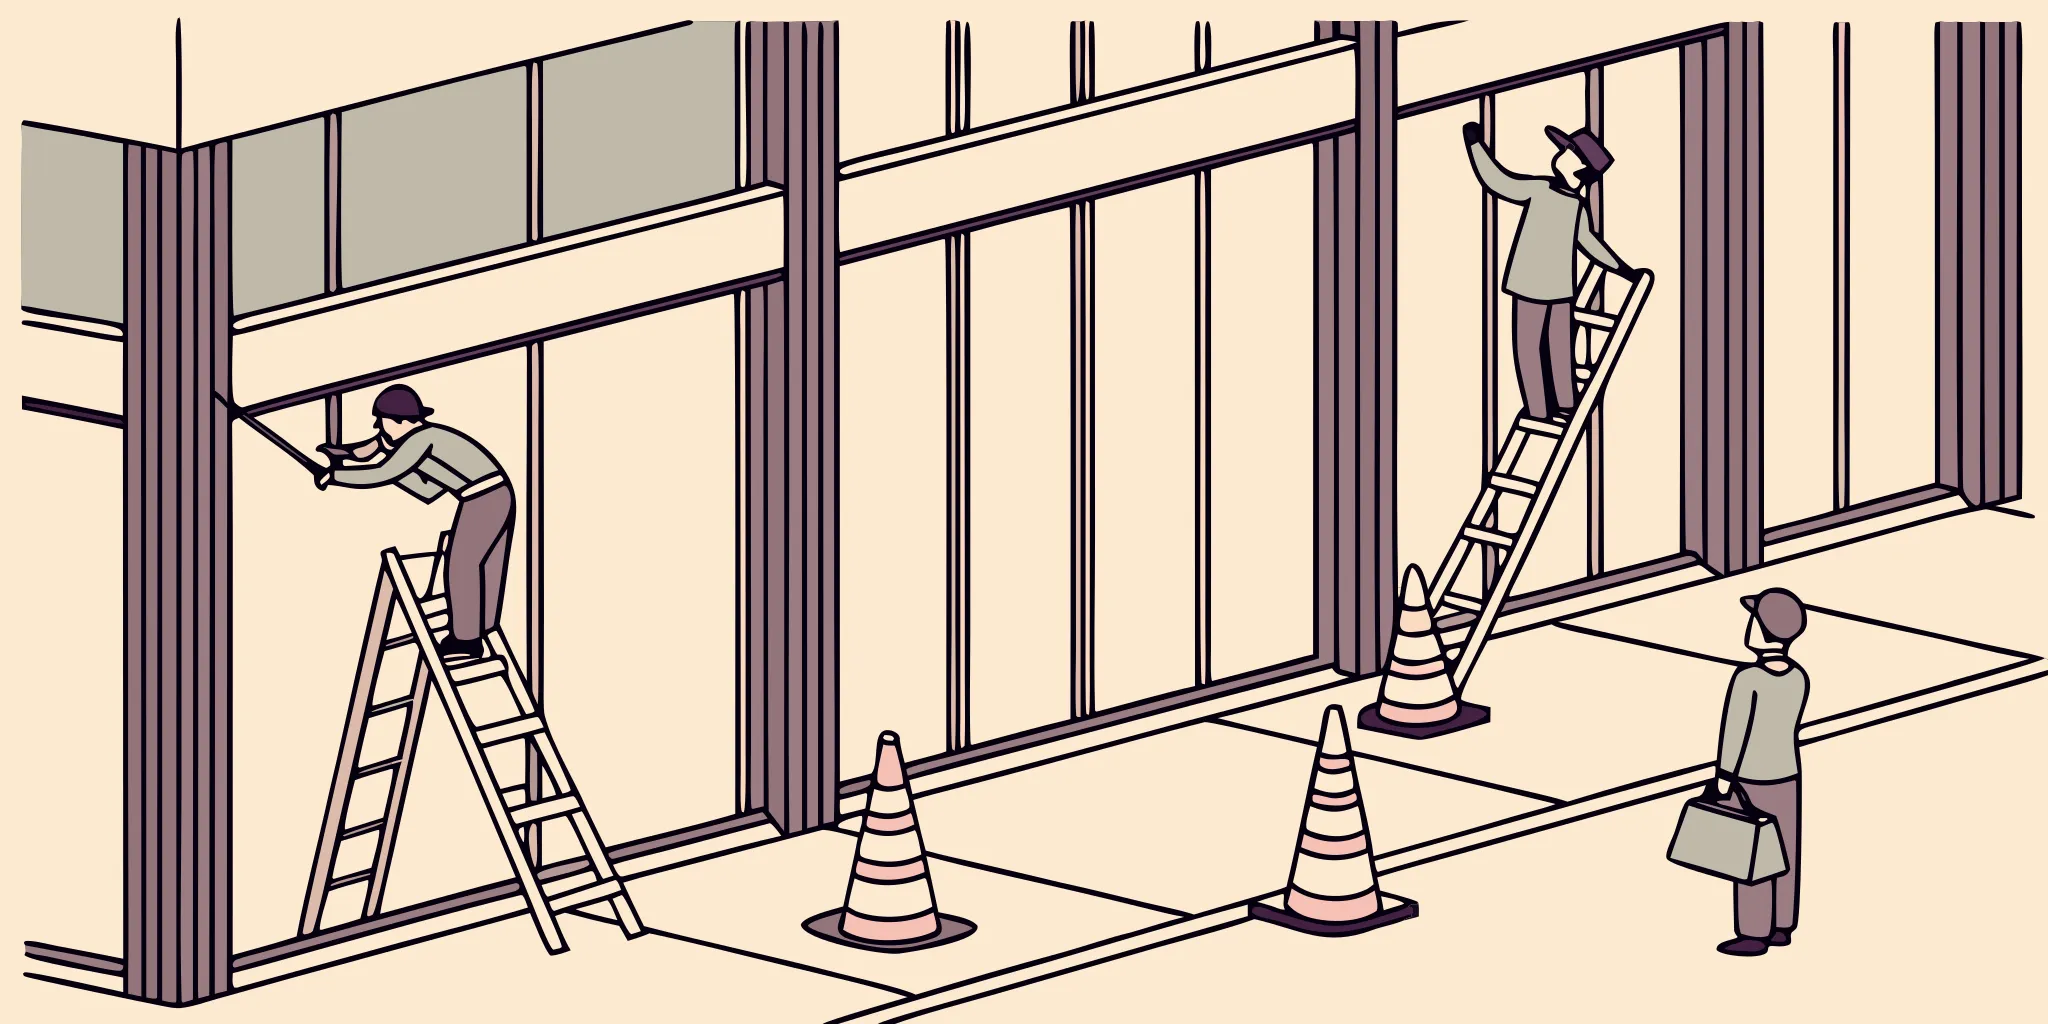
The crew also sets up a safe work zone. This involves using cones, tape, and signs to keep people away from the hoarding while they work. They stage their tools and panels in a way that does not block paths or site traffic. This careful planning avoids project delays and keeps the site running smoothly. Working with a 3M Preferred Installer means you get a team that knows these steps by heart. They handle the hard work of prep so your final wrap looks great.
Plan alignment, seams, and public-facing details
Professional construction hoarding graphics installation starts with a solid plan for layout. Installers must check level lines to make sure the image stays straight across many panels. This is often hard because construction site ground is rarely flat. Expert teams use laser levels to set a base line before the first sheet goes up. This step keeps the final wall looking like one smooth picture rather than a set of broken parts.
Alignment for a smooth look
Matching the print across plywood seams or modular panels is a key part of the job. Even a small gap or shift can ruin the look of your brand. A site survey checklist for graphics helps find these trouble spots before the work begins. Installers must line up each sheet with care so that lines and text flow without breaks. Proper matching makes sure the message stays clear and professional to all who walk by.
The height of the hoarding also plays a role in how the graphics look. Most sites need barriers that are at least eight feet tall to cover the area. Large prints must span these heights without losing their shape. Using high-quality vinyl helps the panels stay in place even when the wood shifts or settles over time. This care in the early steps prevents the graphics from looking wavy or crooked as the project moves forward.
Managing seams and sightlines
Corners and gates create more work for the install team. You need extra bleed on the prints to wrap around sharp edges. This wrap keeps the vinyl from peeling and hides the raw wood or metal underneath. If the panels do not fit tight, the gaps can show and distract from the art. A good plan covers these areas so the site looks clean from every angle, even near doors or joints.
Installers focus on several key areas to keep the site looking its best:
- Matching colors and lines across the gaps between panels.
- Wrapping vinyl around corners to prevent lifting or peeling.
- Checking how the art looks from the main road or sidewalk.
- Making sure that gates and doors do not cut off key text.
Sightlines are another key detail for public-facing sites. Most people will see the graphics from a nearby sidewalk or road. The message must work for people who are moving. Installers check the view from many spots to make sure nothing hides the main text. This focus on how the public sees the site helps turn a simple fence into a big marketing tool for the builder.
Professional finish for the public
Safety signs must also stay visible on the hoarding at all times. Per OSHA rules, signs for danger and caution need specific colors like red and yellow. These signs warn of hazards and help keep the public safe. A pro team knows how to blend these safety needs with your brand art without losing the clean look of the wall.
Working with a 3M Preferred Installer is a smart way to protect your work. This status shows that the team has the skills to handle a tough construction wall graphics installation. It also gives you access to the 3M MCS warranty. This warranty covers your graphics against fading or peeling in the sun and rain. Choosing a pro team means your site will look great from the first day until the project is done.
How do you schedule installation around active construction?
Construction hoarding graphics installation works best when it is treated like a trade activity, not a last-minute decoration. The installer needs the same clear access, safe staging, and site contact details that any specialty contractor would need. That matters even more when the graphics face a sidewalk, tenant entry, retail corridor, or public street.
Access windows and work zones
Start by confirming when the hoarding panels are fully built, clean, and ready for graphics. If panels are still being moved, painted, repaired, or cut for gates, the graphics should wait. Installing too early can create seam shifts, edge lift, and visible patchwork after other trades finish their work.
Developers and general contractors should also define the work zone before the crew arrives. The installer may need space for ladders, lifts, tables, rolls, tools, and staged panels. If the hoarding sits beside a pedestrian route, the team may need cones, spotters, or off-hour access so the public side stays safe and clear.
Phased installation
Many construction sites are not ready all at once. A phased plan can keep the project moving without forcing graphics onto unfinished surfaces. For example, a crew may install the main street-facing run first, then return for gates, corners, or new panels after a later construction milestone.
Phasing also helps when the site must stay open to tenants or visitors. A property team can keep key entrances clear while the installer works on another face of the hoarding. This type of plan reduces disruption and gives the finished graphics a cleaner look.
Coordination with other contractors
AP Installations is used to coordinating with other contractors to reduce disruption on active construction sites. That coordination can include confirming where deliveries will enter, when painters or carpenters will be near the panels. And who has authority to pause work if weather or site conditions change.
A good schedule also accounts for final review. Before the crew leaves, the project contact should walk the site with the installer, confirm alignment, check edges, and note any areas that need follow-up. For related planning, property teams can review AP Installations’ graphics installation solutions before setting expectations for scope and timing.
What happens when hoarding graphics need to be removed?
Removal should be part of the plan before the first panel is installed. Construction hoarding is often temporary, but the surface underneath may still matter. A developer may need the panels reused, a general contractor may need a clean handoff. Or a property team may need the site ready for a new tenant, opening event, or next phase of work.
Material choice affects removal
Short-term graphics should be specified with removal in mind. The wrong adhesive can leave residue, pull at painted surfaces, or make cleanup slower than expected. A longer-term wrap may need stronger durability, but that choice should be weighed against how and when the graphics will come down.
This is why the site survey and material discussion are linked. If hoarding panels are rough, damp, patched, or exposed to heavy weather, the installer should know that before the job starts. The team can then set clear expectations about finish quality, edge behavior, and likely cleanup needs.
Safe removal and site handoff
Professional removal is careful and controlled. The crew works across panels in a planned order, manages lifted vinyl, and watches for adhesive residue or surface damage. If the graphics are near public areas, the removal plan should also protect walkways and keep loose material out of traffic paths.
After removal, the project contact should review the surface with the installer. Any residue, panel damage, or unfinished construction condition should be noted right away. This creates a clean handoff between the graphics scope and the construction team scope.
When replacement graphics are needed
Some sites need new messaging before the project is complete. A leasing message may replace a brand reveal, or a safety route may change as the work zone shifts. In that case, removal and reinstallation should be scheduled together so the public-facing barrier does not sit bare for long.
If your project involves several large surfaces, compare the hoarding plan with other large-format work shown in AP Installations’ project portfolio. The same focus on clean finish, careful alignment, and field coordination applies across walls, windows, floors, vehicles, and site graphics.
Steps to prepare your project for installation day
A smooth installation day starts before the crew arrives. Developers, general contractors, and property teams can prevent delays by confirming the site, files, access, and safety details in advance.
- Confirm the scope. List each hoarding run, gate, corner, and return panel that needs graphics. Note any areas that are not ready or may need a later phase.
- Check files and print timing. Make sure the final graphics match the measured panel sizes, bleed, and seam plan. If AP Installations is working with a print or design partner, keep one clear point of contact for approvals.
- Clear the work area. Remove stored materials, debris, temporary signs, and equipment from the face of the hoarding. The installer needs safe room to stage rolls, tools, ladders, and panels.
- Set site access. Share gate codes, loading details, parking rules, lift access, and the name of the on-site decision maker. If work must happen outside public hours, confirm that window in writing.
- Coordinate safety. Plan cones, barriers, spotters, or pedestrian controls when graphics face sidewalks, entries, or active tenant routes. Safety signs required for construction hazards must stay visible while work is performed.
- Review weather and surface readiness. Vinyl needs the right surface and conditions. Wet panels, fresh paint, heavy dust, or unstable plywood can affect the finish, so build in a backup plan.
- Walk the finished work. Review alignment, seams, edges, and any punch-list items before the crew leaves. This keeps the graphics handoff clear.
If your team needs a broader planning resource, AP Installations also offers a site survey checklist for graphics that can help shape early project notes.
Frequently Asked Questions
What are the standard dimensions for construction hoarding boards?
Standard hoarding panels usually measure 2440mm by 1200mm, though custom sizes are often used for special site needs. These boards form the base for your graphics. It is key to check board sizes before printing to make sure the vinyl fits perfectly without any gaps. This helps the team apply the wrap smoothly across the entire site edge. Using standard sizes can also help you keep project costs lower and speed up the setup phase.
How high should construction hoarding graphics be installed?
Most site rules need hoarding to be at least eight feet high to keep the public safe and private. These walls must also cover all parts of the project edge to keep the work site hidden and secure. Following these rules helps builders meet local laws and keeps the area safe from hazards. According to the Edmonton International Airport guidelines, keeping this height is a key part of managing a professional and secure construction zone.
Are there specific color rules for construction site safety signs?
Yes, OSHA has strict rules for the colors used on site safety signs to help people find risks fast. For instance, danger signs must have a red top to warn of threats that could cause harm. Caution signs usually use yellow to tell people about potential risks. As stated by OSHA, these signs must be easy to see at all times while work is in progress. Using the right colors keeps your site safe and legal.
Does a 3M Preferred Installer status affect project warranties?
Choosing a 3M Preferred Installer is key because it gives you the 3M MCS warranty. This warranty covers high-value graphics against fading, peeling, or cracking for the life of the project. Only certified teams have the training to meet the high standards needed for this protection. This status makes sure that your brand looks its best even in rain or wind. Working with an expert team at AP Installations protects your project from start to finish.
Ready to plan construction hoarding graphics installation?
Construction hoarding is one of the most visible surfaces on an active project. AP Installations helps developers, general contractors, print partners, and property teams plan the install details that make those graphics look clean in the real world. From site surveys and surface checks to panel alignment, public-facing safety coordination, and phased scheduling. The goal is simple: a polished installation that supports the project instead of slowing it down.
Request a construction hoarding graphics installation consultation with AP Installations to talk through your site, timeline, and next steps.