Blog
Refrigerated Truck Graphics Installation for Commercial Fleets
Plan refrigerated truck graphics around vehicle surfaces, operating conditions, artwork, and fleet schedules, and compare proposals with confidence.
Blog
Plan refrigerated truck graphics around vehicle surfaces, operating conditions, artwork, and fleet schedules, and compare proposals with confidence.
Refrigerated truck graphics installation combines a visible brand message with a vehicle that has to keep working. Cargo boxes, cab doors, panel finishes, seams, hinges, temperature changes, and wash routines can all affect planning. Before artwork goes to production, fleet managers and print partners should confirm what each truck can accommodate, what the installation scope includes, and how vehicles will return to service.
Discuss your refrigerated truck graphics project
Start with the communication goal. Is the priority to identify the company, make a delivery fleet recognizable, share a short service message, or support a specific campaign? A truck that makes frequent local stops may need a legible identity and simple contact information. A vehicle mainly seen on highways may call for fewer words, larger visual elements, and a clear reading order. A temporary campaign has different replacement and removal considerations from a long-running fleet identity.
Write down where trucks travel, where they wait, and who is likely to see them. Include depots, customer yards, urban streets, highways, and loading areas as relevant. Consider whether the sides, rear, or cab doors are most visible during actual operations. This is not a reason to crowd every panel with copy. Decide the one message viewers should understand first, then use supporting details only where they remain readable at a practical viewing distance.
For a fleet, distinguish shared design rules from vehicle-specific details. A common logo position, color approach, and typography can create a coherent system. Unit numbers, body dimensions, door hardware, and cab styles may still vary. Record those variations rather than assuming a single drawing fits every vehicle.
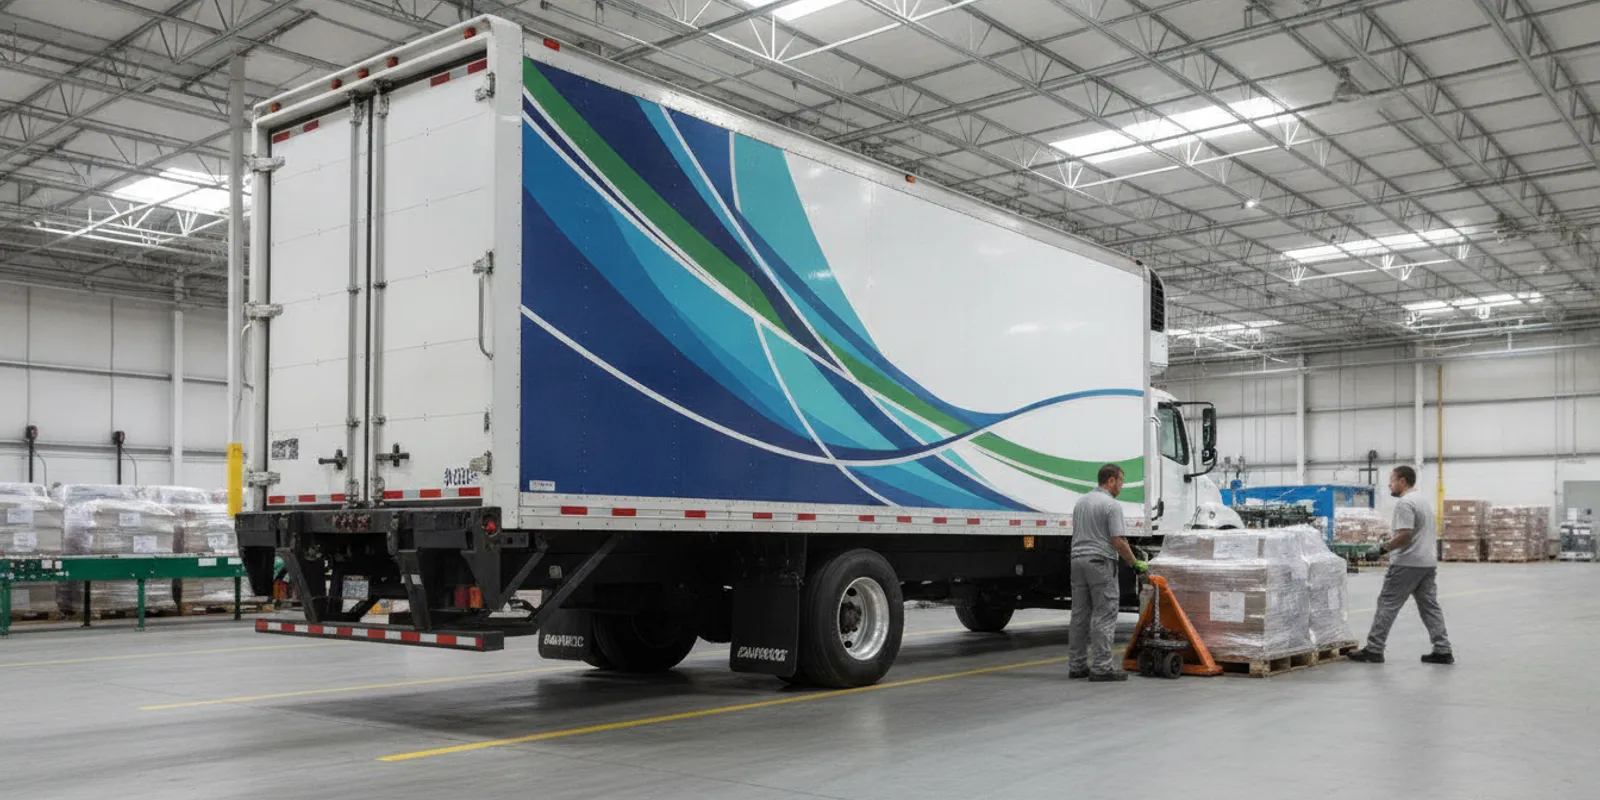
A refrigerated truck can include a cab and a cargo body with different finishes and construction. The box may be smooth or ribbed, painted, or built from panels with distinct surface characteristics. Seams, rivets, corners, latches, hinges, lights, vents, and trim interrupt large areas. Those features influence artwork layout, surface preparation, and how an installer approaches an edge or transition.
Build a vehicle record for each configuration. Capture the make, model, approximate year, body style, and any known replacement panels or repairs. Photograph each side straight-on, then add views of the rear, cab doors, roofline where accessible, and close-ups of seams and hardware. Include a ruler or other scale reference only if it can be done safely and without obscuring the feature. Record approximate dimensions, but plan to verify measurements before final production.
Document condition as well as geometry. Note dents, corrosion, peeling coatings, old adhesive, existing graphics, fresh paint, and areas that have been repaired. A photograph helps flag questions; it does not establish whether a surface is suitable for a specific film. Ask the installer to review uncertain areas and identify any testing or preparation that should happen before production.
These records help the design, print, fleet, and installation teams work from the same information. AP Installations’ commercial vehicle graphics overview and comparison of fleet graphics and wraps offer useful context when defining the application. The truck itself still determines the final fit.
Refrigerated vehicles may encounter moisture, temperature changes, frequent cleaning, road debris, and repeated loading. The correct materials and application details depend on the film maker’s guidance, the substrate, the exposure, and the truck’s use. Avoid choosing a material based only on a general outdoor-life statement. Ask the print partner and installer to confirm the proposed system is suitable for the actual surface and operating conditions.
Temperature deserves an explicit conversation before a date is set. A cold vehicle is not automatically ready for application, and parking indoors does not by itself establish that the surface has reached suitable conditions. Discuss the film manufacturer’s applicable application range, how the truck and panels will be conditioned, and what should happen after installation. The details can vary by material and surface, so do not substitute a generic temperature rule for product-specific guidance.
Wash practices should be described early. Tell the project team whether the fleet uses automated washes, pressure washing, hand washing, or a combination, and how soon trucks typically return to cleaning after work. Ask for care instructions that fit the selected film and installation. Do not assume every graphic can be washed the same way, or that a particular pressure, chemical, or waiting period applies universally.
Also account for the truck’s workday. Agree whether a vehicle needs to arrive empty, where it can be staged, who will handle keys, and how dispatch will know when it can return to service. If installation is at a depot, coordinate vehicle movement and access with site operations. For broader workplace safety information, consult OSHA’s workplace safety resources alongside the facility’s own procedures. The site owner and responsible safety team should establish the requirements for the specific location.
“Truck graphics” can mean a few identification decals or broad coverage across a cargo box. Put the intended coverage in writing for each truck type. Specify whether the sides, rear, cab doors, or selected panels are included. Identify areas where graphics stop at a seam, avoid hardware, or need to align across separate panels. This makes estimates easier to compare and reduces the risk that a visual mockup implies work that is not included.
| Approach | Common use | Questions to resolve |
|---|---|---|
| Identification decals | Unit numbers, logos, or basic business identification | Which panels, quantities, sizes, and positions are included? |
| Partial graphics | Branding concentrated on selected high-visibility areas | Where do graphic boundaries fall around seams, doors, and hardware? |
| Broad cargo-box coverage | Prominent fleet identity or a larger campaign message | How will measurements, panel transitions, access, and surface condition be handled? |
| Cab-and-box combination | A unified look across different vehicle sections | Are the surfaces compatible, and how will the design connect across components? |
The table is a planning comparison, not a technical specification or price list. Coverage should reflect the communication goal and the truck’s real construction. A large uninterrupted panel may support a broad design, while a door with multiple hinges may need a different layout. If a fleet includes more than one body configuration, request separate fit checks rather than approving one representative drawing for every vehicle.
For examples of commercial work and application types, browse AP Installations’ project gallery and its large-format graphics installation solutions. Use examples to clarify the kind of coverage or finish you have in mind, then document the specific scope for each truck.
Provide current brand assets and identify the person who can approve artwork. Give the designer accurate panel dimensions, vehicle photographs, and a list of areas that must remain clear. Vehicle templates help with initial composition, but the template should be checked against actual dimensions and the location of hardware. When the fleet includes different body styles, name each version and show which artwork applies to it.
Review proofs for more than color and spelling. Check how the design reads from the side and rear, whether key information stays clear of door gaps and hardware, and whether critical elements land on a panel that may be replaced or repaired. Verify phone numbers, web addresses, unit identifiers, logos, and any required business information. Have an authorized person sign off on the final version before production.
Consider the message hierarchy in a realistic viewing context. A driver following behind may have only a brief view of the rear. A loading-dock visitor may see the side from close range. One design should not rely on a small block of text to carry the main message. Keep the most important identity or campaign element prominent, and remove details that cannot be read or are not necessary on the vehicle.
Establish who owns each handoff. If a print shop or agency is producing the graphics, name one contact who can answer questions about the files, material specification, and vehicle fit. AP Installations works as a specialist installation partner; see its information for brands, agencies, and print shops. Coordination before printing gives the team a chance to resolve practical questions before they become rework.
Estimate the schedule only after the team understands vehicle count, coverage, surface condition, access, and preparation needs. The number of trucks alone does not determine the duration. Broad coverage, mixed configurations, repairs, restricted work areas, and the distance between staging locations can all affect the plan. Ask the installer to explain the assumptions behind the proposed schedule.
For a multi-truck rollout, decide whether to work in one batch or in phases. A phased approach may keep some vehicles available, but it requires a consistent process for artwork versions, vehicle check-in, and quality review. For example, imagine a fleet with six similar refrigerated boxes and two trucks with a different door layout. The project lead can group the six matching bodies for a common fit review, document the two exceptions separately, and release production only after both layouts are approved. That simple inventory step helps avoid discovering a design mismatch on installation day.
Create a handoff plan for each scheduled vehicle. Confirm arrival time, parking position, loading status, access contact, and the person authorized to release the truck. Agree where completed vehicles will be parked and who will inspect them. If operations change a truck assignment or substitute a vehicle, notify the project team before graphics are produced or installed. A replacement truck may have different dimensions or surface conditions even when it performs the same route.
Installation access can involve more than an indoor bay. Confirm permitted work hours, traffic flow, lighting, weather exposure, staging space, and any site-specific requirements. Make sure the installer can reach the sides and rear safely. The facility contact should explain rules for access, vehicle movement, and work zones before the crew arrives, rather than relying on informal instructions at check-in.
Assign someone familiar with the approved proof to review completed work. Compare placement with the approved layout and look at panel alignment, edges, corners, joins, and areas around hardware. Check that the intended coverage is present and that labels, lights, handles, and service access remain unobstructed. Photograph each completed vehicle, including identifying details that connect the photos to the fleet record.
Record any open item and agree who will follow up. A structured handoff is particularly useful when vehicles are completed in phases: note the vehicle number, configuration, approved artwork version, completion status, and any condition that needs review. This is a practical record for fleet operations and the project team; it should not be treated as a promise of a particular lifespan or warranty result.
Request written care guidance for the chosen material and installation. Give it to the people who schedule washing and vehicle maintenance. Ask what cleaning methods are appropriate, whether any immediate post-installation handling should be avoided, and whom to contact if an edge or panel is damaged. Follow the product-specific advice rather than adopting a rule intended for another film or surface.
AP Installations identifies itself as a 3M Preferred Installer. Certification is a useful point to discuss when selecting an installer, but do not treat it as a blanket guarantee for every material, surface, or project. The company’s page explains what a 3M certified installer is. If a particular warranty matters to the project, ask the parties to confirm its eligibility and applicable terms in writing before production.
Review proposals against the same project description. A useful estimate states the vehicle configurations and graphic areas covered, whether printing is included, who supplies final artwork, what surface preparation is assumed, and what site access is required. It should also identify the proposed schedule, vehicle staging needs, and work excluded from the scope.
Ask how changes will be handled. If a vehicle has a repair that was not visible in the original photos, will the team pause and review the surface? If dispatch substitutes another truck, does the artwork need to be remeasured? If the fleet approves a design revision after proofing, who confirms whether the production schedule changes? Clear answers help compare proposals on more than a headline total.
When comparing installers, consider relevant vehicle experience, communication with the print partner, documentation practices, and ability to coordinate the planned locations. AP Installations focuses on vinyl graphics installation and provides a description of its installation approach. For a project-specific discussion, use the graphic installation quote request and include fleet details, images, coverage goals, location, and timing.
When a fleet includes several body styles or operating locations, treat the rollout as a controlled sequence rather than one large approval. Begin with a master vehicle register that includes unit number, body dimensions, surface notes, route or depot, and the person responsible for access. Add a column for the artwork version and another for measurement confirmation. This register gives the design and installation teams one place to check which trucks are ready and which still need review.
Use a simple status for each vehicle: information needed, measured, layout approved, production released, scheduled, installed, and handed off. A truck should not move to production release until the artwork version and its fit have been checked. This is particularly helpful if the fleet manager is collecting information from several depots or if vehicles are swapped between routes. It also makes a delay easier to explain: the team can identify whether the open item is a measurement, a surface question, artwork approval, or access.
For example, a company may have three refrigerated body types but only one brand design. Rather than sending one generic template to print, the project lead can collect dimensions and photographs for each body type, prepare a layout variation where a door or seam differs, and ask the approver to review the three versions together. Once approved, the vehicle register can identify which units receive each version. If a fourth body type enters service later, it can be reviewed as a new fit rather than treated as an assumed match.
Set a clear change-control point as well. Agree that substitutions, new repairs, artwork changes, or a moved installation location go to a named project contact before work proceeds. A brief written update can confirm the affected units and whether the change alters the artwork, timing, or scope. This avoids relying on a verbal instruction that may not reach the print partner, installer, or fleet dispatcher. Keep the final approved files and handoff records with the vehicle register so later maintenance or replacements can reference the correct version.
Use the list to catch missing information while the project can still be adjusted. It does not replace a technical surface assessment or the film maker’s instructions. If the truck body, coating, or operating routine is unusual, raise that question with the installer and print partner before approving production.
Talk with AP Installations about your fleet project
A shared design system can often be adapted, but truck dimensions, door layouts, hardware, and body surfaces may differ. List each configuration, verify its measurements, and approve the fit for each version before printing.
That depends on the truck, work location, access needed, and safe staging plan. Coordinate with the installer and fleet operations team to determine whether loading or cargo access affects the planned work.
Do not assume that it can. Application conditions depend on the film, substrate, and manufacturer instructions. Discuss surface and vehicle conditioning, work-area conditions, and return-to-service timing with the project team.
Share the truck count and configurations, photos, approximate dimensions, desired coverage, location, schedule, known surface issues, and whether printing is arranged. Also describe wash practices and any operational limits that affect vehicle availability.
Compare the installation with the approved layout. Review placement, edges, corners, joins, and areas near hardware, then note any open questions and request care instructions for the selected material.
A well-planned refrigerated truck graphics installation starts with accurate vehicle information and ends with a clear handoff to the people who operate and maintain the fleet. Resolve the surface, artwork, schedule, and scope questions early so the installation plan fits the trucks that will actually be on the road.