Blog
Reflective Fleet Graphics Installation: A Buyer Guide
Plan reflective fleet graphics with practical guidance on vehicle condition, consistency, scheduling, material choices, installation quality, and closeout.
Blog
Plan reflective fleet graphics with practical guidance on vehicle condition, consistency, scheduling, material choices, installation quality, and closeout.
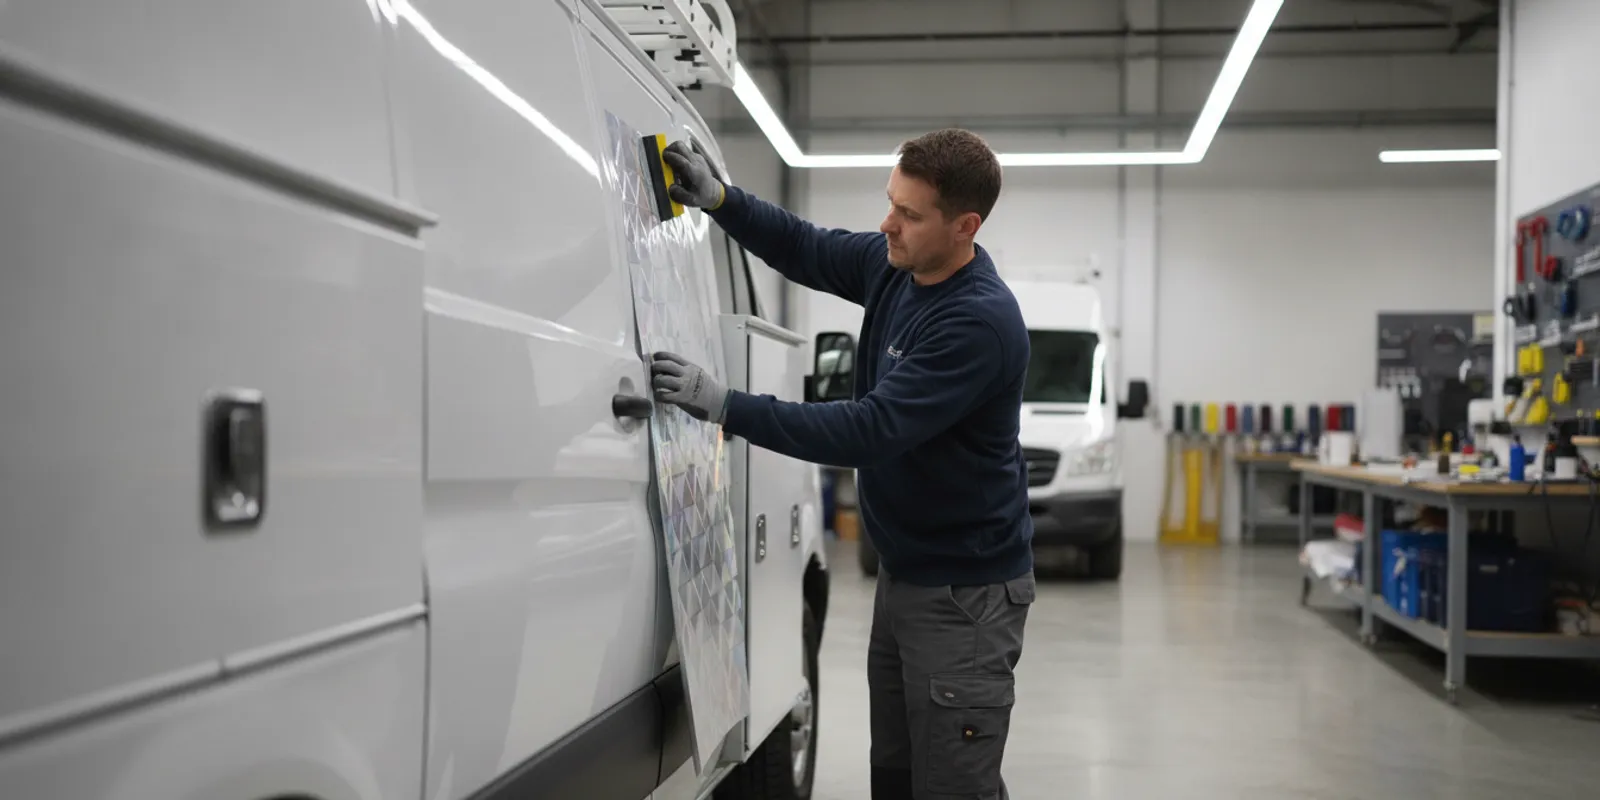
Reflective fleet graphics installation takes more planning than choosing a bright film and repeating the same layout on every vehicle. Before releasing a rollout, fleet managers should align the graphic's purpose, vehicle condition, artwork, material guidance, site access, and inspection process. That preparation helps the finished work fit the actual fleet and gives each person a clear handoff.
Discuss your fleet graphics project
Begin with a short written brief. State what the graphics are intended to do: present the organization consistently, identify vehicles, add reflective elements, or meet an internal marking specification. These aims can overlap, but they should not be treated as interchangeable. A graphic layout alone does not establish that a vehicle meets a law, safety standard, or operating requirement. Have the responsible safety or compliance professional confirm requirements before artwork is approved.
Describe the proposed coverage in plain language. For example, a brief might call for reflective lettering on rear doors, a logo on both front doors, and a non-reflective brand panel on the sides. Another fleet may want reflective accents integrated into a larger wrap. Record which panels are in scope, whether both sides are included, and which parts must remain open for equipment, labels, handles, or access.
Put priorities in order. Required identification and operating information may need to be protected from design changes; brand elements and optional messaging can then be arranged around them. Decide which text must be readable at a distance, which elements should remain visible when a door is open, and whether any message should be omitted from smaller units. A clear hierarchy makes later vehicle-specific adjustments easier to judge.
Keep the target audience and daily use in view. A van that spends most of its time in local service calls may have different graphic needs from a vehicle that works at multiple job sites or is parked in a depot. These examples are prompts for design discussion, not promises about visibility. The right coverage depends on the fleet's actual purpose, surfaces, and applicable requirements.
For a broader comparison of partial graphics and wraps, review fleet graphics versus fleet wraps. The fleet graphics installation can also help frame coverage decisions for common commercial vehicles.
A fleet graphic is installed on a real vehicle, not an idealized drawing. Start a record for each unit or for clearly defined groups of matching units. Include the fleet identifier, make and model, model year, body configuration, location, and planned installation date. Note door style, roof equipment, ladder racks, tool boxes, steps, mirrors, and other features that affect the available graphic area.
Photograph each vehicle before finalizing placement. Capture both sides, front, rear, and close views of unusual panels or equipment. Use consistent angles and include enough of the vehicle to identify where a close-up belongs. A shared folder with filenames tied to vehicle identifiers is more useful than a collection of unlabelled images sent in separate messages.
Record visible surface conditions as well. Note previous graphics, adhesive residue, dents, corrosion, scratches, replacement panels, paint repairs, and areas with unusual texture or curvature. Make sure the installation team knows about recent paintwork, waxes, or surface treatments. These observations do not determine the final application method by themselves, but they give the installer a chance to assess the actual substrate and identify questions before the appointment.
Separate confirmed facts from items that need review. For example, write “rear door replaced in September; paint cure status to be confirmed” rather than marking the vehicle simply “ready.” Flag areas where vehicle equipment may restrict access or where the design could cross a seam. Agree with the installer on how a questionable area will be checked and who can approve a change if conditions differ from the photos.
Group units by meaningful similarities, not just by model name. Two vans of the same model may have different shelving, door hardware, or replacement panels. Conversely, vehicles with different model years may share a usable layout if their panel geometry and equipment match. The group record should identify the representative vehicle and list any exceptions so a template is not assumed to fit every unit automatically.
Reflective material may appear as lettering, selected accents, or a broader area within the graphic. Each approach changes the design balance and the installation discussion. For lettering, check the approved wording, character size, spacing, and position against the available panel. For accents, confirm where they begin and end and whether doors or body seams interrupt the intended pattern. Larger coverage calls for especially careful review of the surface, panel transitions, artwork, and product application guidance.
Review the graphic in daylight and under the kinds of illumination relevant to the project. A design proof displayed on a monitor cannot fully represent how reflective areas will appear on a vehicle. Use a vehicle-specific proof or placement drawing and inspect it at practical viewing sizes. Check whether the reflective element remains visually distinct from logos and required information rather than competing with them.
Do not assume that a reflective graphic replaces required lighting, warning devices, or other safety equipment. Avoid claims that a particular layout guarantees a visibility result. If an organization has written rules or a specification, send the complete document to the designer and installer, identify who is responsible for interpreting it, and request confirmation of the proposed scope before production.
Confirm the exact material identification and its approved application guidance with the graphics provider and installer. If the design combines reflective film with other films, ask whether the components and proposed use are compatible. Keep the material details and approval record with the artwork version. This is especially helpful if the rollout is phased and additional vehicles may be added later.
A consistent visual system can accommodate different body styles if it identifies what is fixed and what can move. Fleet brand standards may set common logo proportions and color use while allowing placement to adapt to each model. Fort Hays State University's brand standards document describes its logo use across a diverse array of fleet vehicles, an example of design consistency applied across different vehicles.
Build a controlled design system before producing multiple sets. It can specify approved colors, logo proportions, required wording, reflective elements, placement zones, and minimum clearances from hardware. Mark which rules apply to every vehicle and which are model-specific. Give every proof a version date or identifier, then remove outdated drafts from the approval folder so the production team does not have to guess which file is current.
For each vehicle group, approve a representative layout and document how it maps to the actual body. If a cargo van has a sliding door while a box truck has uninterrupted side panels, their design variants should be recorded separately. A small placement adjustment may preserve the same hierarchy; an adjustment that changes text, coverage, or required identification needs the appropriate review rather than an informal on-site decision.
Assign clear decision roles. One person should coordinate artwork approval, and a named fleet contact should confirm vehicle availability and site readiness. Decide who can authorize a change, what information that person needs, and where the final decision will be recorded. On a multi-location rollout, each site should use the same proof version and closeout fields while reporting local constraints before the crew arrives.
This balance matters in a growing fleet. If a new model is added after the first group is complete, compare it with the approved vehicle categories before ordering another set. Photograph its panels and equipment, identify the nearest matching layout, and request a vehicle-specific proof when the fit is uncertain. That step protects consistency without forcing a template onto a body shape it was not designed for.
See fleet branding guidance for additional planning context, and use the commercial vehicle graphics overview when your scope includes more extensive coverage.
Use a scope comparison to organize a conversation with your graphics provider. The table does not choose a material or establish compliance; it highlights the decisions that should be settled for each type of project.
| Project approach | Planning emphasis | Questions to resolve |
|---|---|---|
| Reflective accents with standard fleet graphics | Placement, visual hierarchy, and compatibility with the base design | Which panels and elements use reflective film? Are the components appropriate together? |
| Reflective lettering or identification | Wording, dimensions, panel fit, and legibility | Is the text approved? Will seams or hardware interrupt it? |
| Larger reflective coverage | Surface condition, panel transitions, artwork, and application guidance | What product and preparation guidance applies to these surfaces and conditions? |
| Mixed-model rollout | Vehicle grouping, layout variants, schedule, and change control | Which units share a proof? Who approves exceptions and records them? |
Compare proposals using the same assumptions. Check whether each scope includes vehicle inspection, surface preparation, material identification, placement approval, installation, and a closeout record. Ask how the provider handles a vehicle that arrives with a mismatch, damage, or a surface condition not shown in the original photos. The answer should identify a decision process, not leave the crew to improvise.
Clarify logistics as well as graphic work. Confirm whether the plan assumes vehicles will be delivered to one site, whether the team needs access to each location, and who is responsible for staging and moving units. Ask how schedule changes, replacement vehicles, or extra artwork versions affect the scope. A written list of assumptions makes proposals easier to compare than a headline price without context.
Build the schedule from vehicle availability rather than choosing dates first and asking dispatch to adapt later. Ask operations which units can be released, when each must return, and whether a backup vehicle is available. A practical schedule names arrival windows, staging locations, key access, the site contact, and the process for notifying the installer if a vehicle is delayed.
Group work by location and vehicle type when doing so reduces repeated setup without disrupting service. For example, a fleet may release a small group of matching vans at a time while leaving similar units available for daily routes. Confirm the number of units that can be staged safely and the space needed to open doors and move around each vehicle. Do not assume a site can accommodate the whole fleet simply because it has room for one vehicle.
Check site readiness before confirming the appointment. Agree on indoor or outdoor work arrangements, access hours, lighting, cleanliness, weather considerations, and any site entry rules. If work is taking place at a customer or secured location, identify who will arrange access and whether the installation crew needs advance instructions. Send those requirements with the schedule rather than relying on a last-minute call.
Do not send a unit with unresolved repair or surface questions and expect the installation team to resolve them without direction. Confirm that recent paintwork has met the paint manufacturer's cure guidance, and share known repairs or previous film. When a condition is uncertain, ask whether the vehicle should be inspected or rescheduled. Agree on who can approve proceeding, pausing, or changing the graphic if the vehicle differs from the approved record.
Before the first appointment, provide a single project packet: current vehicle list, annotated photos, approved artwork and placement notes, material information, surface observations, site instructions, and contacts for decisions. For later phases, update the packet with completed units and open issues. A current list helps prevent a vehicle from being missed or arriving with an obsolete proof.
For a practical installation sequence, consult the truck wrap installation guide. The specifics of each project still depend on the selected graphics and actual vehicle.
Use the approved proof as the reference for inspection. Check the placement from both sides and the rear, as applicable. Confirm that graphic elements follow the agreed positions, text is correct, edges are finished as expected, and the design sits appropriately around seams and hardware. Inspect under good lighting and view the vehicle from more than one angle; a check from only one side can miss a misplaced element or an unrecorded exception.
Include reflective elements in the inspection, but keep the review focused on whether the installed work matches the approved plan. Confirm their location and orientation and make sure equipment, access points, lights, cameras, and required labels remain unobstructed. If a concern appears, take a photo that shows both the issue and its position on the vehicle. Record the vehicle identifier, panel, and relevant proof version so the project contact can make a clear assessment.
Use the same closeout checklist for each unit. Record the completion date, vehicle identifier, artwork version, documented material information, inspection result, approved deviations, and any follow-up item. Take overview photographs from consistent angles and detail images when necessary. If a unit is not accepted, record what remains to be reviewed and who will coordinate the next step instead of marking the whole rollout complete.
At handoff, keep the approved proof, project notes, product information, care guidance, and photographs together. Share care instructions appropriate to the materials and installation rather than relying on a generic fleet message. The vinyl graphics maintenance guide offers general maintenance context; follow the guidance that applies to the installed material and vehicle use.
For an example of completed work, explore the AP Installations project gallery. Keep project examples separate from a promise that a particular design, material, or outcome will apply to every vehicle.
A short go/no-go review can catch missing information while changes are still manageable. Use this checklist with the fleet lead and installation contact before production or scheduling:
For example, if one van arrives with a replacement side panel that was not visible in the initial photos, the team should be able to pause that unit, record the difference, and get a decision without stopping every other vehicle. If the artwork also changes, the new proof should have an identifiable version and approval before that unit proceeds. Planning these exceptions makes a rollout more resilient without pretending every vehicle will be identical.
The checklist is a shared starting point, not a universal specification. Adapt it to the fleet's vehicles, site rules, written requirements, selected materials, and operating constraints. A useful plan makes responsibilities explicit and keeps the final record connected to the individual unit.
Not automatically. Requirements can depend on vehicle type, use, and jurisdiction. Have the responsible safety or compliance professional identify the applicable rules and review the proposed design before production. Do not treat an installation plan as a substitute for that review.
There is no single answer for every vehicle or film. Surface shape and condition, coatings, repairs, and the product's application guidance all matter. Share vehicle details and photos so the installer can assess the proposed areas and flag places that need further review.
Create approved design rules, group vehicles by actual configuration, and document a placement layout for each group. Set a process for reviewing exceptions and keep the approved proof version with the vehicle record. This allows deliberate adjustments without letting each installation drift from the shared design.
Share vehicle counts and types, locations, photographs, desired coverage, artwork status, surface and repair notes, operating constraints, and any written requirements. Include how many units can be released at a time and who can approve changes. Those details give the provider a clearer basis for discussing scope and scheduling.
Consult with AP Installations about your fleet rollout
A successful reflective graphics rollout starts with the actual vehicles, clear approvals, and a documented process for installation, inspection, and handoff.