Blog
The Commercial Process for Public Space Graphics Installation
Plan public space graphics installation with a clear scope, site review, material decisions, access plan, quality checks, and a practical project handoff.
Blog
Plan public space graphics installation with a clear scope, site review, material decisions, access plan, quality checks, and a practical project handoff.
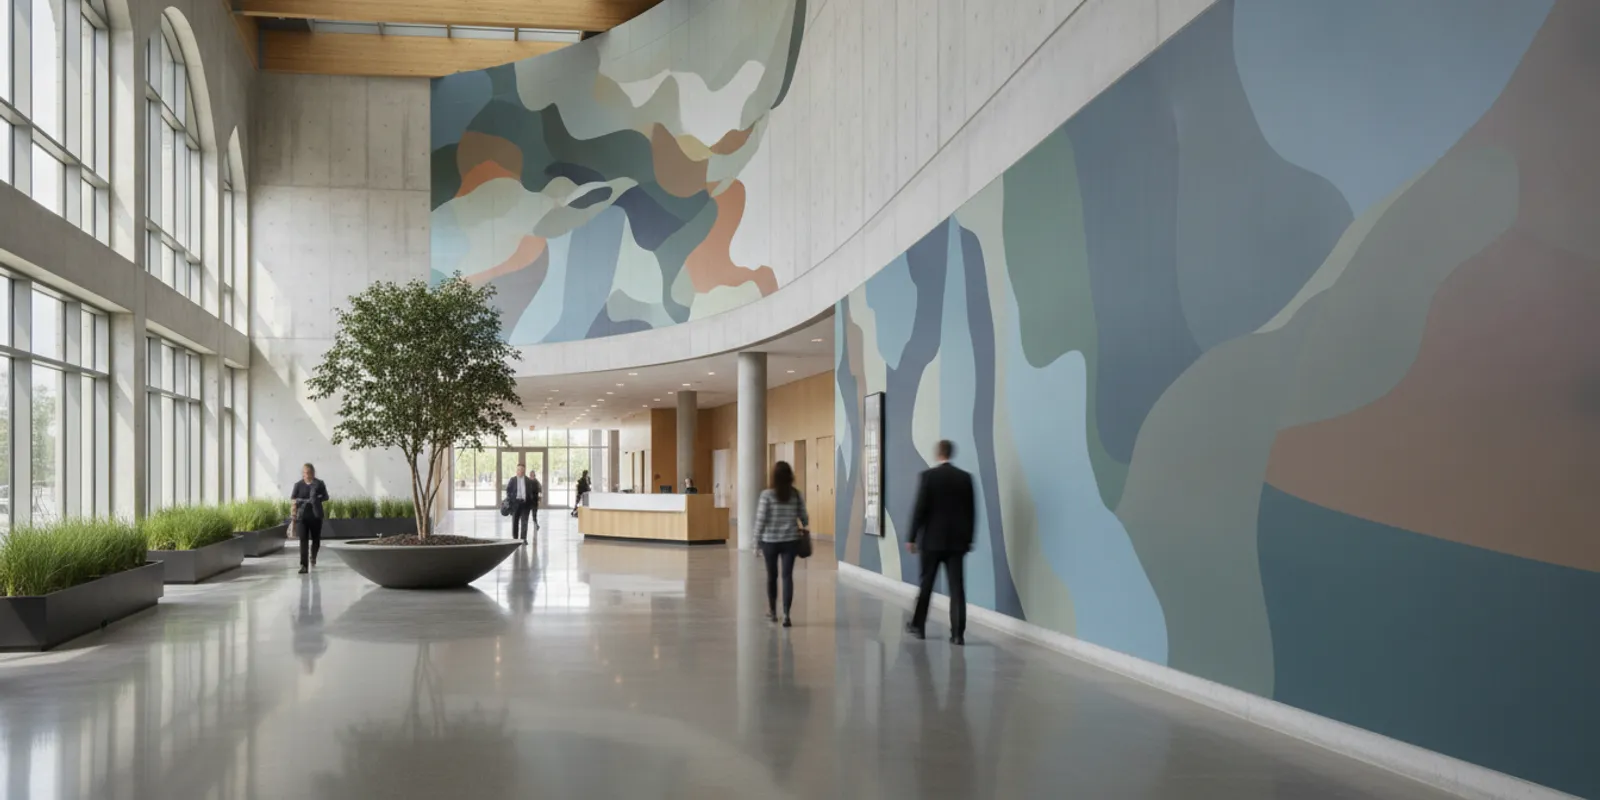
Public space graphics installation takes more than placing artwork on a wall. In a lobby, transit facility, campus, venue, or municipal building, the graphics must fit the site, support a clear purpose, and be installed around people, operations, and access requirements. The strongest projects begin with a defined scope, a real site review, and clear coordination among the organization, designer, print provider, and installer.
Discuss your public space graphics project
Write down what the graphic should help a person understand or do. A project might identify an entrance, explain a process, reinforce an organization’s identity, mark a temporary event, or make a large interior feel more coherent. Choose one main purpose for each placement. If a single panel is expected to direct visitors, share a campaign message, and display detailed instructions, its priorities may compete.
Next, identify the audience and the moment they see the graphic. Someone approaching a building needs different information from a visitor already in a reception area. A directional message belongs where a decision is made, not only where there is a convenient empty wall. A mural or brand environment depends more on viewing distance, lighting, and its relationship to the architecture.
Give each placement an entry in a location schedule. Use a stable name such as “North lobby, wall A” rather than “big wall by the desk.” Add a photograph, approximate dimensions, purpose, graphic type, and an owner for approvals. This simple record helps the design team, print provider, facilities staff, and installation crew talk about the same surface.
Walk the site before artwork is finalized whenever possible. Follow the visitor journey from arrival to destination. Note where people enter, make a choice, wait, and leave. For a sequence of directional graphics, check that the next instruction is visible from the previous decision point. A graphic that is easy to read when standing directly in front of it may be missed by someone approaching from the side or moving with a crowd.
Record operating conditions as carefully as the dimensions. Ask about opening hours, peak traffic, quiet periods, loading access, security check-in, escort rules, and any restrictions on equipment or work areas. In a transit, event, or institutional setting, confirm requirements with the facility’s responsible team. Do not assume that a typical daytime appointment or a standard delivery route will work at every site.
Mark nearby signs, doors, windows, counters, cameras, fire equipment, and access panels on a quick plan. Confirm that graphics will not obscure existing information or interfere with the way a space is used. Install plans should preserve accessible routes, egress paths, sightlines, and any venue or code requirements for public-area signage. For official accessibility information, consult the U.S. Department of Justice ADA resources and confirm site-specific requirements with the facility authority.
For example, imagine a community venue planning a wall graphic near its main entrance and temporary floor markers for an event queue. The entry graphic may be visible throughout the day, while the floor pieces could need to come down after the event. The team should map the queue, check alternate routes, establish who approves the temporary placement, and set a removal plan before production. Treat that as a coordination example, not as a substitute for a site’s own accessibility or safety review.
The substrate affects adhesion, appearance, installation effort, and the likelihood of a clean result. Identify whether each placement is painted drywall, glass, tile, concrete, metal, or another material. Look for texture, seams, repairs, contamination, moisture, peeling paint, and irregularities that may show through the finished graphic. Take close photographs as well as wide shots so the project team can see both the overall location and its details.
Paint condition deserves special attention. Fresh paint needs to cure according to the paint manufacturer’s directions before vinyl is applied. A professional site review can identify questions about paint age, finish, and whether adhesion testing is appropriate. If a surface is unsound, dusty, or dirty, address the condition before installation rather than expecting the film to correct it. Record who will prepare the surface and when that work will be complete.
Measure each placement against real site features. Include corners, recesses, trim, outlets, access panels, seams, and changes in plane. A wall mural may need to be divided into panels, so the layout should account for seams and image alignment. On windows, review glazing, mullions, visibility, and how much light or view should remain. AP Installations’ window graphics guide covers considerations for window applications and material choices.
Write down conditions that need a decision instead of leaving them as verbal notes. For instance: “Wall B has a textured finish; installer and facilities contact to review before artwork approval.” Assign a name and deadline. This makes the open item visible while there is still time to adjust the design, surface preparation, or installation plan.
Choose a graphic type only after the goal and site conditions are understood. A lasting interior mural, temporary event graphic, window message, and directional floor marker have different requirements. Balance readability, visual impact, surface compatibility, exposure, maintenance, and future removal or replacement. For an overview of varied completed environments, review the graphics installation project gallery.
| Application | Useful for | Planning checks | Coordination to settle |
|---|---|---|---|
| Wall mural or wall graphic | Identity, interpretation, and a large visual moment | Wall texture, paint cure, viewing distance, seams, and obstructions | Surface review, artwork dimensions, access to the work area |
| Window graphic | Entry messaging, privacy, or storefront communication | Glazing, visibility, daylight, mullions, and graphic coverage | Glass cleaning, building access, and placement approval |
| Floor graphic | Temporary prompts or wayfinding at floor level | Traffic, floor finish, cleaning, and appropriate slip-rated protection | Traffic control and a work window when the floor can be clear |
| Temporary event graphic | Short-run programs, activations, and event identification | Duration, removal expectations, surface, and event schedule | Venue approval, access credentials, setup and removal timing |
The table is a planning aid, not a material specification. The correct film and installation method depend on the actual surface, exposure, and project requirements. Floor graphics require the right adhesive system and a slip-rated protective overlaminate built for heavy foot traffic. They should not be treated as interchangeable with wall or window vinyl. AP Installations’ removable floor decal guide offers additional context for temporary floor applications.
For a project with several formats, list each type separately in the scope. A single project name can conceal very different surfaces and installation steps. Separate entries help prevent a material intended for one placement from being assumed suitable for another.
Before printing, reconcile approved artwork with field measurements and the placement plan. Identify panel breaks, edges, returns, overlaps, and nearby objects that may affect the finished image. Confirm the file version and name the person authorized to approve it. A dated proof or written approval record can prevent confusion when several departments are reviewing the work.
Check the design at its intended viewing distance. A visitor moving through a lobby may have only a moment to understand a short message, while a display meant to be read at close range can hold more detail. Keep the main point visually distinct from supporting information. Where an installation includes donor recognition or multiple names, a structured layout and verified spelling matter; AP’s donor wall installation guide discusses planning for this type of display.
Agree on responsibilities before production. State who supplies final artwork, who verifies dimensions, who prints, who prepares the site, who grants access, and who approves completion. AP Installations focuses on vinyl graphics installation and works with brands, agencies, and print shops. The overview of AP’s project partners describes those working relationships.
For multiple locations, use a repeatable naming system for sites, rooms, elevations, and individual graphic pieces. Keep one current location schedule and a record of approved versions. If a site changes after a measure or an artwork approval, note the change, identify affected pieces, and confirm whether the design or production plan needs an update. Do not rely on an old email thread as the only record of which version is final.
Set the installation window around the building’s actual operating conditions. Ask whether work can happen during public hours, whether an area must be closed, and whether deliveries or equipment need prior approval. Confirm loading routes, parking, security check-in, escort rules, and restrictions on tools or work areas. Give the installer the facility contact who can resolve access questions on the day of work.
Make a written plan for separating visitors from the immediate work area without blocking accessible routes or emergency exits. Decide how temporary barriers or signs will be managed and who is responsible for keeping the area clear. Identify who can make a site decision if conditions change. If work must pause because the surface is not ready, access is unavailable, or a conflict emerges, the team should know how to escalate and reschedule rather than improvise.
Timing depends on graphic size, surface readiness, application complexity, number of locations, and the facility’s work window. A single wall placement may need a different plan from a coordinated rollout across several public areas. Build a schedule with distinct checkpoints: site review, artwork approval, surface preparation, production, access confirmation, installation, and final inspection. Assign owners to approvals so the schedule is not based on an assumption that “someone at the venue” will respond.
If the building stays open, ask the installer and facility lead to review the sequence for each area. The crew may need to complete one zone before moving to another, or work at a time when visitor volume is lower. The right approach depends on the site. Confirm it in advance and communicate any changes to reception, security, and affected departments.
Installation pricing depends on the application, surface, preparation, access, schedule, travel, and project scale. Transit or airport work may require custom pricing because of security clearance, badge access, and coordination. Compare proposals only after checking whether they cover the same locations, materials, preparation, access arrangements, and closeout tasks. A lower total may reflect a narrower scope rather than a more efficient approach.
Provide known facility rules when requesting a quote. Include photographs, approximate dimensions, the graphic types, timing, operating hours, and access requirements. If the artwork is not final, say what remains open. That gives the project team a chance to ask about unresolved conditions instead of pricing a scope based on guesses. Start with AP Installations’ graphic installation quote request or review its vinyl graphics installation services.
Define how the finished work will be reviewed. Depending on the graphic and site, inspect placement against the approved plan, alignment, panel seams, edges, bubbles, wrinkles, cleanliness, and any surrounding area affected by the work. Review the installation under the conditions in which visitors will see it. The applicable acceptance criteria should reflect the material, surface, lighting, and intended use, rather than an undefined expectation of “perfect.”
Agree on a closeout process. Identify who will walk the site, who can accept the work, how open items will be recorded, and who receives any completion photographs or care information. If the team finds an issue, document the location and describe it clearly. Distinguish a concern about installation from a change made after approval or a pre-existing surface condition. Final sign-off helps document completion and supports warranty records.
Do not treat a warranty as automatic for every vinyl project. Warranty eligibility depends on using the correct 3M Matched Component System, approved materials, documented production, proper installation, surface conditions, and exposure environment. Review the applicable 3M graphics warranty information and 3M installer resources, then confirm the specific system and documentation for the project. AP’s 3M MCS warranty guide provides additional context. Certification or warranty availability should not be read as a blanket promise for every graphic or condition.
Review these items with the organization, facility contact, designer, print provider, and installer before production or mobilization:
Consider a rollout with three public areas: an entry wall, a glass partition, and a temporary event floor placement. The readiness review should not treat these as three copies of the same job. The wall needs a surface and panel review. The glass needs a placement and visibility review. The floor needs confirmation of the appropriate system, expected traffic, cleaning plan, and removal timing. A shared schedule can track all three while preserving the distinct requirements of each.
Keep the checklist with the location schedule and project contacts. If a condition is unresolved, assign an owner and deadline before treating the installation date as firm. This makes it easier to spot a missing approval, an unprepared surface, or an access conflict while the team can still respond.
Review commercial vinyl graphics installation services
It can include murals, wall graphics, window graphics, floor graphics, and temporary event graphics in spaces used by visitors or the public. The appropriate format depends on the communication goal, substrate, exposure, duration, and facility requirements.
Sometimes, but the site and work scope determine whether that is practical. Plan around visitor flow, work-area controls, access rules, equipment restrictions, and a clear process for pausing if conditions change. Confirm the plan with the facility contact before the crew arrives.
Share locations, approximate dimensions, photographs, the intended graphic type, timing, operating hours, access requirements, and known surface concerns. Include facility rules and the status of the artwork when available. If the work involves a controlled venue, explain its access and scheduling process early.
No. Eligibility depends on the specified matched materials, production documentation, installation, surface, and exposure conditions. Confirm the requirements for the proposed system before treating warranty coverage as part of a project plan.
Careful public space graphics installation connects the design to the real site, keeps visitor movement in view, and gives each project partner a clear role from review through handoff. Start with a location-based scope, then confirm surfaces, materials, access, approvals, and inspection criteria before production begins.