Blog
Performing Arts Center Graphics: Protecting Finishes During Installation
Plan performing arts center graphics without damaging architectural finishes. Review surface checks, material choices, access planning, and installation steps.
Blog
Plan performing arts center graphics without damaging architectural finishes. Review surface checks, material choices, access planning, and installation steps.
Performing arts center graphics can make a lobby, auditorium, corridor, or backstage area easier to navigate and more connected to the venue’s identity. The installation plan matters as much as the artwork: existing paint, wood, stone, glass, acoustic treatments, and public access all affect the work. Start with a documented site review, choose materials for the actual surface and use, and agree on access and protection steps before installation day.
Plan your performing arts center graphics installation
A performing arts center may combine many finish types within a short distance. A painted lobby wall can meet a wood-trimmed ticket counter, glass doors, stone columns, carpet, and acoustic panels. Each surface has different limits. A film or installation method that works on one wall may be unsuitable for the next.
Start by identifying the exact graphic locations and what is around them. Mark wall edges, corners, joints, controls, signage, door swings, trim, and any areas that should remain clear. Note high-touch zones and paths where carts, cases, or audience queues pass. That information helps the installer plan staging and protects the venue from avoidable contact with finished surfaces.
Document existing conditions before materials arrive. Take clear photographs of the proposed areas, including close views of seams, damage, repairs, peeling paint, residue, and transitions between materials. Record known finish types and recent maintenance or repainting. This baseline helps the venue team and installer discuss an existing issue accurately rather than trying to resolve it after the graphic is in place.
Do not assume that a surface is ready because it looks clean. Dust, cleaning products, wax, polish, texture, moisture, and outgassing can affect adhesion. Newly painted walls need to cure according to the paint manufacturer’s instructions. The installer should review the surface and, where appropriate, test adhesion in a discreet location before committing to a full installation. A test can inform the decision, but it does not replace agreement on the material and removal expectations.
Choose materials for the substrate, exposure, expected viewing distance, duration, and cleaning routine. Indoor lobby graphics face different conditions from an exterior entrance or a temporary event display. A smooth, sealed wall may accept a different film than textured plaster, painted masonry, glass, or a low-energy surface. Existing coatings and the condition of the finish matter too.
Ask the designer, printer, facility manager, and installer to confirm the material system together. A print partner may specify a particular film and overlaminate, while the venue knows the cleaning products and maintenance schedule. The installer can review whether the proposed combination is suitable for the surface and installation conditions. Resolve differences before production, not while the crew is waiting for access.
Removability should be discussed in practical terms. “Removable” does not mean risk-free on every coating or after every exposure period. Adhesive behavior can be affected by the surface, paint condition, age, heat, sunlight, cleaning, and installation duration. If the display is temporary or expected to change after a season, make that schedule part of the material discussion and ask what removal process and surface restoration may be needed.
Think about cleaning and contact. A graphic near a ticket queue, concessions area, or entrance may receive repeated handling and routine cleaning. A graphic installed behind furniture or in a restricted corridor may have a different wear profile. Share the venue’s cleaning procedures and ask whether the selected film and finish are compatible. Avoid promising a specific lifespan without knowing the complete material, surface, and exposure conditions.
| Venue area or surface | Planning concern | What to confirm before production |
|---|---|---|
| Painted lobby wall | Paint cure, texture, prior repairs, and adhesion | Paint details, surface condition, test location, and removal expectations |
| Glass entry or interior partition | Visibility, reflections, door hardware, and cleaning | Graphic placement, viewing direction, sightlines, and suitable film |
| Wood trim or finished panels | Coatings, joints, grain, and risk to the finish | Whether the surface is an approved application area and how edges will be handled |
| Textured wall or masonry | Surface profile, adhesion contact, and uneven transitions | Substrate assessment, material suitability, and a realistic installation approach |
| Floor or stair area | Foot traffic, cleaning, slip considerations, and code requirements | Suitable floor system, protective finish, accessible routes, and venue approval |
| Acoustic or specialty finish | Performance, finish integrity, and manufacturer restrictions | Written approval from the venue or system manufacturer before application |
The table is a planning aid, not a substitute for a site inspection. If a surface is specialty-built, fragile, recently refinished, or covered by a manufacturer’s maintenance rules, get approval from the responsible venue contact before applying graphics. In some cases, moving the graphic to a nearby approved surface is the safer choice.
A useful survey checks more than wall dimensions. It connects the design to the venue’s schedule, access rules, equipment, and audience flow. Identify who can approve the location, who will provide access, and who will be available to answer questions during the work. For projects involving several spaces, record each location separately rather than relying on a single overview drawing.
The venue’s calendar can be as important as its floor plan. A lobby may be empty early in the day and crowded before a performance. A corridor might be needed for load-in, a school matinee, or a quick changeover. Schedule installation windows around rehearsals, public events, deliveries, and cleaning rather than assuming the space will remain available for the full work period.
Where an area contains archival holdings or collection material, ask venue staff to define access and handling boundaries before planning work nearby. The American Theatre Archive Project’s theatrical legacy preservation manual notes that some performing arts archives are accessible to researchers with permission from theatre staff. That narrow point reinforces a practical planning step: venue staff should control access to sensitive collections and approve any work near them.
For large spaces or multiple locations, review the installation team’s large-format graphic installation capabilities and establish one point of contact for site decisions. A clear contact path reduces delays when a hidden condition differs from the survey or a location needs to change.
Protecting finishes starts before printing. Provide accurate measurements, current site photographs, and notes about surface boundaries to the design and production teams. Confirm that the final artwork uses the approved dimensions and that panel breaks, overlaps, and alignment marks make sense for the actual installation area. Ask the installer to review unusual transitions before the print run begins.
Keep a written approval record for placement, material, color, and any mockup. A small sample or proof can help stakeholders assess color, visibility, scale, and how the graphic relates to lighting and interior finishes. Review it in the actual space when practical. A color viewed on a monitor may appear different under warm lobby lighting or near a reflective surface.
Plan responsibilities in advance. The venue should identify who moves furniture, removes temporary signs, manages access, and approves protection methods. The print partner should confirm production details and deliver materials in the agreed order. The installation team should know the site constraints, approved surfaces, and required schedule. AP Installations works with print and design partners as an installation specialist; its work with brands, agencies, and print shops is relevant when a project needs an installation partner rather than a single provider for every phase.
If the project includes several rooms, wings, or buildings, establish a location schedule and naming system. Label each graphic and its installation location clearly. Prioritize areas with fixed access windows and group nearby locations when that helps reduce repeated setup. Keep contingency time for surface repairs, artwork adjustments, or a location that must remain open longer than planned.
Before application, the crew and venue contact should walk the approved locations together. Reconfirm the surface, placement, access route, and condition notes. If the actual surface differs from the plan, pause and agree on the next step. Do not treat an unexpected coating, damaged finish, or moisture issue as a minor detail that can be covered over.
Use an agreed protection plan for nearby floors, counters, seating, doors, and finished fixtures. Move or cover items only with venue approval. Keep tools, packaging, and adhesive materials contained in the work zone. Set boundaries that protect visitors and staff while preserving access to required exits and accessible routes. When work happens during operating hours, the venue should know how the crew will communicate if an area needs to be closed temporarily.
Surface preparation should be appropriate to the material and finish. Cleaning agents that are harmless on glass may damage another coating. Confirm the cleaning method and allow surfaces to dry as needed. Avoid aggressive scraping or unapproved solvents near delicate finishes. If residue, flaking, or an adhesion concern appears during preparation, stop and consult the venue contact before continuing.
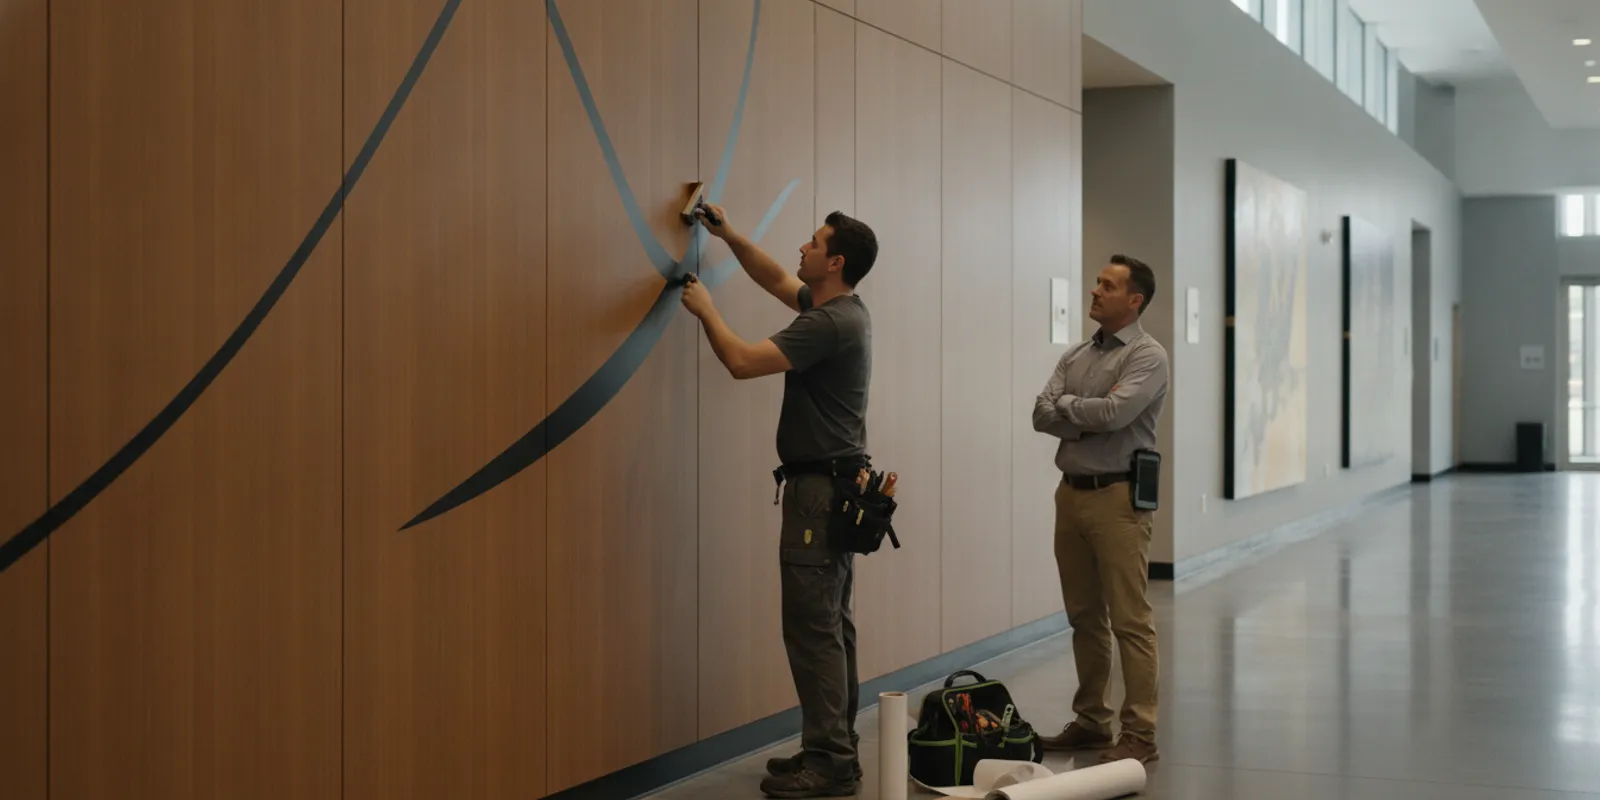
Work from an agreed sequence. Check alignment before committing the full graphic, then apply the material using a method suited to the selected film and surface. Pay close attention to edges, seams, corners, and transitions. A rushed correction can create more risk than pausing to recheck placement. For large panels, coordinate people and equipment so the material is supported and controlled through application.
For public-facing spaces, use barriers, signs, and a work schedule agreed with the venue. Do not block a required route or assume a temporary detour is acceptable. Venue staff should confirm that the installation arrangement protects audience movement, staff operations, and emergency access throughout the work.
At completion, walk each location with the venue representative. Check placement against the approved layout, alignment across panels, edges, seams, bubbles, surface condition, and any damage to adjacent finishes. Review the work under the lighting and viewing conditions people will actually encounter. Note any adjustment or follow-up item, assign an owner, and record when it will be addressed.
Photograph the finished installation and retain the approved artwork, material information, installation date, location notes, and care instructions. Provide the venue with practical guidance for routine cleaning and any limits on cleaners or tools. If the graphic is temporary, include the expected removal plan and clarify who will approve the work when that time comes. Do not assume that removal can be performed without affecting every possible substrate.
For repeat programs, closeout records make future updates easier. Keep a location map and consistent naming convention so a later team can tell which artwork belongs in each space. Record access constraints and lessons learned, such as a preferred work window or a finish that required extra review. The project gallery can also help buyers review examples of completed large-format work, while recognizing that every venue and surface has its own requirements.
AP Installations provides installation services for graphics across applications including walls, windows, floors, murals, and fleet graphics. Review the company’s installation background and approach to training and client care when assembling a vendor shortlist. The right partner should be willing to discuss the site conditions and coordinate with the people responsible for the venue.
A useful quote request gives the installer enough information to understand scope and access. It does not need to answer every technical question. Share what is known and flag what needs a site review.
Use the graphic installation quote request to start a project conversation, or contact AP Installations to discuss a site review. For a broader overview of the company’s vinyl graphics installation solutions, review the service information before finalizing the scope.
Discuss your venue graphics installation plan
No. Paint type, cure time, texture, cleanliness, condition, and prior coatings can affect adhesion and removal. Confirm paint manufacturer guidance, inspect the wall, and discuss an appropriate test area with the installer before approving the full application.
That depends on the communication goal, changeover schedule, surface, exposure, and cleaning routine. A seasonal lobby campaign may call for a different material plan than a permanent wayfinding or identity graphic. Share the intended duration and removal expectations before material selection; do not assume a temporary designation eliminates surface risk.
Sometimes, but the site survey and venue approval must account for audience flow, work-zone protection, noise, equipment movement, and exit access. The venue may prefer an off-hours window or phased work. Confirm the schedule and any temporary closures before the crew arrives.
Pause at that location and have the installer and venue contact review the condition. Compare it with the approved plan, document the difference, and decide whether to adjust placement, select another method, or reschedule. Proceed only after the responsible parties agree on the next step.
Share final dimensions, panel layouts, film and laminate specifications, installation sequence, and delivery timing early. Include site photos and identify who approves artwork and surface decisions. A preproduction review with the installer can catch mismatched dimensions or difficult transitions before printing.
Careful planning helps performing arts center graphics fit the venue while respecting its finishes, schedule, and public use. A documented site review and clear approvals give the venue, print partner, and installer a practical basis for a smoother project.