Blog
Parking Garage Wayfinding Graphics Installation Guide
Get expert parking garage wayfinding graphics installation guidance for durable surfaces, clear visibility, efficient sequencing, and easier maintenance.
Blog
Get expert parking garage wayfinding graphics installation guidance for durable surfaces, clear visibility, efficient sequencing, and easier maintenance.
Poorly placed garage graphics force drivers to brake, backtrack, and miss turns. A successful installation makes every level, turn, exit, and pedestrian route clear before confusion slows traffic.
Contact AP Installations to plan a clear, durable parking garage wayfinding graphics installation.
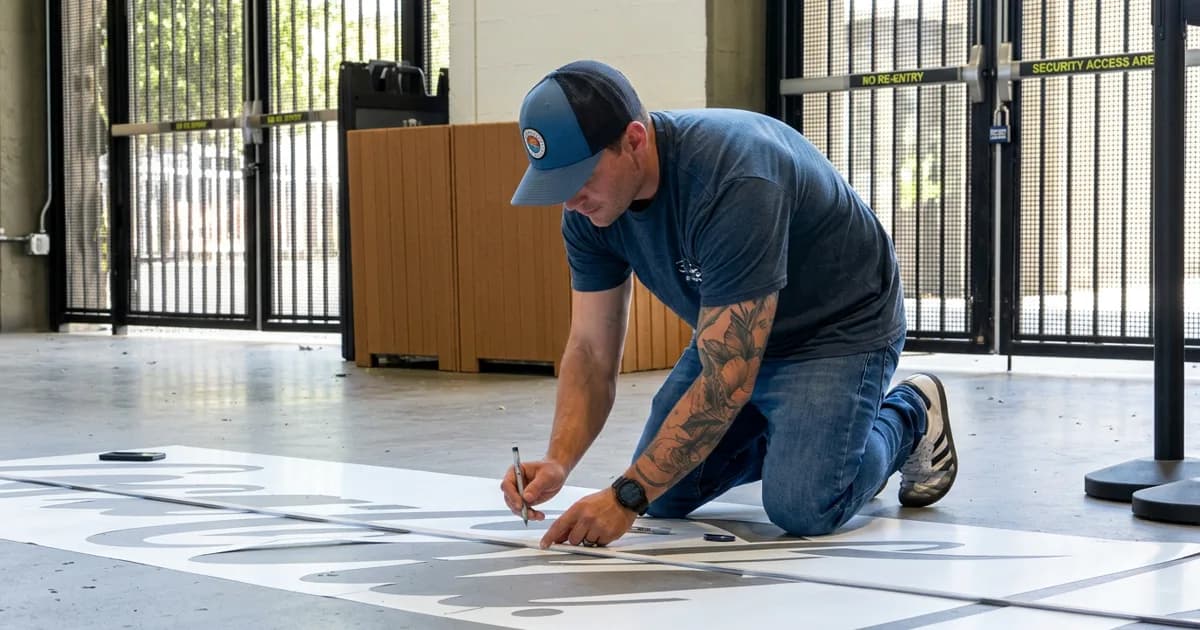
Parking garage wayfinding graphics installation turns a planned sign system into clear, durable guidance across a demanding concrete environment where drivers have seconds to respond. The work includes surveying decision points, checking surfaces, testing visibility, selecting compatible vinyl, and scheduling installation around active vehicle and pedestrian traffic. Installers then prepare concrete, columns, walls, and floors before applying level markers, directional arrows, entrance graphics, and pedestrian guidance in precise locations. Coordinating closures, lift access, and installation order lets crews work safely without leaving routes unclear or creating avoidable delays for garage users. A final route check confirms each graphic remains readable under garage lighting, supports natural traffic flow, and directs people toward spaces, exits, and elevators.
The key question is not simply where each graphic fits, but whether people can understand it at the exact decision point. Why installation planning matters in a parking garage comes down to aligning every surface, sightline, material, and work window. The path begins with:
Parking garage wayfinding graphics installation starts well before a crew applies the first graphic. A useful plan maps each driver and pedestrian route, then checks where people must choose a direction. This early work helps the graphics form one clear system instead of a set of isolated signs.
A garage is not a simple indoor wall space. Concrete columns, ramps, pipes, tight turns, parked vehicles, and uneven light can limit placement. Installers must review each surface and sightline before deciding where a graphic belongs. They also need to note areas where traffic may block the work.
Surface checks are just as important. Dust, moisture, coatings, texture, and past repairs can affect how a graphic is prepared and installed. A site walk lets the team record these conditions and match the work plan to the actual garage. This detailed approach also supports consistent industrial wayfinding graphics across complex facilities.
Drivers need information before they reach a turn, split, exit lane, or parking zone. Pedestrians need clear cues near stairs, elevators, payment areas, and building entrances. Planning around these decision points gives each graphic a specific job. It also reduces the chance that several messages compete for attention in one location.
The plan should follow both the arrival and return trips. A driver may enter through one ramp but walk back from a different elevator. That person needs to find the parked vehicle, then follow a clear path toward the exit. The U.S. Access Board parking guide also shows why accessible parking routes need careful attention during planning.
Garage installation affects more than the graphics crew. Property managers may need to reserve spaces, close a lane, control vehicle access, or schedule work during quieter hours. Other trades may also be painting, cleaning, repairing concrete, or changing lights. A shared schedule prevents those tasks from damaging new graphics or delaying the crew.
Clear location records also make installation checks easier. The crew can compare each finished graphic with the approved placement plan while still on site. If a blocked view or changed condition appears, the team can document it. The team can then agree on a practical adjustment.
Surface preparation starts before the installer opens a roll of vinyl. Concrete, paint, moisture, repairs, and garage traffic can each affect the finished graphic. A clear site record helps the project team choose the right material and plan the work.
Walk every planned graphic location with the approved placement drawings. Note the wall type, texture, coating, damage, leaks, nearby drains, and traffic risks. Include these details in the installer survey, along with clear photos and measurements.
Check whether each wall is bare concrete, sealed concrete, masonry, or painted block. Coatings may look sound while holding dust or failing beneath the surface. A small test application can show whether the full graphic system is a good fit.
Preparation is not complete until repaired and cleaned areas are dry and stable. Keep vehicles, wash crews, and other trades away from test areas. This protects the sample and gives the installer a fair view of how it holds.
The final installer package should pair each location with its photos, measurements, surface notes, repairs, cleaning method, and test result. It should also show access limits and safe work windows. This record keeps parking garage wayfinding graphics installation decisions tied to the actual site.
Surface notes help teams coordinate graphics with signs, arrows, and traffic routes. Review the role of industrial wayfinding graphics when planning how each prepared wall supports movement through the garage. The location record should match the final wayfinding plan before installation starts.
Material selection should begin with the actual installation surface and operating conditions, not with appearance alone. A parking garage can combine painted concrete, bare concrete, sealed block, metal doors, glass, and floors in a single wayfinding system. Each surface may need a different film, adhesive strategy, or installation method. Ask the graphics manufacturer and installer to review the substrates, expected exposure, cleaning routine, and desired service life before production.
| Installation area. | Key considerations. | Planning priority. |
|---|---|---|
| Painted or sealed walls. | Paint condition, texture, cure time, and adhesion testing. | Confirm compatibility before production. |
| Columns and concrete walls. | Porosity, dust, moisture, repairs, and surface variation. | Prepare thoroughly and test a representative area. |
| Metal doors and panels. | Coatings, seams, hardware, and frequent contact. | Plan clean edges and clearances. |
| Floor graphics. | Vehicle or foot traffic, cleaning, and slip-resistant system requirements. | Use a system intended for the specific floor application. |
Durability also depends on where a graphic sits. Graphics near entries may face more moisture, dirt, and temperature changes than graphics deeper inside the structure. Areas close to turning vehicles, carts, or maintenance equipment can be more vulnerable to impact. A practical survey identifies these differences so the team can make placement or material adjustments before installation.
Ask how the facility team cleans each area, how often messages may change, and whether individual graphics should be replaceable without reworking an entire wall. Document approved films, finishes, colors, and production files. That record helps the facility order consistent replacements later. For examples of how large-format graphics can work across different environments, review AP Installations’ completed projects.
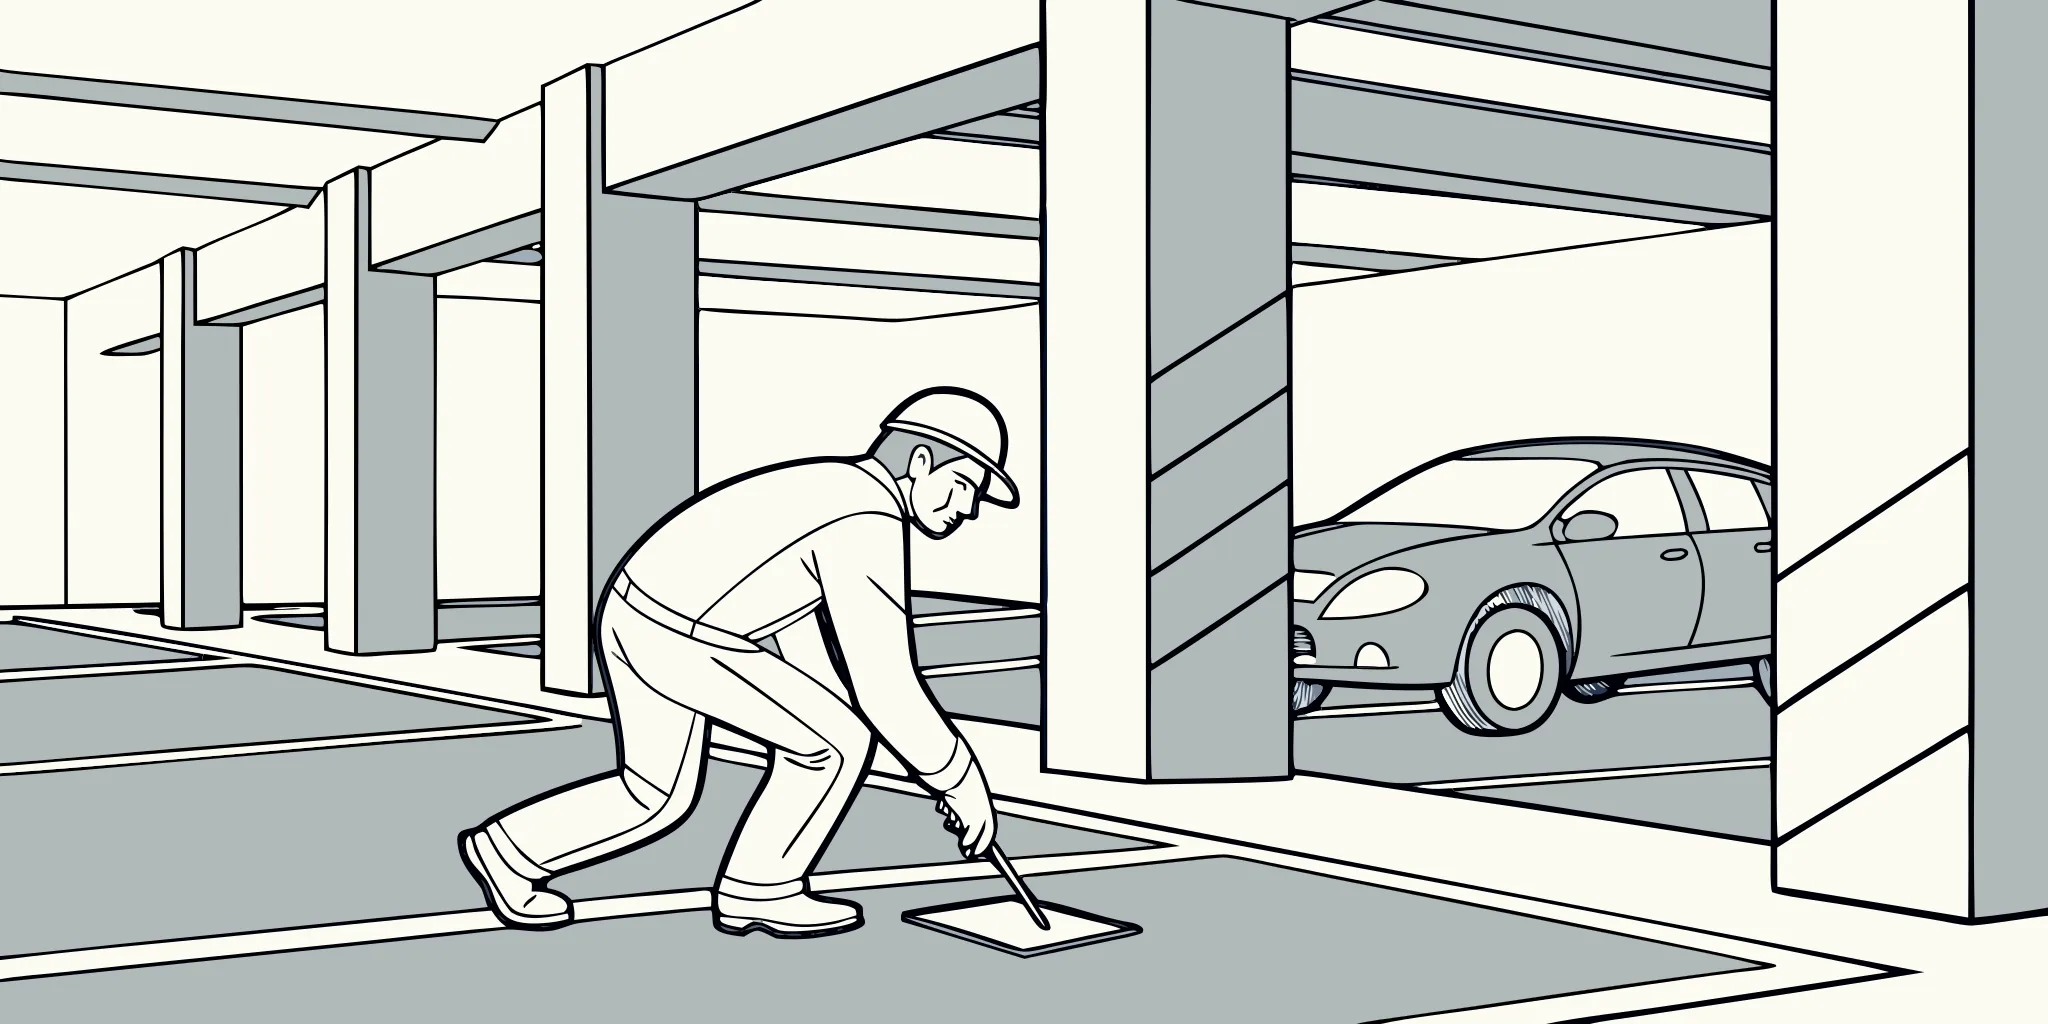
A successful wayfinding system repeats the same visual logic throughout the full trip. Drivers should be able to recognize level names, colors, arrows, destinations, and exit routes without stopping to reinterpret the system at every turn. Pedestrians need the same continuity when they leave a vehicle, find an elevator or stair, and later return to the correct level and zone.
Begin with route maps for the most common journeys: entry to parking, parking to the building, building to the parked vehicle, and vehicle to exit. Mark each location where a person must choose a direction. Then confirm that the message before the decision gives enough time to respond and that a reassurance graphic appears after the turn when needed. AP Installations’ overview of industrial wayfinding graphics shows how graphics can support clear movement through complex environments.
Consistency must survive production and installation. Review a complete message schedule, elevations, and placement plan before graphics are printed. During the field walk, verify that every label matches the actual destination and that no arrow becomes ambiguous when viewed from the approach path. Photograph approved locations and note measurements so installers are working from one coordinated source.
Before final installation, proof every message with the property team. Parking operations, facilities, security, and tenant representatives may each catch different issues. A disciplined proofing process is less disruptive than replacing a graphic after the garage has reopened.
Visibility starts with the moment a driver or pedestrian can first see, read, and act on a graphic. A strong plan studies each approach path before choosing type size, color blocks, arrows, and final placement. Clear wayfinding can help people reach a destination with less difficulty, according to a study of wayfinding signs in a public facility.
Drivers need to spot and understand directions while moving, often with little time before a turn or ramp. A graphic that reads well from a parked car may fail on an active drive aisle. Review the expected viewing distance, vehicle speed, approach angle, and point where the driver must act.
Pedestrians move more slowly and can read smaller details, but their routes often differ from vehicle paths. They may approach elevators, stairs, payment areas, or exits from several directions. Design a clear information order for each audience, then keep secondary details away from fast vehicle decision points.
Columns, parked vehicles, open doors, ramp slopes, and low ceilings can block a graphic from view. Place key directions where those common barriers are least likely to hide them. When a column is the right location, check every likely approach instead of judging only the front face.
Lighting can also shift across a garage. Bright entry zones, shaded interior bays, glare, and uneven fixtures can change how colors and contrast appear. Review graphics under the actual conditions when possible, including daytime and evening. The same practical review supports other industrial wayfinding graphics placed in complex facilities.
Doors need added care because an open leaf can cover a message or change the path around it. Keep arrows, level markers, and destination names clear of door swings and hardware. Check whether people will see the graphic while approaching, waiting, and leaving the doorway.
A full-size field mockup tests the design in the space where people will use it. Print a temporary sample or mark its outline at the proposed height. Then walk and drive each route to check reading time, blocked views, arrow direction, and placement at decision points.
Run the review from more than one eye height and lane position. Include a driver, a passenger, and a person walking from nearby parking spaces. Note where each person first sees the message and where they understand the next move. This makes parking garage wayfinding graphics installation decisions easier to verify before final graphics reach the concrete.
Record each approved location with photos, measurements, surface notes, and the intended viewing direction. That field record helps the installation team place related graphics in a steady pattern. It also reduces guesswork when a planned spot must shift around a column, door, fixture, or other site condition.
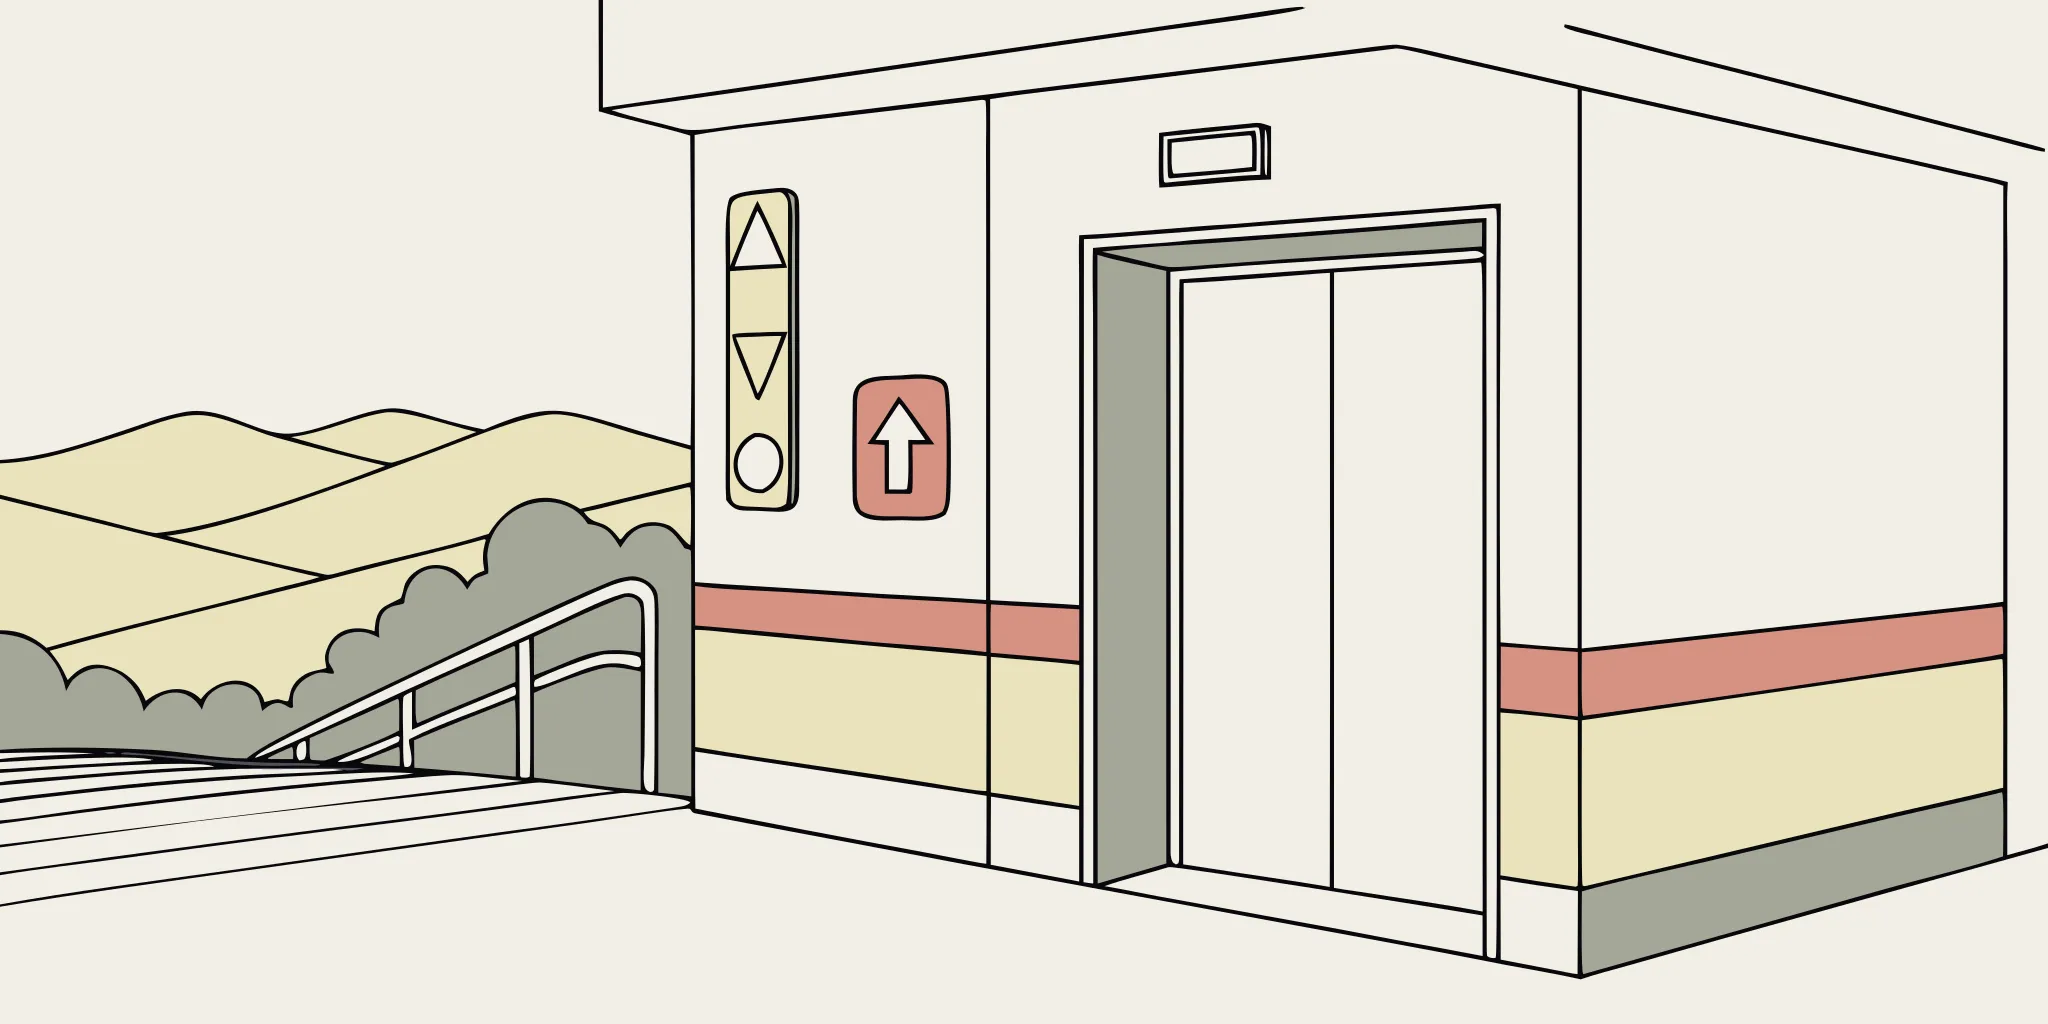
A parking garage wayfinding graphics installation works best when the team plans around traffic, safe access, and the order of other trades. Divide the garage into small work zones, then assign each zone a clear installation window. This approach keeps most parking spaces and drive aisles open while installers work.
Start with a joint walk-through that includes the owner, garage operator, installer, general contractor, and any active trades. Confirm every graphic location against the final message schedule and marked plans. Note low-light areas, rough concrete, pipes, cameras, and other items that may affect placement.
The team should also verify which signs must meet accessibility rules before materials reach the site. The 2010 ADA Standards for Accessible Design set minimum scoping and technical requirements for covered signs. A separate review of ADA compliant wayfinding signage can help teams catch placement concerns before installation.
Use this sequence for each level or work zone. Give the garage operator a daily closure map, and adjust the plan when another trade needs shared access.
At the end of each shift, walk the finished route from a driver’s and pedestrian’s view. Check whether each direction appears early enough for a safe choice. Record defects by zone, location, graphic ID, and photo. This detail helps the right crew return with the right material.
Reserve a final work window for the punch list after all primary zones are open. Group repairs by level to avoid repeated closures and lift moves. Then test the final route with the garage operator. Remove temporary signs and hand over the marked completion record.
Wayfinding graphics remain useful when they stay clean, legible, accurate, and consistent. The closeout package should give the facility team enough information to inspect the system, clean it appropriately, and order matching replacements. Include final artwork, an installed-location schedule, color references, material records, and photographs of the completed work.
During regular garage inspections, look for lifting edges, impact damage, heavy soil, fading, covered messages, and graphics that no longer match the route. Pay extra attention near entrances, ramps, loading areas, payment equipment, elevators, and high-contact pedestrian zones. Document issues by location and photograph them from the normal approach direction. This makes it easier to decide whether a graphic needs cleaning, repair, replacement, or relocation.
Give cleaning teams the graphic manufacturer’s care instructions and make sure replacement vendors can identify the installed material. Aggressive tools or chemicals may affect some graphic systems, while grime left in place can reduce clarity. A defined process reduces guesswork and helps the facility maintain a consistent appearance.
Parking operations change over time. A level may be renamed, an elevator may be taken out of service, or a destination may move. Temporary messages should be clear and professionally installed, but they should not obscure permanent directions or introduce conflicting colors and arrows. When a permanent update is needed, review the connected route so one change does not create a contradiction elsewhere.
Keep a small replacement plan for graphics in areas likely to experience impact. When repairs are needed, use the approved production file and verify the field condition before printing. If you are planning a new installation or an update to an existing system, contact AP Installations to discuss the site, surfaces, access, and installation schedule.
Check the concrete or coating for dust, moisture, texture, repairs, contamination, and weak paint. Clean and repair the surface as needed, then complete a representative adhesion test before full production or installation.
Sequence work by access zone and user route. Coordinate closures, surface preparation, installation, quality checks, and reopening with parking operations and other trades so completed graphics are protected.
Plan messages for their approach speed, viewing angle, sightline, and decision point. Drivers need early, simple directional cues, while pedestrians often need detailed reassurance near elevators, stairs, doors, and payment areas.
Provide final artwork, a location schedule, material and color records, care guidance, and photographs. These records support future inspections, accurate replacements, and coordinated updates.
For a comprehensive guide that covers wayfinding signage installation across education and corporate campuses, see our Wayfinding Signage Installation Guide for Corporate and Education Campuses.
Delaying installation can leave drivers circling for exits, elevators, or reserved areas, creating avoidable confusion during every busy period. Starting now gives your team time to confirm routes, prepare surfaces, and schedule installation before traffic patterns or project deadlines become urgent. Early planning also helps installers address concrete conditions, low-light areas, and placement details before they slow work on site.
Ready to create a clearer route through your parking facility? Contact AP Installations about your parking garage wayfinding graphics project to discuss installation needs, site conditions, and a practical schedule. Request a project conversation now so your team can move from planning to installation with fewer last-minute decisions.