Blog
Installing Vinyl Wrap on a Car for Business Fleets
Learn the commercial process for installing vinyl wrap on a car, including vehicle preparation, film application, fleet coordination, finishing, and care.
Blog
Learn the commercial process for installing vinyl wrap on a car, including vehicle preparation, film application, fleet coordination, finishing, and care.
Commercial vehicle graphics succeed or fail before the first panel is applied. Paint condition, surface cleanliness, installation temperature, material selection, and scheduling all affect the finished result and the time a vehicle spends out of service.
Professionally installing vinyl wrap on a car follows a documented sequence. The team assesses the vehicle and prepares the surface and workspace. It selects the film and application method, applies each panel with controlled tension, finishes and seals edges, then inspects and documents the work. For business vehicles, the process also includes coordinating access, timelines, and fleet consistency.
Plan your commercial vehicle wrap installation with AP Installations.
Each stage protects the brand investment while reducing avoidable bubbles, wrinkles, adhesion issues, and rework. The process begins with a careful assessment of the vehicle and the graphics plan.
Installing vinyl wrap on a car for business use is a controlled, multi-stage process rather than a single application step. A professional workflow moves from vehicle assessment and preparation to film application, finishing, inspection, and care. Each stage protects the appearance of the graphics and helps the finished vehicle support a consistent brand presentation.
The process typically begins with an assessment of the vehicle and the project requirements. For commercial work, the installer reviews the vehicles involved, evaluates the planned graphic coverage, and creates templates that support consistency across a fleet. AP Installations uses this assessment and template-creation approach when coordinating fleet branding, whether the project calls for full vehicle graphics, partial graphics, truck branding, or transit advertising.
Commercial vehicles are working assets, so installation planning must account for more than the film itself. A business may need several vehicles treated to the same standard, in a particular sequence, while keeping daily operations moving. Scheduling the work around vehicle availability can reduce downtime and make the rollout easier for operations teams to manage. It also gives the installer and client a shared plan for access, timing, and the expected scope of each vehicle.
Once the scope is confirmed, the vehicle moves through preparation. The installer checks the surface and gets it ready for application before placing any film. The graphics are then applied with attention to the vehicle's panels and the approved layout. Finishing work follows application, after which the installation is inspected for presentation and workmanship. The final stage is care guidance, so the business understands how to look after the completed graphics.
This sequence matters because a commercial installation has to be repeatable. A single vehicle may be one part of a broader brand rollout involving multiple units, locations, or partners. Clear coordination helps maintain the intended appearance while limiting disruption to the business. For a broader planning view, see this guide to commercial fleet vehicle wraps.
AP Installations supports projects ranging from individual commercial vehicles to coordinated fleet branding. The company serves clients in the Pacific Northwest and can support nationwide execution. For print shops, sign shops, agencies, and business operators, that commercial focus provides a structured path from approved artwork and vehicle planning through a completed installation.
Before installing vinyl wrap on a car, a professional installer evaluates the vehicle as a surface, a design template, and a scheduling constraint. The goal is not simply to confirm that the vehicle looks clean. It is to identify conditions that could affect adhesion, appearance, access, or the consistency of a multi-vehicle rollout.
Wrap film produces the best results on a like-new finish. Rust, bubbling, scratches, dents, peeling paint, and other damage may remain visible through the film. They can also interfere with adhesion or contribute to premature film failure. A vehicle with body damage or an incompatible finish may need repair before graphics are approved for production.
Recently painted areas require particular care. The paint must fully cure according to the paint manufacturer's directions before film is applied. Body filler repairs should be properly finished, including sanding, epoxy priming, and an appropriate paint or clear coat where applicable. The installer should record these conditions rather than treating every vehicle as ready by default. 3M's vehicle finish guidance explains why the substrate condition matters.
The inspection also identifies anything that could obstruct application or change the design. Logos, hood ornaments, handles, mirrors, trim, sensors, vents, and other bulky objects may need to be removed, masked, worked around, or excluded from the graphic. These decisions affect the artwork, the amount of material required, installation time, and the final edge treatment.
For commercial vehicles, the team should confirm the make, model, year, body configuration, accessories, and any differences between units. A template based on one van may not fit another vehicle with a different roof rack, mirror package, door configuration, or replacement body panel. Reviewing those details early prevents avoidable surprises at the installation bay.
Fleet projects need more than a one-vehicle visual check. Vehicle assessment and template creation help establish repeatable placement for logos, phone-free URL calls to action, colors, and other brand elements across the group. AP Installations uses this planning approach to support fleet consistency, while scheduled installation helps reduce vehicle downtime. The schedule can account for vehicle availability, repair completion, graphic production, access requirements, and the order in which units return to service.
That inspection record becomes the practical handoff between the client, designer, print provider, and installation team. It clarifies what is ready, what needs correction, and what must be approved before film reaches the vehicle.
Preparation determines whether a commercial vehicle wrap has a clean appearance and dependable adhesion. Before film reaches the vehicle, the installation team should control both the substrate and the workspace. This is not a quick wash followed by application. It is a documented part of the professional workflow, especially when several vehicles must receive consistent branding.
Dust, grease, oil, wax, and other contaminants can interfere with adhesion and contribute to bubbles or visible defects. The surface should be cleaned with products appropriate for the vehicle finish, then dried fully before film is applied. Once the surface is ready, the installer should proceed promptly so airborne dust and other contaminants do not accumulate again.
Preparation materials may include a 70 percent isopropyl alcohol and 30 percent water mixture, along with a lint-free cloth. The correct materials and cleaning sequence depend on the film system, substrate, and manufacturer instructions. A useful reference for the detailed preparation considerations is this vinyl surface preparation checklist.
Cleaning is also an opportunity to identify areas that need additional attention. Seams, channels, edges, trim gaps, and other hard-to-reach areas can retain residue or moisture. Those areas need careful inspection before application, rather than being assumed ready because the larger painted panels look clean.
A clean, dry, well-lit indoor environment is recommended for vehicle preparation and installation. The work area should be away from entrances, ventilation, and equipment that could introduce dust or contaminate the vehicle. Good lighting helps the installer see residue, surface imperfections, trapped air, and edge conditions before they become finishing problems.
Temperature matters because film and adhesive respond to the environment. 3M vehicle-preparation guidance lists an operating range of 10 C to 38 C, or 50 F to 100.4 F. That range is not a universal setting for every wrap product. Product-specific bulletins should determine the required installation temperature, and the team should account for the actual vehicle, film, substrate, and facility conditions. Humidity and airflow also deserve attention when the project requires tight process control.
Surface preparation can involve cleaning chemicals, so professional installers should use appropriate personal protective equipment based on the facility and the products being handled. Chemical labels and Safety Data Sheets provide the controlling guidance for health, safety, environmental, storage, and handling requirements. A preparation method should never rely on an assumed solvent strength or an unsupported claim that a chemical is safe for every finish.
AP Installations prepares surfaces to 3M specifications as part of its commercial installation process. That disciplined preparation helps create a consistent starting point before the team moves into panel application, finishing, and inspection.
The right application method depends on the film system, graphic size, vehicle contours, environmental conditions, and the level of placement control the project requires. A professional installer evaluates those variables before material is cut, rather than treating every vehicle panel the same. AP Installations selects dry, wet, or heat-assisted methods according to the project and uses heat-assisted application for demanding curves and channels. The objective is consistent coverage, accurate alignment, and a finish that suits the vehicle's working environment.
| Method | Appropriate use | Control needs | Commercial consideration |
|---|---|---|---|
| Dry application | Precision placement on prepared panels where alignment and immediate adhesion are priorities. | Requires a clean, dry substrate, measured panel planning, controlled liner removal, and consistent application technique. | Supports repeatable placement across branded vehicles, especially when templates and production specifications must stay consistent. |
| Wet application | Some large graphics or project conditions where repositioning may be useful. | Requires product-specific process control and careful management of moisture before the film is finalized. | Can help manage placement on larger graphics, but the installer must confirm that the selected film and substrate support this method. |
| Heat-assisted application | Curves, channels, recesses, and other areas where the film must conform to a complex shape. | Requires measured heat, controlled tension, and attention to the film manufacturer's instructions. Excessive or uneven heat can affect the result. | Helps address complex vehicle geometry while supporting clean edges and reliable finishing when handled by an experienced installer. |
Material planning also affects the finished appearance. A full-wrap estimate must account for the vehicle's dimensions, complex areas, and reasonable production allowance, but there is no universal quantity that fits every vehicle or design. Panel shape, access, seams, graphics coverage, and the need for pattern matching all influence the final material plan.
Film orientation deserves equal attention. Some vinyl films have directional color characteristics, similar to a visible grain. Rotating one panel can make it appear to have a different shade from adjacent panels, so the installer should maintain a consistent orientation throughout the design. Product selection matters as well. For example, 3M Wrap Film Series 2080 is a multi-layer cast adhesive-backed film intended for full-color wraps, accents, and partial decoration. 3M describes it as more conformable than the previous 1080 series. Those product-specific properties should not be generalized to every vehicle wrap film. Professional fleet graphics installation brings these material and method decisions into a coordinated commercial workflow.
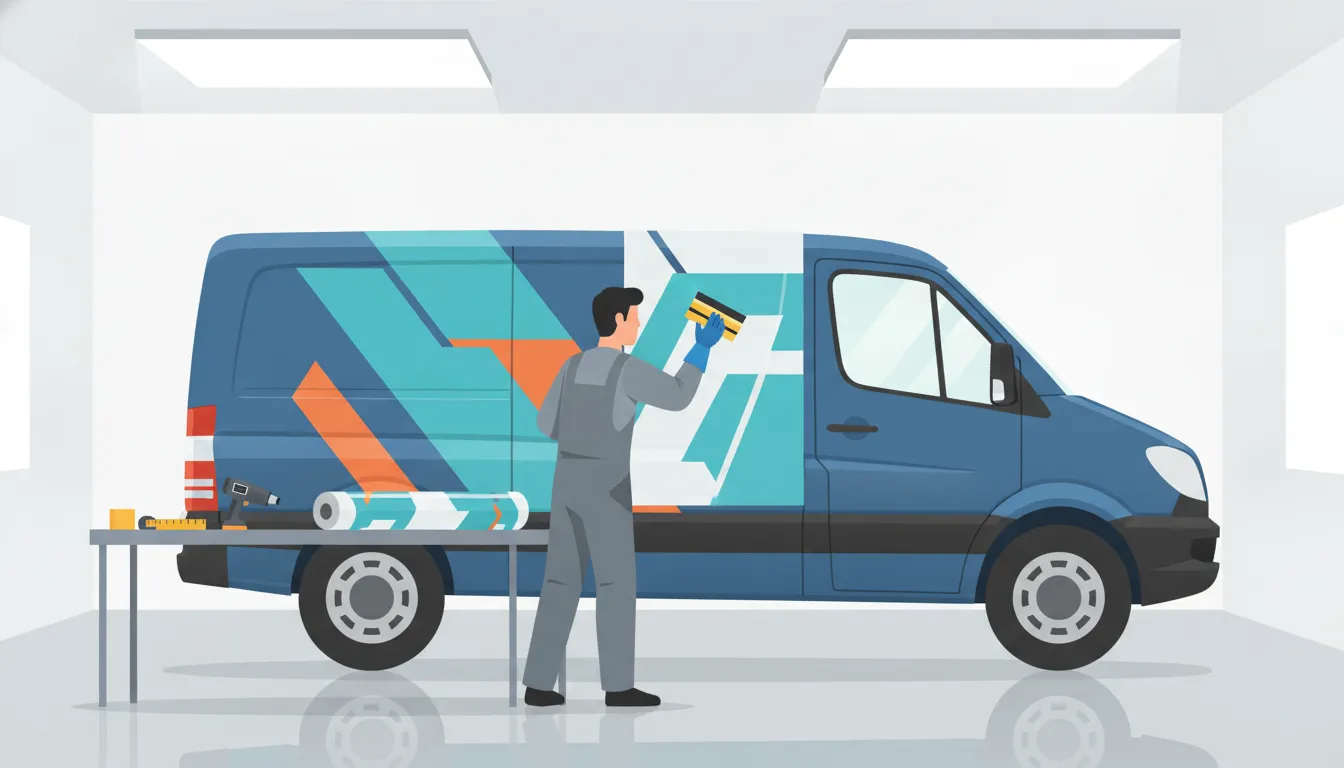
Once the vehicle and material are ready, application should proceed panel by panel. A professional installer removes the liner gradually while keeping the film supported and maintaining controlled tension. The goal is to place the graphic accurately without forcing it to carry more stretch than the panel requires. On moderately curved surfaces, careful repositioning helps distribute tension across the panel rather than concentrating it in one corner.
Squeegee work then sets the film against the substrate. Use deliberate, overlapping passes to work air toward an open edge and keep the tool moving in a consistent direction. If a section begins to crease or loses alignment, lift and reposition it while the adhesive still permits adjustment. Pulling harder is not a substitute for correcting the angle or the panel layout. Excessive stretch can distort printed graphics, increase memory in the film, and create avoidable stress at recesses and edges.
Curves, channels, mirrors, handles, and other complex areas require a method selected for the film and the vehicle. AP Installations uses dry, wet, or heat-assisted application depending on the project, including heat-assisted work for curves and channels. The chosen method should account for the film's construction, the panel shape, and the required finish. For example, 3M describes Wrap Film Series 2080 as a multi-layer cast adhesive-backed film for full wraps, accents, and partial decoration. Its conformability differs from the earlier 1080 series. Those product characteristics do not replace the manufacturer's instructions.
Exact heat and pressure settings must follow the selected film's technical bulletin. A heat gun should keep moving rather than dwelling over one spot, and temperature should be monitored with the appropriate tools. Too little heat may leave a difficult curve inadequately conformed, while too much can distort the film or affect the finish. On applicable 3M 2080 gloss films, the protective layer remains in place during installation and must be removed before post-heating. This is product-specific guidance, not a universal rule for every wrap system.
Finishing makes the difference between a panel that looks complete and one that remains vulnerable at its boundaries. Trim cleanly, leave an appropriate edge allowance where the system calls for it, and press the film firmly into place. Edges should be heated and sealed according to the product instructions, with special attention to recesses and high-contact areas. Post-heating is a deliberate final process that helps stabilize completed applications. It should cover the areas that were stretched or conformed, while avoiding unnecessary heat exposure.
After finishing, inspect the panel from multiple angles and under consistent lighting. Check seams, corners, channels, edges, and transitions between panels. AP's professional fleet graphics installation process keeps this controlled application approach aligned with commercial scheduling and consistent vehicle branding. Corrections are easier to make before the vehicle leaves the installation area.
Quality control does not end when the last panel is applied. A professional team completes a multi-point inspection across the vehicle, checking panel alignment, seams, edges, recesses, curves, and visible surface quality. Any imperfection that needs attention should be corrected before the vehicle returns to service. Photography creates a useful record of the completed work, including details that may be difficult to assess later.
When appropriate, the installer should walk through the finished vehicle with the client or project contact. This review confirms that the graphics match the approved layout, identifies any condition that needs follow-up, and gives the operations team a clear handoff. For fleet work, consistent documentation across vehicles also makes it easier to compare installations and manage future replacements or adjustments. AP Installations includes multi-point inspection, photography, corrections, and a final walkthrough when applicable as part of its post-installation quality control process.
An installation report should record the vehicle, work completed, application date, materials used, and relevant installation conditions. Depending on the film system and warranty program, records such as the material lot number, substrate condition, temperature, and other application details may help support a future warranty review. Some programs may also require a signed pre-installation inspection form. Warranty coverage is not universal: eligibility and terms can vary by film, application, exposure zone, surface, maintenance, and documented installation conditions.
Provide the client with the care instructions that apply to the selected film and the completed installation. The wrap should be allowed to cure before washing. One installation guide recommends waiting 24 to 48 hours, but the film manufacturer's and installer's instructions should control the final timing. Early cleaning should be gentle, and pressure should not be directed at exposed edges during the initial period. In particular, avoid pressure washing the edges during the first week unless the applicable product guidance says otherwise.
For practical cleaning and upkeep guidance, review these vinyl graphics maintenance tips. Clear aftercare instructions help vehicle operators protect the finished graphics while giving the installation team a defined reference point for follow-up questions or adjustments.
Businesses should expect more than film application when they hire a professional team for commercial vehicle graphics. The work should begin with a clear project scope, including the vehicles involved, the graphic coverage, brand requirements, access constraints, and the operating schedule. That planning gives the installer a practical basis for coordinating vehicles without treating every car as an isolated job.
Consistency is especially important when several vehicles represent the same company. AP Installations uses vehicle assessment and template creation to support consistent fleet branding across applications. This helps the team account for differences in vehicle models, body lines, trim, and graphic placement before installation begins. The result is a rollout that follows the approved brand direction while respecting the physical differences between vehicles.
Scheduling should also reflect how the vehicles are used. Commercial cars and vans may be tied to service calls, deliveries, sales visits, or daily routes, so taking them out of operation can affect the business. AP schedules fleet installations with the goal of reducing vehicle downtime. A professional coordinator can discuss vehicle availability, group compatible units, and establish a workable sequence instead of leaving operations to absorb an avoidable disruption.
Businesses can also expect a direct service relationship that extends beyond a single full wrap. AP supports full and partial vehicle graphics, commercial truck branding, transit advertising, and coordinated branding across multiple fleet vehicles. Review the broader commercial graphics solutions to see how the scope can fit different vehicle and campaign needs.
Print shops, sign shops, and agencies may use a different engagement model. When they sell a large-format vehicle graphics project but do not have installation capacity in-house, a professional installer can work as a wholesale or white-label partner. That arrangement keeps production and installation aligned while allowing the originating business to remain the primary client contact. Expectations should be confirmed early, including files, material responsibility, vehicle access, scheduling, quality checks, and client-facing communication.
AP serves customers throughout the Pacific Northwest and supports nationwide project execution. For a regional fleet or a project involving vehicles in multiple locations, the key question is whether the installer can coordinate standards, scheduling, and documentation across the agreed scope. Those operational details matter just as much as the finished appearance when a wrap is part of a working business fleet.
DIY application may be possible for a small, simple panel, but commercial vehicles usually require professional assessment, preparation, panel planning, and finishing. Large surfaces, curves, channels, trim, and fleet consistency leave little room for avoidable bubbles, wrinkles, or edge problems. A professional installer can also coordinate the work around vehicle availability and business operations.
The method depends on the film, graphic, vehicle surface, and placement requirements. Dry application supports precision placement, wet application can help with certain large graphics or repositioning needs, and heat-assisted application helps the film conform around curves and channels. The installer should follow the selected product's technical guidance rather than treating one method as universal.
The finish should be clean, dry, and as close to like-new as practical. Rust, bubbling, scratches, dents, and unrepaired bodywork can remain visible through the film or contribute to premature failure. Recently painted areas also need to cure according to the paint manufacturer's directions before application. See the 3M 2080 preparation guidance for product-specific considerations.
Request a commercial vehicle wrap consultation.
Follow the installer's product-specific care instructions, allow the wrap to settle before washing, and avoid directing strong pressure at edges during the early care period. Regular gentle cleaning helps protect the finished graphics. Ask for installation records and maintenance guidance so the business can keep care consistent across multiple vehicles.
A professional installation plan helps align vehicle condition, branding requirements, application methods, and scheduling before work begins. For a commercial vehicle or fleet project, request a project consultation. Share your vehicle types, graphic requirements, and preferred timing so the installation scope can be evaluated clearly.