Blog
Fleet Wraps Portland: A Commercial Planning Guide
Plan fleet wraps in Portland with a practical guide to vehicle assessment, consistent artwork, quote comparisons, installation logistics, and handoff.
Blog
Plan fleet wraps in Portland with a practical guide to vehicle assessment, consistent artwork, quote comparisons, installation logistics, and handoff.
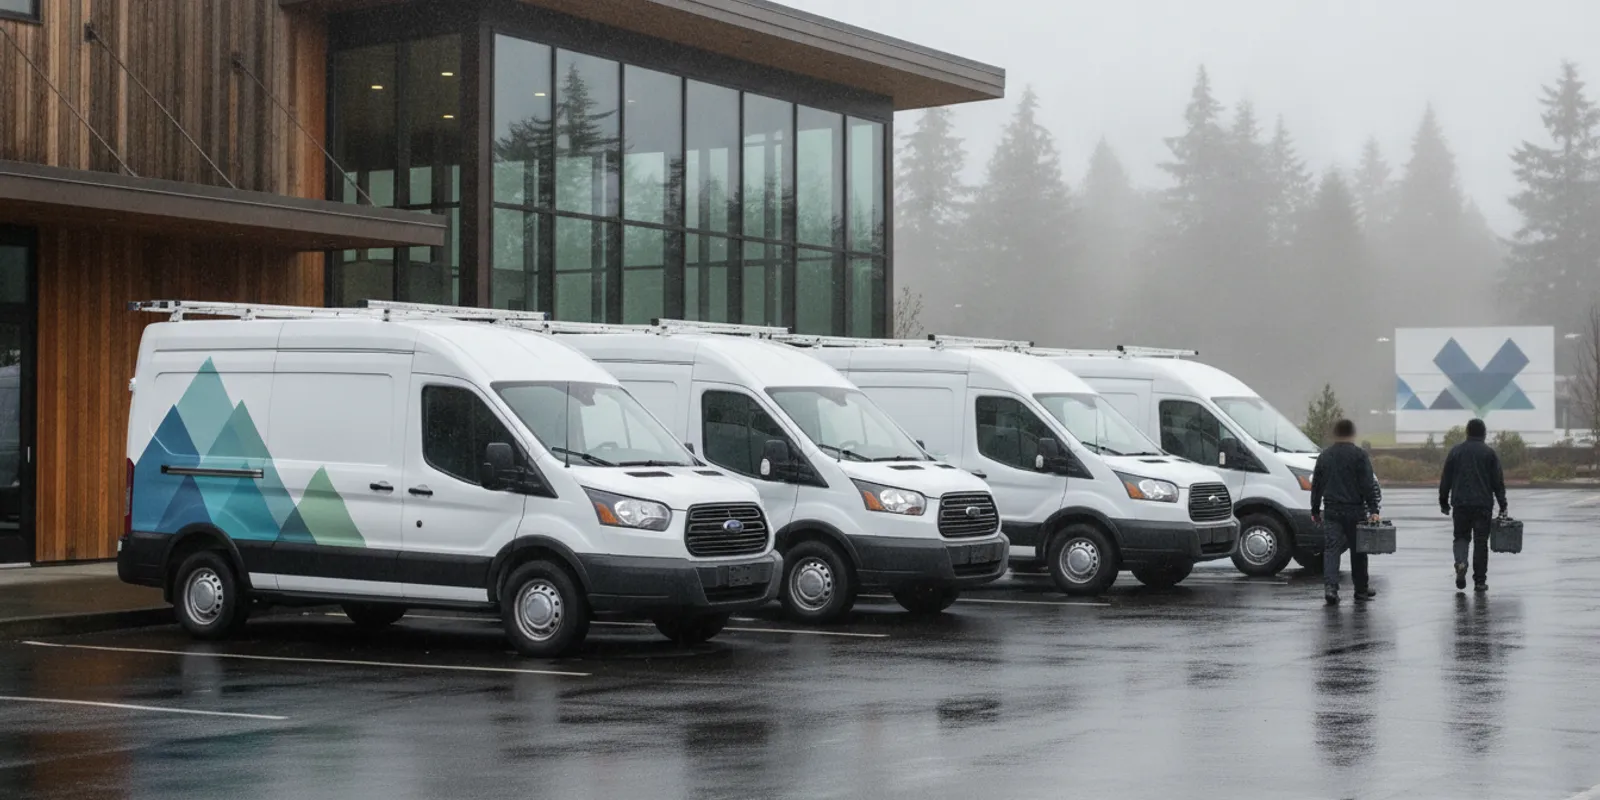
Planning fleet wraps Portland businesses can depend on begins with a clear scope, not a vehicle drop-off date. Fleet managers need to align the graphic purpose, vehicle condition, artwork, site access, and operating schedule before installation begins. This guide lays out a practical process for fleets ranging from a few service vans to groups with several vehicle types, so decisions are easier to coordinate and verify.
Discuss your Portland fleet installation
Start by agreeing on what the graphics need to do. A fleet design may identify a company, distinguish service vehicles, carry a campaign, or combine several purposes. The primary message should be clear at a glance. If a vehicle is seen briefly in traffic or from a customer’s driveway, a crowded layout can make the essential information harder to take in.
Write a short brief before selecting full wraps, partial coverage, or cut graphics. Identify the audience, the main message, and any required brand elements. Mark content that is optional, such as a secondary service list or campaign detail. This gives the design team a way to make trade-offs if a body shape limits the available area.
For a local overview of planning and service options, see Portland fleet installation. To weigh different levels of coverage, compare fleet graphics and fleet wraps. The choice is not just about how much vinyl goes on a vehicle: it affects layout, production, installation, and how consistently the fleet can be updated.
A model name alone is not a complete installation specification. Trim, wheelbase, roof height, doors, windows, mirrors, aftermarket equipment, replacement panels, and past repairs can all change the usable surface. Two vehicles described as the same model may still have different details that matter to layout or application.
Build a unit-level inventory with an identifier that matches the fleet’s own records. For every vehicle, note year, make, model, body style, configuration, and current condition. Photograph all sides in good light, then add close views of details that could affect placement: seams, handles, rivets, lights, vents, fuel doors, sensors, windows, badges, and accessories. Include visible damage or repair areas in the record rather than leaving the installer to discover them at check-in.
Use the inventory to group units by configuration. A useful group is not simply “all vans”; it is a set of vehicles with the same relevant body shape and features. If a group includes a long-wheelbase version, a high roof, or different window positions, flag that variation. Arrange an in-person review of representative vehicles when needed, and identify which units require a separate assessment.
Keep the source of each detail clear. A fleet spreadsheet can supply vehicle identifiers and specifications, while photographs show visible conditions. Add a date to the photographs and note any later repair or equipment change. If a vehicle changes between the assessment and installation date, update the record and alert the project contact before artwork or staging decisions rely on old information.
| Graphic option | Useful when | Planning checks | Fleet consideration |
|---|---|---|---|
| Full wrap | The brief calls for broad, continuous coverage across much of the vehicle body. | Surface condition, panel transitions, openings, windows, and vehicle-specific fit. | Check variations in body shape and the implications of keeping the treatment consistent. |
| Partial wrap | Prominent brand elements are needed on selected panels, with other areas uncovered. | Coverage boundaries, existing paint or graphics, and transitions between treated and untreated areas. | Set repeatable placement rules while allowing for different vehicle dimensions. |
| Cut graphics or decals | The scope focuses on identifiers, logos, or a limited number of messages. | Legibility, surface condition, spacing, and practical placement. | Specify positions and sizes so units remain visually coordinated. |
This comparison helps frame the discussion; it does not replace a review of actual vehicles, artwork, and material requirements. A design that looks balanced in a flat proof may encounter handles or seams on the vehicle. Build time for reviewing real configurations before production is approved.
Plan artwork around vehicle surfaces rather than relying on a single generic side-view outline. A logo or contact detail that fits a cargo van may land across a door seam on a different vehicle. Placement should account for how doors open, where equipment sits, and what a viewer can see from the front, side, and rear.
For a varied fleet, define a master layout plus controlled adaptations. The master sets core colors, logo use, message hierarchy, and the general relationship between graphic elements. Each vehicle configuration can then receive an appropriate layout that preserves the system without pretending its panels are identical. This allows the fleet to feel coordinated while respecting the vehicles’ different proportions.
Before approving layouts, provide the current approved brand assets and confirm who has authority to sign off. Use a marked-up proof to flag required content, optional content, and any panel-specific concerns. Ask reviewers to assess the design at two levels: first, whether the brand and message are clear; second, whether important elements avoid awkward breaks or collisions with vehicle features.
Clear roles make revisions more manageable. A fleet manager can confirm vehicle details and operational needs; the brand owner can approve visual standards; a print partner can coordinate production files and materials; and the installer can review surfaces, fit, and application conditions. AP Installations specializes in installation and partners with print shops and agencies. Learn more about installation support for brands, agencies, and print shops or review its vinyl graphics installation solutions.
Build the schedule around dispatch requirements as well as installation capacity. Begin with a calendar of vehicle availability, route commitments, customer appointments, and blackout dates. Ask operations to identify the minimum number of vehicles that must remain ready each day. That number should shape how many units can be released in each group.
Next, group vehicles by configuration and availability. When similar units can be presented in an orderly sequence, repeated review and coordination may be simpler. Staggering releases can preserve operating capacity. The right sequence depends on the actual scope, vehicle count, site conditions, and installer’s schedule, so avoid promising a fixed duration before these details are reviewed.
Allow the project plan to account for more than the application window. It may need time for vehicle check-in, condition confirmation, access coordination, installation, a quality review, and return-to-service communication. Decide who can authorize a schedule change if a vehicle arrives late, has an unexpected condition, or is not available as planned. A named decision-maker prevents routine changes from waiting on a broad email chain.
For example, a fleet with several service vans and one specialized truck might release a small van group first, then keep the specialized unit available until its different configuration has been reviewed. A separate group can proceed only after the fleet team confirms that enough vehicles remain in service. This is a planning example, not a fixed sequence: the unit list and operational constraints should determine the actual batches.
Confirm where the vehicles will be staged and what access the project requires. Share the site address, available work area, entry and exit arrangements, access hours, security steps, and any parking restrictions before the schedule is finalized. If the fleet operates from multiple yards, decide whether vehicles can be consolidated or whether the project needs separate site coordination.
Walk through the site plan with the person who controls the facility. Check that vehicles can enter and move through the space, that work areas will be available for the scheduled window, and that the installation team knows where to check in. Do not assume that a large parking area is automatically suitable for the planned work; confirm the actual space, access, and conditions with the project team.
Prepare a handoff procedure for each unit. Identify who brings the vehicle, who receives it, where keys are held, and who can release it after completion. Remove loose personal or work items where appropriate and tell the project contact about surface repairs, recent paint work, or other known conditions. The installation team should review the actual vehicle and communicate project-specific preparation needs rather than relying only on a general checklist.
A simple vehicle record can include:
Use the same record format for each batch. Consistency helps when vehicles are handled on different days or returned to different departments. It also gives the fleet manager a concise basis for checking that the expected units have moved through each project stage.
When you request or compare proposals, make sure the underlying scope is comparable. One estimate may assume one vehicle type and another may include mixed configurations, additional site coordination, or a different coverage level. Ask what each proposal includes, what information it relies on, and what conditions would require a revised scope.
Installation costs can vary with the coverage, vehicle size and condition, materials, access, and project logistics. Transit, airport, and other controlled-access environments may need custom coordination. Do not treat a generic per-vehicle number as a final budget until the fleet list, work location, and project conditions have been reviewed. If production and installation are handled by different partners, make clear which items belong to each scope so an omission does not emerge later.
Send a complete quote brief with the following:
Share the information you have even if a few details remain open. Label unknowns rather than guessing, then ask what is needed to resolve them. For more context on vehicle-specific planning, read the guide to fleet graphics for service vans. You can also review the large-format graphic installation capabilities page and browse completed installation projects for examples of varied applications.
At completion, compare each vehicle with its approved layout and the unit inventory. Confirm that the right graphics are on the right units, that required identifiers are present, and that any documented variation is understood. Review the areas included in the agreed scope and note questions while the project team is still available to respond.
Ask for care guidance that applies to the materials and conditions used on this project. Avoid assuming that one care instruction, service life, or warranty term applies to every film and vehicle. If the project includes a warranty discussion, review the applicable terms and documentation with the project partners before relying on coverage.
For 3M references, the approved wording is: “Warranty eligibility depends on using the correct 3M Matched Component System, approved materials, documented production, proper installation, surface conditions, and exposure environment.” See 3M graphics and signage warranty information and the 3M installer resource for applicable details. Confirm the relevant materials and project terms directly; a reference to a warranty is not a blanket guarantee that every installation qualifies.
Close the project record with the completed unit list, any outstanding questions, and the contact responsible for follow-up. A fleet manager can then confirm which vehicles have returned to service and keep the approved artwork and project notes together for future additions or changes.
Request a quote for your Portland fleet project
Send the unit count and vehicle configurations, current photos, desired coverage, artwork status, work location, access details, and schedule constraints. Identify who can approve artwork and who will coordinate vehicle movement. If some information is not available yet, mark it as unknown so the scope can be clarified.
A shared design system can create a consistent fleet appearance, but the layouts may need adjustments for body shape, wheelbase, windows, seams, and equipment. Review every distinct configuration before approving final artwork, and define which brand elements must stay in the same relative position.
Not necessarily. Full wraps, partial wraps, and focused graphics serve different scopes. The right option depends on the message, vehicle surfaces, brand requirements, and how the fleet needs to look as a group. Compare the options against the purpose of the project before settling on a coverage level.
That depends on the project scope, available work area, schedule, and the number of vehicles operations can spare. Share dispatch requirements and blackout dates early so the project plan can account for the fleet’s day-to-day needs.
No. Eligibility depends on the specified system and materials, documented production, installation, surface conditions, and exposure environment. Confirm the terms for the actual project rather than assuming a warranty applies to all vehicles or applications.
A reliable fleet graphics project rests on accurate vehicle records, a clear artwork system, realistic scheduling, and a documented handoff. With those decisions made before vehicles arrive, Portland fleet teams can coordinate installation with a better-defined scope and fewer avoidable surprises.