Blog
Casino Graphics Installation: Guest Areas and Changeovers
Plan casino graphics installation around guest flow, phased work, access approvals, and campaign changeovers in active venue environments.
Blog
Plan casino graphics installation around guest flow, phased work, access approvals, and campaign changeovers in active venue environments.
In an active casino, a graphic is rarely just a graphic. It sits within a guest journey, an operating schedule, a brand system, and a handoff between owners, agencies, print partners, and installers.
Explore AP Installations solutions for venue graphics
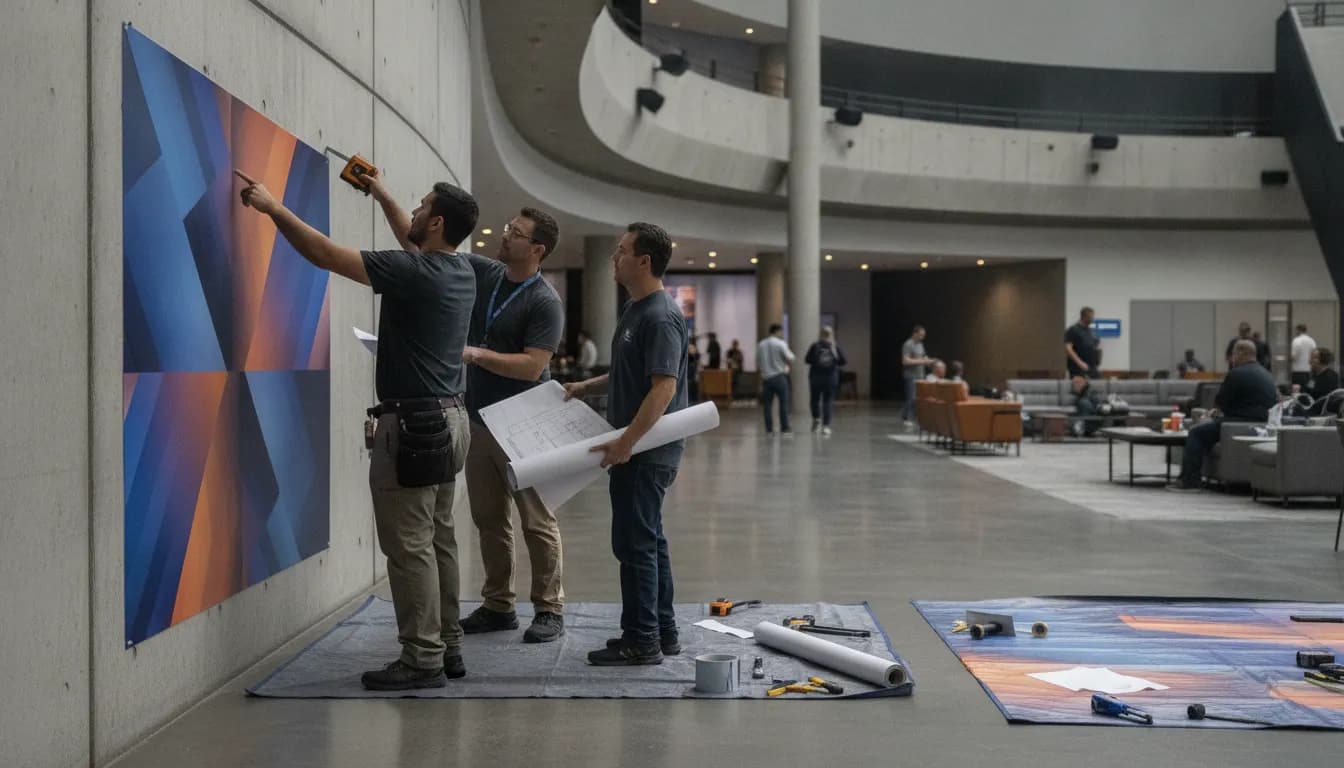
Effective casino graphics installation treats the property as a coordinated set of zones. The plan should align approved artwork, material choices, guest access, safety requirements, work windows, inspections, and closeout records before crews begin. A site assessment and clear milestone plan help teams manage those decisions while reducing avoidable disruption. AP Installations' planning framework includes surface and environmental review, access and safety planning, resource allocation, and milestone communication.
With those constraints established early, the project team can decide where crews work first, how guests are redirected, and who owns each approval. The framework begins with planning around real guest movement rather than treating access as an afterthought.
In an occupied casino or entertainment venue, graphics planning has to account for more than the finished appearance. The installation plan should show how people move through the space, where work can occur safely, and which operational stakeholders need to approve each decision. A useful starting point is a site assessment that records guest routes, surface conditions, environmental factors, access requirements, safety considerations, resources, and project milestones.
Document primary guest paths before selecting installation zones. Include entrances, lobby approaches, elevators, hospitality areas, gaming-floor circulation, restrooms, exits, service corridors, and any route that must remain clear. The goal is not simply to place graphics where they receive attention. It is to identify locations where equipment, tools, or temporary barriers could narrow movement or interfere with sightlines.
Review the plan with the people who understand the venue's daily operation. Operations, facilities, security, marketing, and the installation coordinator may each own different decisions. Security or venue operations may define restricted areas and approved access. Facilities may confirm wall conditions, utility concerns, or equipment limits. Marketing or brand stakeholders may approve visual placement. Assigning ownership early helps prevent a design approval from being mistaken for permission to work in a specific area.
Consider barriers and work-zone controls wherever installation activity could affect guests, staff, equipment, or visibility. Their placement should preserve required routes and allow venue personnel to monitor the area. The schedule should identify when surfaces can be prepared, when materials and equipment can arrive, and when the space can be inspected before it returns to normal use.
Off-hours work may be considered when requested, but it is not an automatic solution. A venue may still need access coordination, permit coordination when required, equipment planning, and clear milestone communications. If a route, sightline, restricted area, or safety control changes, the responsible venue owner should be notified before the work plan changes.
A phased sequence gives each team a clear handoff and makes it easier to manage work across occupied guest areas. The exact order can change with the site, surfaces, access requirements, and campaign schedule. The following framework keeps scope, approvals, installation, and reopening connected.
Graphics work in an active casino depends on more than the installation crew's arrival time. Venue management should define who may enter each area, which credentials or escorts are required, what safety procedures apply, and who can approve changes. Requirements can vary by property, location, event calendar, and the work being performed.
Start with a planning meeting that includes the venue contact, operations or facilities representative, security when appropriate, the creative or production team, and the installation partner. Confirm approved work areas, loading and staging access, elevator availability, guest-route restrictions, and areas that must remain open. If the installation involves public spaces, permit coordination may be required. Venue management should identify applicable approvals and the party responsible for obtaining them.
A written access plan can record contact names, access instructions, dates, delivery points, equipment limits, inspection points, and information required for handoff. It should distinguish confirmed requirements from items awaiting approval. This is especially important when a print shop, advertising agency, venue team, and installer share responsibility for one campaign.
Operations coordination should focus on reducing disruption to guests, staff, and scheduled activity. Off-hours installation can be considered when the venue requests it and access, staffing, and equipment support the plan. It should not be treated as a promise that the venue will operate without interruption. A practical schedule identifies setup, surface preparation, installation, inspection, correction time, and cleanup.
Before each phase, confirm area availability and distribute the latest approved artwork, dimensions, and placement instructions. Use an agreed communication channel for access changes, damaged surfaces, missing assets, and safety concerns. Keep a contingency path for a delayed delivery, unavailable zone, changed event schedule, or pending approval. The response may be to resequence zones, pause a section, or return after a new window is approved.
A campaign changeover is more than removing one graphic and applying another. In an active venue, the handoff must preserve consistency across panels, zones, entrances, and guest-facing touchpoints while giving operations a record of what changed.
Start with an asset handoff that identifies the approved file for each location, the panel or zone it belongs to, installation orientation, and surface notes. A zone inventory can prevent a correct graphic from being installed in the wrong position or a panel from being missed. Include revision status and approval ownership so the installer is not working from an outdated export.
Before removal, document the existing condition and confirm the work area with the venue contact. Photograph the zone, note damaged surfaces, and verify whether adjacent panels are staying in place. Removal should be controlled rather than rushed. The goal is to avoid damaging the substrate or leaving adhesive residue that affects the replacement.
After removal, inspect and clean the surface according to the material and site conditions. Check for residue, lifting edges, moisture, damage, contamination, or substrate changes that could affect adhesion. If the surface is not ready, record the issue and route it to the project contact before proceeding.
Use the approved zone inventory during installation. Inspect each completed panel for alignment, seams, edges, bubbles, wrinkles, color or artwork mismatches, and clearance from nearby features. Photo documentation should show the finished graphic in context. A repeatable signoff should record completed zones, exceptions, photos, and the responsible approver. The phased graphics installation for guests guide offers a related example of coordinating visible work in an occupied environment.
Material selection should follow the conditions each graphic will face, not simply the finished design. A casino project may include painted walls, glass, columns, doors, counters, elevators, temporary partitions, and floors. Each surface can present different adhesion, cleaning, access, and removal requirements.
| Installation zone | Planning focus | Questions to confirm |
|---|---|---|
| Walls and corridors | Surface condition, traffic, cleaning | Is the substrate cured, clean, and suitable for the selected film? |
| Glass and doors | Visibility, edges, access | Will the graphic preserve required sightlines and door operation? |
| Guest-facing floors | Foot traffic, cleaning, slip rating | Does the adhesive and protective finish fit the floor and maintenance plan? |
| Temporary campaign zones | Removal, changeover, handback | How will the existing graphic be removed and the surface documented? |
Start with a surface and environment review. Note whether the substrate is smooth, textured, painted, sealed, or likely to collect dust or cleaning residue. Painted surfaces should be evaluated for cure and adhesion before production quantities are committed. Glass and other nonporous surfaces may require a different approach from porous walls.
Traffic and cleaning are equally important. A wall in a controlled corridor may face different abrasion than a graphic beside a queue, gaming-area entrance, food-service location, or restroom. Areas touched by guests, carts, equipment, or frequent cleaning may need a material and finish selected for those conditions. For floor applications, specify an adhesive system and protective overlaminate appropriate for the surface, foot traffic, cleaning routine, and slip-resistance requirements.
Indoor and outdoor exposure also change the recommendation. Exterior-facing graphics may need to account for weather, temperature shifts, moisture, and sunlight. Interior graphics still require attention to humidity, ventilation, cleaning chemicals, and contact frequency. A material that performs well in one location is not automatically appropriate for another.
When the substrate, coating, cleaning regimen, or removal condition is uncertain, include an adhesion or compatibility test before full installation. Confirm the test area, approval owner, and acceptance criteria. Document the selected material, finish, substrate, location, and intended exposure for each graphic group.
A professional closeout gives operations a clear record of what was installed, checked, and left open. Build inspection into the work plan before installation begins, with an agreed list of zones, surfaces, panels, and approval contacts.
Review alignment, seams, edges, adhesion, surface condition, color consistency, and visible lifting, bubbles, wrinkles, scratches, or contamination. Check normal viewing distances and guest sightlines. Near doors, circulation paths, or service areas, confirm that the finished work does not obstruct required access, safety equipment, exit visibility, or operating clearances.
Document the result with dated photographs of completed zones, correction close-ups, and wider views showing the surrounding space. A photo log helps the client compare the finished installation with approved artwork and placement plans. Record corrections and resolve them before handback whenever the site schedule allows.
After corrections, complete a final walk-through with the client representative or site contact. AP's installation quality process includes inspection, photo documentation, corrections, and a client walk-through when applicable. Warranty records should be supplied only when project materials, documented production, surface conditions, and installation requirements support eligibility. A 3M Preferred Installer credential is useful to evaluate, but it does not make every project automatically eligible. Review the qualified graphics installation partner guide.
Discuss your casino graphics installation plan with AP Installations
Start with a site walk that maps guest routes, staff access, restricted areas, sightlines, surfaces, lighting, and safe work paths. Assign an operational owner for access and approvals. Sequence work by zone so each area has a preparation, installation, inspection, and handback point. Keep barriers, equipment, and staging outside required exit routes.
Document the scope by zone, approved artwork, surface and access requirements, work windows, responsible approvers, inspection checkpoints, and the order for reopening spaces. The schedule should reflect the actual footprint rather than rely on a standard duration.
Prepare replacement artwork and a zone inventory before removing existing graphics. Confirm what will be removed, inspect the exposed surface, install the approved replacement, and record photos and corrections during closeout. Plan removal as carefully as installation.
Review the floor surface, expected traffic, cleaning conditions, adhesive system, protective finish, access route, and removal plan before selecting the specification. Confirm placement with operations and keep the plan consistent with accessible routes, exits, and site requirements.
A clear installation scope aligns access requirements, guest-area restrictions, work phases, and changeover expectations before production or site work begins.
Contact AP Installations to discuss your venue graphics installation plan.