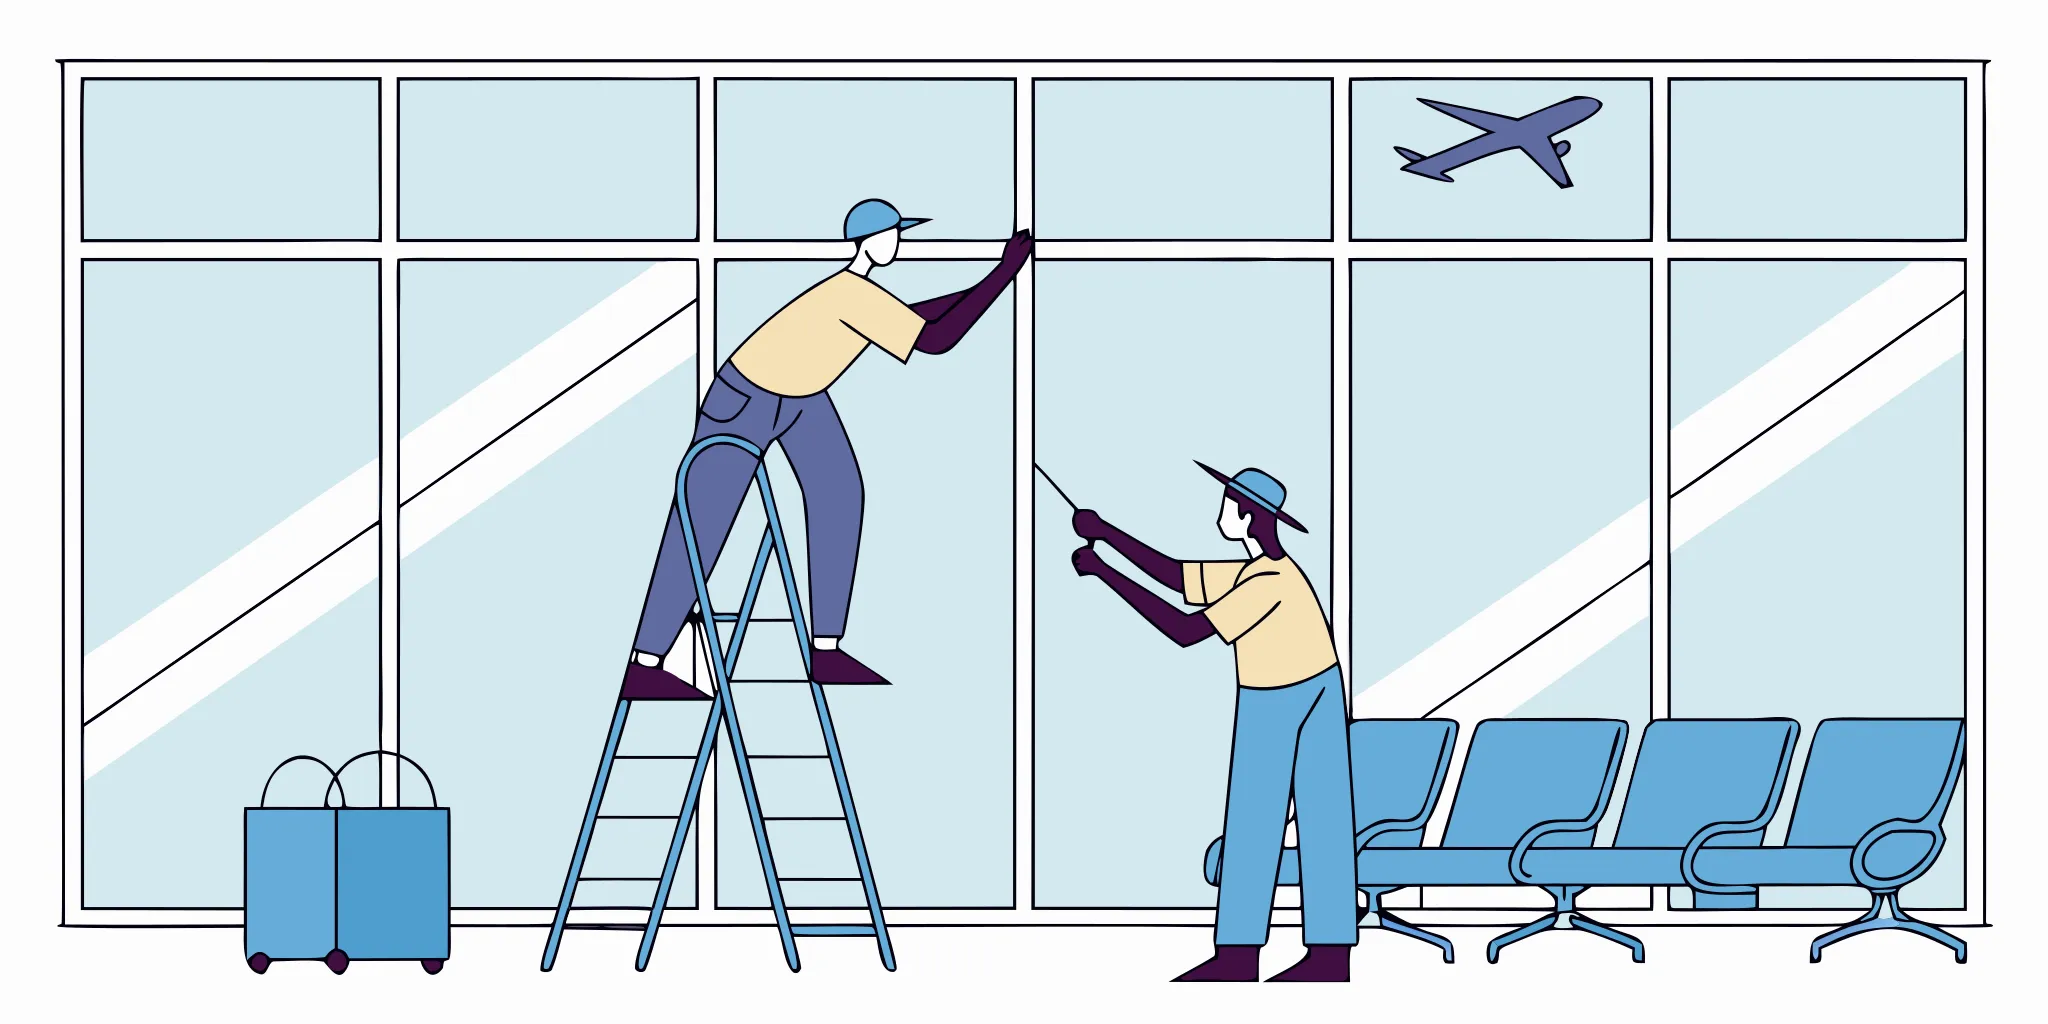
One loose floor decal or peeling wallscape in an airport can lead to costly fines, missed media value, and brand damage. Successful airport advertising graphics installation depends on a process that balances high-visibility marketing with strict facility rules, durable materials, security access, and clean removal.
Planning an airport campaign rollout? Contact AP Installations early so your graphics plan, access window, materials, and removal schedule are ready before production starts.
Airport advertising graphics installation is the process of applying branded vinyl graphics to terminal walls, windows, floors, jet bridge areas, baggage claim zones, and other airport media placements. It requires more coordination than a standard retail install because the work may involve badge access, escorted areas, off-hours labor, fire and slip ratings, lift equipment, and documentation for airport media or operations teams.
Agencies, airport media teams, and brand managers should work with certified installers who can review surfaces before print, match films to each placement, protect passenger flow, and provide photo proof after installation. AP Installations is a 3M Preferred Installer serving the Pacific Northwest with nationwide capabilities for commercial vinyl graphics, murals, wallscapes, window graphics, fleet graphics, floors, and experiential campaigns.
Use this checklist to keep your campaign on schedule from site survey to final sign-off. It covers the decisions that prevent last-minute airport delays: access coordination, surface prep, material selection, brand consistency, installation windows, safety standards, removal planning, and post-installation documentation.
Airport advertising graphics installation checklist
A strong airport campaign needs more than printed vinyl and an open wall. The best results come from a clear handoff between the agency, airport media team, print partner, and installer. Use this checklist before production so the crew can protect the brand, the terminal, and the launch date.
Confirm the campaign scope
- List every placement. Include wallscapes, window graphics, floor decals, elevator wraps, jet bridge areas, baggage claim graphics, and temporary campaign pieces. Give each location a clear placement ID.
- Verify final art against the site. Check final size, bleed, panel breaks, safe zones, and viewing distance before print. Airport walls, glass, and floors can have seams, curves, texture, trim, vents, or sensors that affect the layout.
- Match each graphic to the right surface. A floor decal, a glass film, and a wall mural each need a different film, laminate, adhesive, and removal plan. The installer should review the surface before production, not after the media ships.
- Build the access plan. Confirm badge needs, escort rules, delivery points, lift access, staging areas, parking, tool screening, and low-traffic work windows.
- Set the quality standard. Define how the team will judge alignment, edge finish, color consistency, cleanup, photo proof, and final approval.
- Plan removal from day one. Temporary airport ads should include a removal date, surface protection plan, and residue control plan.
Bring the installer in early
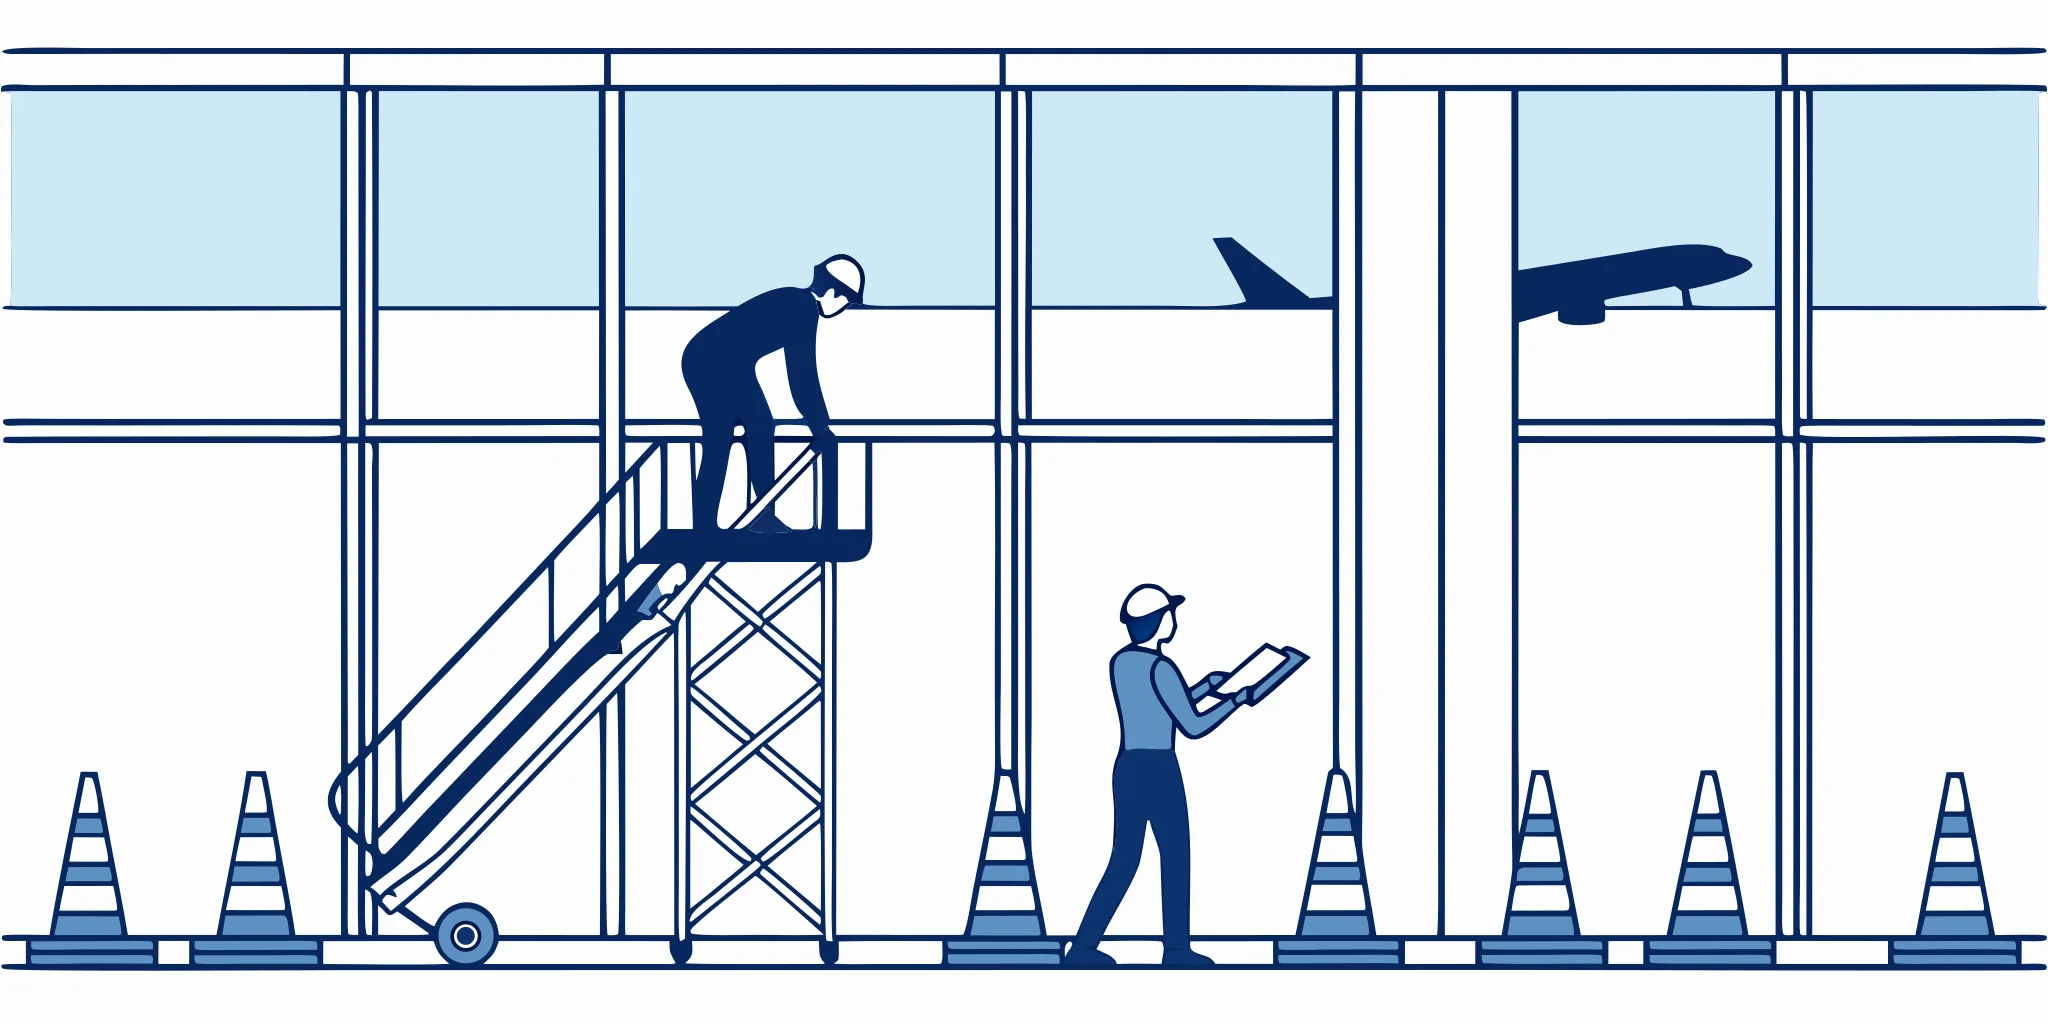
The installer should not be the last person to see the job. AP Installations is a 3M Preferred Installer, so the team can help flag issues before they become field problems. That can include wall texture, glass glare, floor traffic, panel size, lift clearance, and whether a film choice fits the campaign term.
Early review also protects brand consistency. If a campaign uses the same creative across walls, windows, and floors, the installer can help plan panel order, seams, sight lines, and final photo proof. That makes the finished campaign feel like one brand system, not a set of separate signs.
Keep the checklist tied to the launch date
Airport media has a fixed run date, so the checklist should work backward from the first day the campaign must be live. Leave time for proofing, print, shipment, airport access review, install, touch-ups, removal planning, and final photos. If any step is missing, the crew may lose the best work window.
For agencies and airport teams, the goal is simple: make the space ready before the vinyl arrives. A clear airport advertising graphics installation checklist helps the installer move with care, avoid guesswork, and deliver a polished campaign on schedule.
Plan access, security, and installation windows before production
Success starts long before the vinyl touches the wall. Airport facilities have their own approval processes, and the installer may need to coordinate with media teams, security, operations, maintenance, and sometimes outside contractors. That planning should happen before print files are released.
Navigate strict airport security rules
Working in an airport is not like a standard store job. Every crew member may need to go through security training. In some areas, workers must have a badge or an escort at all times. You must follow local airport rules to stay in line with site requirements. This keeps the project on track and avoids avoidable delays.
Moving tools and materials into the terminal also takes careful planning. Most airports have specific loading docks for vendors. Tools, ladders, lifts, and cleaning supplies may need approval before they enter a secure zone. Clear communication between the agency, airport media team, and installation crew is the best way to handle those rules. You should also check for union requirements, insurance documentation, approved vendor lists, and after-hours escort procedures before scheduling the work.
Schedule work for low-traffic windows
Airports never truly close, but they do have slower periods. Most airport terminal graphics installation work happens late at night or during controlled low-traffic windows. This keeps passengers safe and gives the crew room to work around walls, glass, escalators, baggage areas, and floor placements without blocking circulation.
Flexible scheduling is essential. Small delays at security, loading docks, or lift staging can happen at any time. A good schedule leaves room for those hurdles without missing the launch date. Site surveys also help identify wall textures, access height, surface damage, and fixtures that may slow the work once the crew is on site.
Coordinate with airport media teams
The airport media team usually knows the space better than anyone. They can confirm passenger flow, priority zones, access points, blackout dates, and operational constraints. AP Installations provides professional vinyl graphic installation services that help agencies translate campaign plans into field-ready installation steps.
The Federal Aviation Administration provides guidance for certain airport signage systems. While many advertising graphics are inside the terminal, the campaign still needs to respect facility safety standards, sight lines, fire requirements, and operational rules. After installation, a final walk-through helps confirm that every placement looks polished and does not interfere with airport function.
Match materials to airport surfaces and campaign timelines
Good airport advertising graphics installation depends on matching the right film to the right surface and campaign term. Airports are busy places with heavy foot traffic, intense lighting, cleaning routines, glass exposure, and temperature variation. A 3M Preferred Installer understands how to choose vinyl, laminate, adhesive, and edge finishing based on the surface and the campaign duration.
Choose vinyl for walls and windows
Airport walls can be painted drywall, glass, metal panels, tile, concrete, brick, or architectural finishes. Indoor wall wraps need enough bond to stay flat in high-traffic areas, but temporary campaigns need materials that remove without damaging the substrate. For glass areas, window film can help manage glare and visibility while keeping the campaign consistent with brand standards.
Production files should account for panel seams, trim, door breaks, and viewing distance. A graphic that looks strong on a proof can feel misaligned in the terminal if panel breaks cut through key brand elements. The installer should review those details before print.
Specify floor decals for safety
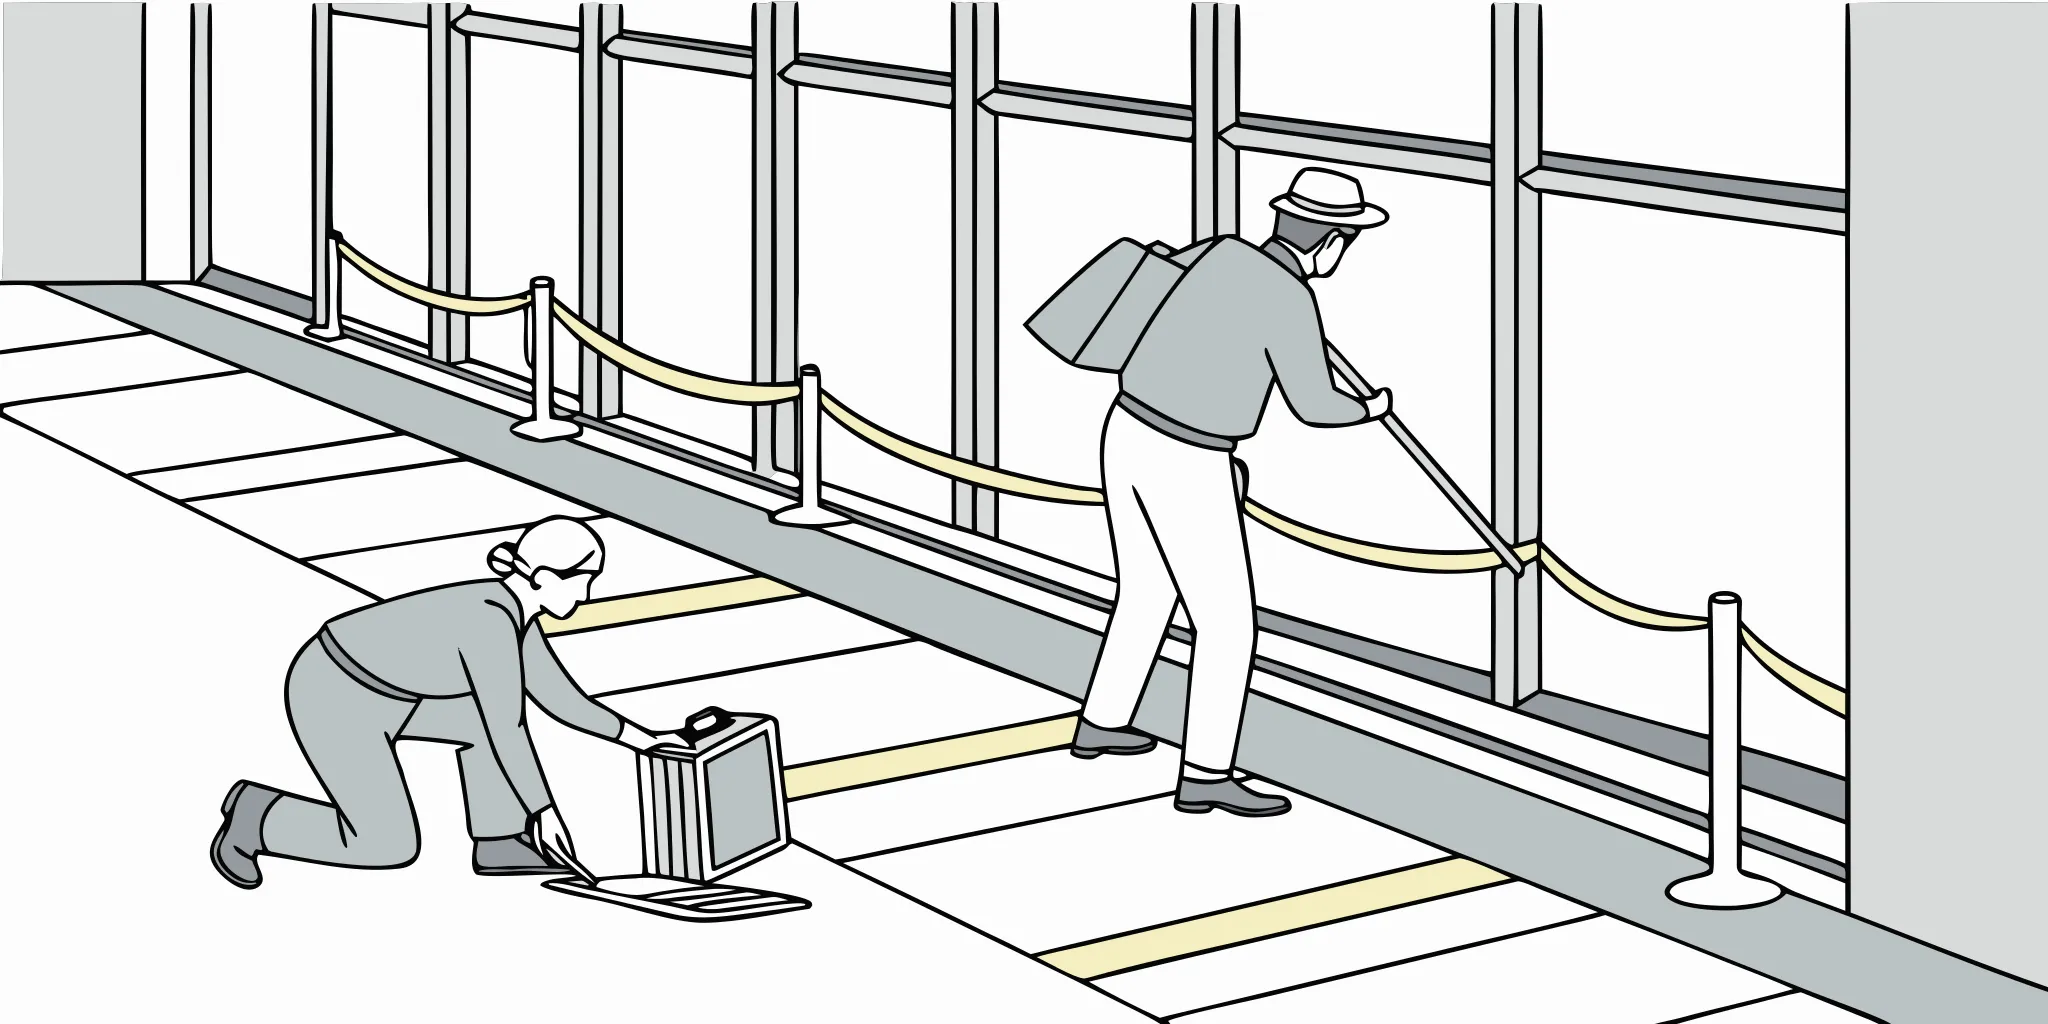
Floor graphics are high-impact placements because passengers look down while walking, standing in lines, or navigating baggage claim. They also carry a higher safety burden. Floor decals need durable film, slip-resistant laminate, strong edge control, and a removal plan that protects the floor finish. This is especially important for high-traffic zones where luggage wheels, carts, shoes, and cleaning equipment can test the edges every day.
Airport teams may ask for documentation on slip resistance, fire safety, and adhesive type. Do not leave that request until installation day. Build it into the production package so approvals are clear before materials ship.
Plan materials by campaign length
Not all ads stay up for the same amount of time. A short promotion may run for several weeks. A large wallscape may stay in place for years. Short-term campaigns often need removable adhesive that pulls away cleanly. Longer campaigns may need cast vinyl, stronger adhesive, and protective laminate to resist shrinkage, UV exposure, and cleaning routines.
| Surface | Material approach | Typical campaign term | Removal priority |
|---|---|---|---|
| Painted walls | Wall-rated vinyl selected for paint condition | Months to years | Protect paint and avoid residue |
| Glass windows | Opaque, clear, or perforated film | Weeks to months | Clean pull with no adhesive haze |
| Terminal floors | Floor film with slip-resistant laminate | Weeks to months | Safe edge control and clean removal |
| Metal panels | Cast wrap film or approved wall film | Months to years | Heat-assisted removal when needed |
| Rough surfaces | Texture-compatible film and installation method | Project-specific | Surface testing before production |
How do you keep brand consistency across multiple airport placements?
Managing a large campaign in an airport takes more than good prints. The campaign needs to look unified whether it appears on a wall, window, floor, jet bridge, or baggage claim panel. Small shifts in color, alignment, finish, or scale can weaken the brand experience. Professional installation keeps the rollout consistent across many surfaces and locations.
Use site surveys and proofing to prevent surprises
Before any vinyl goes up, a site survey helps find problems such as rough walls, vents, seams, lighting changes, glass glare, escalator sight lines, and power outlets. This step lets the team plan panel breaks and alignment across different placements. For large wallscapes or murals, high-quality files are essential so the image stays sharp from a distance.
Photo proofing is also useful for brand leads who cannot be present during the installation. Installers can provide photos of each completed placement, close-up edge details, and wider shots that show how the work fits the terminal. Those files help agencies and airport media teams verify quality across several locations.
Keep color, finish, and scale consistent
Airports use many types of lighting that can change how brand colors appear. A graphic on glass may look different from the same graphic on a matte wall. To stay consistent, the team should align materials, laminates, and proofs before production. Using a 3M Preferred Installer helps ensure that the vinyl and films meet high standards for application, durability, and finish.
AP Installations has completed high-visibility work across murals, wallscapes, fleet graphics, venue signage, transit graphics, and commercial installations. The Projects page shows examples of the team’s experience with complex brand environments, including transit and large-format work.
Protect the campaign with professional finishing
The way a graphic is finished can change how long it lasts and how it looks. Smooth edge finishing helps prevent lifting, especially in busy airports. For floors, slip-resistant laminate and clean edges help reduce trip concerns. For windows, careful trimming and cleaning help avoid haze, bubbles, and edge curl. Those details may seem small, but they protect both the brand and the airport environment.
Need help translating a media plan into an installation-ready scope? Contact AP Installations to review surfaces, materials, schedule, and campaign handoff before your airport graphics go to print.
What should be included in the installation day handoff?
A smooth installation starts with a clear handoff. The crew needs enough information to work efficiently in secure terminal spaces without slowing passenger movement or compromising quality. Think of the handoff as the field map for every mural, wrap, floor sign, window graphic, and temporary campaign piece.
Key design and location data
The crew needs final art files, placement IDs, print dimensions, panel maps, installation elevations, approved proofs, and a clear airport map. The map should show each placement, the exact surface, nearby obstacles, and any notes from the media team. If the same creative appears in multiple sizes, label every version carefully.
The team also needs a list of surface types for each spot. Knowing whether they are working on glass, metal, painted walls, tile, or floor surfaces helps the crew bring the right tools and prep supplies. For projects in busy spots, the handoff should note the preferred install order so passengers can keep moving while the work happens.
Logistics and site planning
Airport security is strict, so the crew must know the contact chain and access path before arrival. Give them names and phone numbers for the airport media contact, operations contact, escort, loading dock contact, and after-hours decision-maker. They also need clear entry rules, parking instructions, badge requirements, lift access details, and tool approval requirements.
Recent photos of each surface can help the crew prepare. Photos show wall texture, old adhesive, electrical outlets, doors, seams, trim, and areas that need cleaning or repair. Site checks before the start date reduce the risk of surprise issues on install day.
Material and safety standards
Safety is the top goal at any airport. The handoff should list approved films, laminates, adhesives, fire or slip documentation, cleaning instructions, and removal requirements. For floor signs, confirm slip-resistant laminate and edge control. For public spaces, confirm any airport-specific documentation before the crew arrives.
The plan must also include the campaign removal date. This helps the facility team know when the area will be clear and gives the installer time to plan clean removal. Using the right removable vinyl helps prevent damage to walls, floors, and glass during takedown.
How should removal be planned for temporary airport campaigns?
Temporary airport campaigns should start with the end in mind. Removal is not an afterthought. It is part of the installation plan because the wrong adhesive, rushed removal, or missed documentation can leave residue, damage paint, or delay the next advertiser.
Choose removable materials up front
The most important step is selecting a film with an adhesive that fits the surface and campaign term. Removable materials can stay in place during the campaign but come off cleanly when the time is up. Using the wrong adhesive can leave a sticky mess, pull paint, or require extra labor after the campaign closes.
For high-traffic areas, installers often choose materials that resist edge lift but still remove cleanly. That balance protects the airport while keeping the campaign looking professional through the run date.
Document surface condition
Before any film goes on, the team should take clear photos of the walls, floors, or windows. This documents the condition of the site before installation. If old damage already exists, you want it on record. After removal, new photos can show that the area was returned cleanly.
This documentation protects the brand, agency, airport media team, and installer. It also gives the next campaign a better starting point.
Schedule removal windows early
Removing graphics in a busy airport needs the same care as installation. Most work must happen during off-peak hours to keep passengers safe and avoid blocking operations. Set the removal date when you plan the campaign launch. That ensures the right crew, tools, heat equipment, cleaning materials, and access approvals are ready when the campaign ends.
Clear timing keeps everyone aligned and helps the airport move from one campaign to the next with less downtime. It also protects the brand from leaving behind visible residue or damaged surfaces after the media run ends.
Frequently Asked Questions
What insurance do installers need for airport work?
Professional installers must often carry proof of insurance to work in airport zones. Exact requirements vary by facility, project scope, and work area. Agencies should confirm the required certificates before installation day so access is not delayed.
Will temporary graphics damage airport surfaces during removal?
Temporary graphics should not damage airport surfaces when the team uses the right removable adhesive, prepares the surface correctly, and removes the film with the proper tools. Surface testing, photo documentation, and removal planning reduce the risk of residue or paint damage.
Do airport graphics need to meet fire safety codes?
Yes. Graphics used in public terminal areas may need to meet local fire, smoke, slip, and facility safety requirements. The airport media or operations team should confirm the documentation required for each wall, window, or floor placement before production.
Why is 3M certification important for airport advertising?
A 3M Preferred Installer brings certified material knowledge and installation discipline to high-traffic environments. That matters in airports because adhesion, edge finishing, color consistency, warranty protection, and clean removal all affect the success of the campaign.
Ready to plan your airport advertising graphics campaign rollout?
Airport campaigns have too many moving parts to leave installation details until the last week. Access approvals, surface checks, material selection, low-traffic install windows, documentation, and removal planning all affect whether the campaign launches cleanly.
AP Installations helps agencies, airport media teams, and brand managers turn complex airport graphics plans into polished, durable, on-brand installations.
For a broader look at planning transportation graphics across airports and transit, see our guide on Airport and Transit Graphics Installation Best Practices.
Our team brings 3M Preferred Installer expertise, Pacific Northwest roots, nationwide capability, and experience with commercial vinyl graphics across walls, windows, floors, fleet graphics, murals, and experiential environments.
Ready to plan your airport advertising graphics campaign rollout? Call (503) 270-5524 or contact AP Installations to schedule a project planning conversation.