
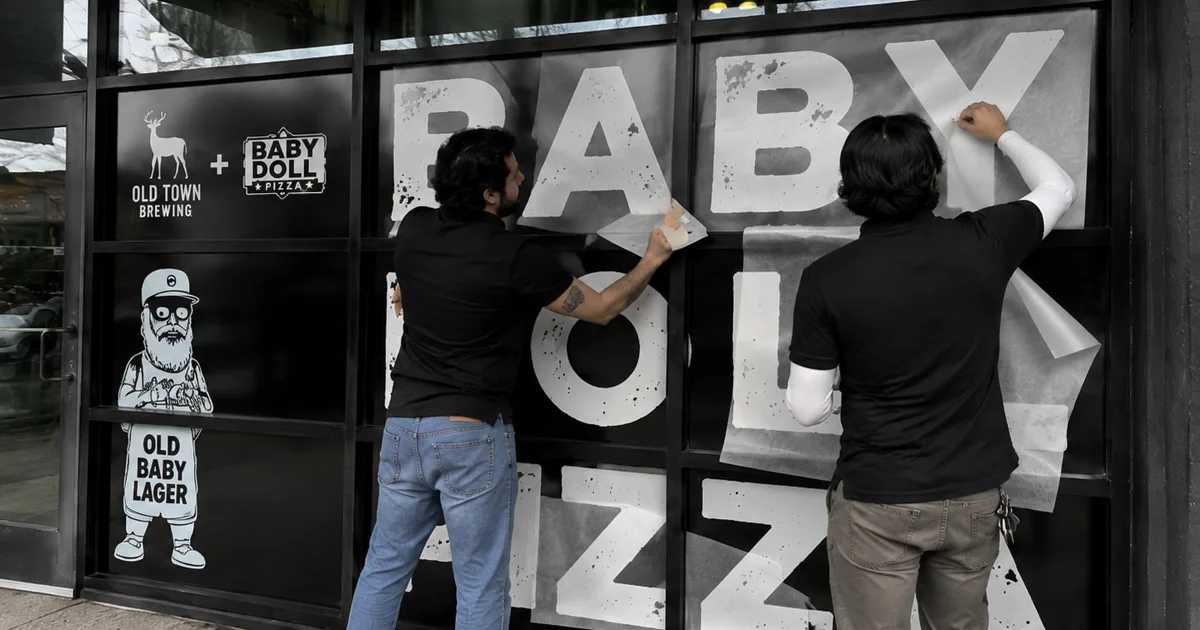
A missed wall coating or locked loading dock can derail an otherwise flawless graphics rollout. A commercial vinyl installation site survey checklist helps agencies and brand teams remove those surprises before graphics enter production.
Request a commercial vinyl site survey quote from AP Installations
A commercial vinyl installation site survey checklist records every condition that can affect fit, adhesion, access, safety, scheduling, and final appearance. It should capture verified dimensions, substrate type and condition, coatings or contaminants, temperature, moisture exposure, obstructions, power, lift needs, loading access, work hours, and site contacts. It also identifies who controls access, approves field changes, provides power, moves equipment, and signs off before production or installation begins. Clear photos, marked elevations, measurement notes, and approval records give the installer and creative team one shared, specific source of truth.
The practical question is not whether to survey, but whether the record is complete enough for every partner to act without guessing. Start with a complete site survey record, then use it to align creative, production, access, and installation decisions.
Commercial Vinyl Installation Site Survey Checklist: Start with a complete commercial vinyl installation site survey record
A complete site survey turns an open-ended graphics request into a record that an agency, printer, and installer can use. It defines the site, the work area, and the limits before artwork reaches production. The goal is not a folder of random photos. The goal is one clear source of truth for planning, pricing, printing, and installation.
Project identity and scope
Begin the record with the site name, full address, survey date, and primary contact. Add the planned graphic type, each installation location, and the expected installation window. For projects with many sites, use the same naming system and fields at every location. That structure makes differences easy to spot before a rollout begins.
Give every wall, window, floor, or vehicle its own location ID. Match that ID to its measurements, photos, notes, and artwork file. Record the measured width and height, then note any required bleed or trimming space separately. Review AP Installations’ commercial vinyl installation solutions to align the survey with the application type. Agencies and print partners can also review how AP Installations works as a graphics installation partner for print shops.
Surface and access evidence
For each location ID, name the substrate and describe its condition. Note paint type when known, texture, seams, repairs, coatings, dirt, moisture concerns, and existing graphics. These details help the installer flag test areas or prep work.
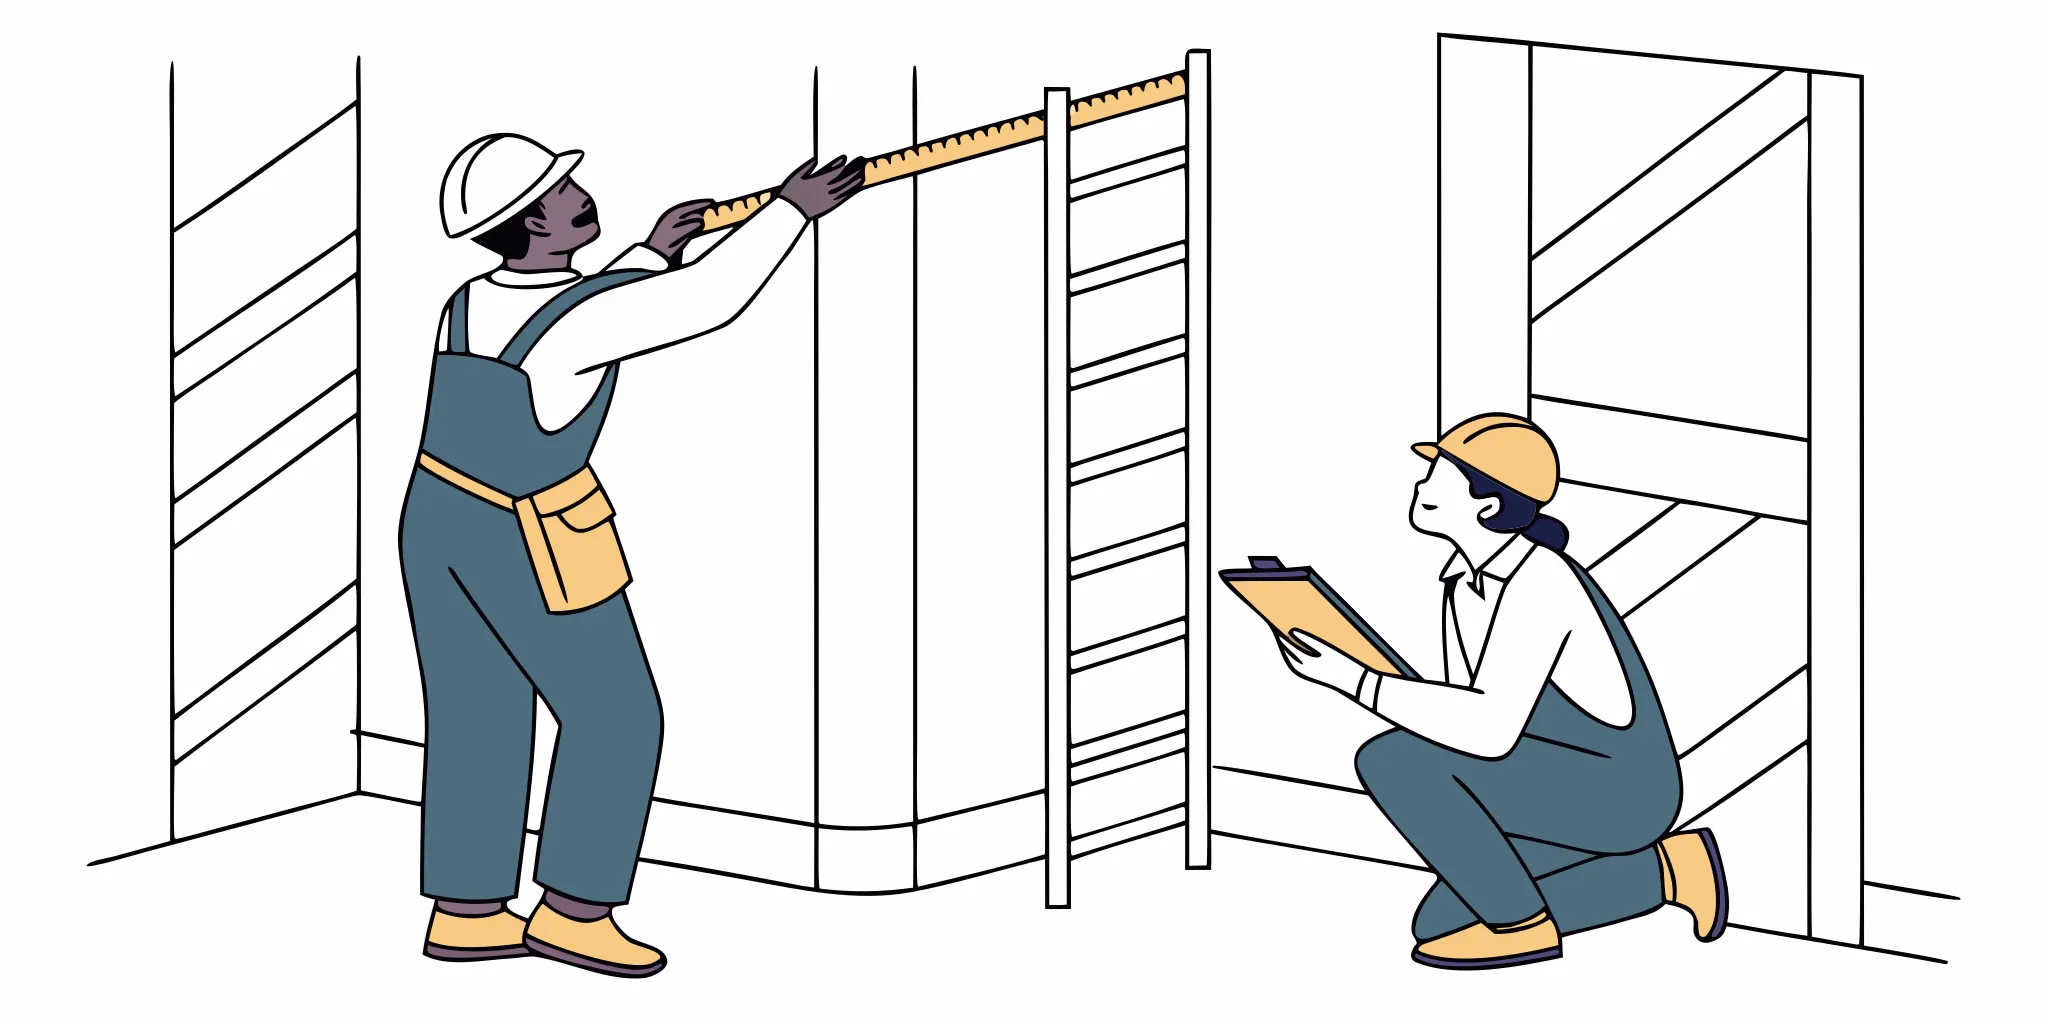
Photograph the full installation area straight on, then capture close views of edges, corners, damage, and obstructions. Include a tape measure in key images so scale is clear. Document loading access, parking, door sizes, elevators, stairs, work hours, and security rules. Also note the lift type or ladder access needed for high areas.
- Site and contact details, including access approval
- Unique location IDs tied to measurements and photos
- Substrate type, condition, texture, and prep concerns
- Obstructions, edges, seams, outlets, and nearby fixtures
- Work hours, equipment needs, and safety limits
A shareable installer handoff
Package the findings in one dated document, not across separate email threads. Use a marked floor plan or elevation to show where every location ID sits. Put open questions beside the affected location, assign an owner, and track the answer. The final record should also list assumptions that affect the quote or schedule.
Before production, ask the installer to review the record and confirm whether another visit, adhesion test, or sample is needed. This check helps catch gaps while changes are still manageable. Keep the approved record with the project files.
How should you document measurements and substrates?
Document every installation surface with a unique ID, measurements taken at multiple points, a straight-on overview photo, and close-ups of edges, damage, coatings, and obstructions. Pair each photo and sketch with the same ID so the agency, production team, and installer can trace every decision to the correct location.
Record dimensions and layout
Measure each install area on site, even when plans or old drawings are available. Note width and height at several points because walls, windows, and floors may not be square. Record where the finished graphic starts, ends, and changes direction.
-
Assign a short ID to every surface, such as Lobby Wall A or Van 03 Passenger Side. Put that ID in every related photo and note.
-
Record full width and height, then measure sections between corners, frames, joints, and other fixed points. Include the unit of measure on every entry.
-
Take one wide photo that shows the whole surface and nearby access area. Then take straight-on detail photos with a tape measure visible.
-
Mark the artwork’s top, bottom, left, and right edges on a simple sketch. Note the viewing direction when orientation could be unclear.
-
Map planned seams against doors, windows, panel joints, and key artwork. Flag any seam that may cross a face, logo, or small type.
-
Measure and locate each obstruction from two fixed edges. Include outlets, handles, vents, lights, sensors, hardware, trim, and movable items.
Capture substrate condition
Name the substrate rather than calling it only a wall, floor, or window. Record whether it is painted drywall, glass, metal, concrete, tile, wood, or another material. Note texture, coating, age if known, and any prior graphics.
Photograph damage and contamination close up, then mark each issue on the surface sketch. Look for loose paint, dust, grease, cracks, moisture signs, rust, failed repairs, and uneven joints. Record areas that need cleaning, repair, testing, or client review before production begins. For a deeper look at certified material and surface practices, review AP Installations’ 3M Preferred graphics installer expertise.

Finish by checking the notes against the photo set while still on site. Confirm that every photo has a surface ID and a clear purpose. If a condition remains unknown, label it as unresolved and state who must verify it before print approval.
Confirm access, lift needs, power, and safety
Access routes and staging space
Trace the full route from the delivery vehicle to each install area during the survey. Record loading-zone rules, door widths, tight turns, stairs, and elevator size. Confirm when crews may use freight elevators and loading docks.
Choose a secure staging area that keeps rolled graphics, tools, and waste away from daily traffic. Check whether carts can move through the route without bending or crushing the graphics. The crew can then plan unloading before arrival.
- Photograph each access point, elevator, hallway, and restricted doorway.
- Note parking limits, delivery windows, badges, keys, and escort rules.
- Mark where materials can be stored flat or upright without damage.
- Confirm who will clear furniture, displays, vehicles, or other obstacles.
Working height and equipment needs
Measure the install area’s floor-to-ceiling height and the highest point of every graphic. Then identify the equipment needed to reach the work safely. A ladder may suit a clear wall, while a lift may be needed above stairs or fixtures.
Check whether the proposed lift fits through every door and can turn along the access route. Confirm that the floor can accept the equipment and that the work zone has enough clearance. Note ceiling features, sprinklers, signs, shelving, and other items that may limit movement.
Also record rules for work at height and powered equipment. Ask whether the site requires trained operators, spotters, barriers, permits, or proof of insurance. Coordinate these items with the facility contact before setting the install schedule.
Power, lighting, and safety coordination
Locate working outlets near each install area and note their voltage if special equipment is planned. Test whether lighting is bright enough to inspect edges, seams, bubbles, and surface flaws. If light is poor, plan task lighting and safe cable routes.
Review site hazards with the facility contact, including active traffic, nearby machinery, and restricted rooms. Ask who controls alarms, ventilation, and area shutdowns. Finish by naming the person who can approve access changes or resolve safety issues on install day.
Who approves permits, scheduling, and site rules?
The survey should name the client decision-maker, property or facility contact, and installer lead, then record which approvals each person controls. Assign owners and deadlines for permits, insurance documents, access credentials, work windows, and field changes so installation-day questions have a clear escalation path.
Approvals, permits, and credentials
Start by asking the property manager whether the planned graphics need a sign permit, landlord approval, or review by a facilities team. Rules may differ for exterior signs, window graphics, floor graphics, and work in shared spaces. Record who will apply for each permit and who will confirm approval. AP Installations’ storefront graphics permit checklist provides a useful companion resource for exterior and window projects.
Ask the site contact which documents installers must provide before arrival. Common requests may include proof of insurance, licenses, safety plans, or installer credentials. The survey should state where to send each document, its due date, and who will confirm acceptance.
Work windows and site activity
Set the work window around the site’s actual use, not just its posted business hours. Note delivery times, customer peaks, shift changes, classes, events, and cleaning schedules. Ask when installers may unload, stage tools, block an area, and remove waste.
Traffic affects both safety and work quality. A busy lobby may need barriers or after-hours access, while a loading area may require a reserved delivery slot.
- Approved arrival, setup, installation, and cleanup times
- Limits on noise, odors, lighting, ladders, and powered tools
- Routes for workers, materials, lifts, and waste
- Areas that must remain open for occupants or customers
- Plans for weather, delayed access, or an occupied work zone
Communication and change control
Assign one decision-maker for the client, one for the property, and one for the installation crew. These contacts should know who can approve a schedule change, surface repair, graphic move, or added cost. Give the crew an escalation path if the main contact cannot respond.
Define how the team will share arrival notices, access updates, photos, and completion approval. If access or site conditions differ from the survey, the crew should pause affected work and document the issue.
Ask AP Installations to review your survey before graphics enter production
Installation-ready site versus remediation needed
A site is installation-ready when the surveyed surface, work area, and schedule support a clean and controlled application. The checklist should separate minor setup tasks from issues that can stop the crew. This distinction gives the project team time to assign responsibility and protect the installation date.
Readiness at a glance
| Survey item | Installation-ready | Remediation needed |
|---|---|---|
| Surface condition | Sound, smooth, and free of visible damage | Cracks, loose material, dents, or peeling finish |
| Cleanliness | Free of dust, grease, wax, and residue | Cleaning, degreasing, or residue removal required |
| Existing graphics | Removed with no remaining adhesive | Graphic or adhesive removal still required |
| Moisture | Dry with no visible moisture concern | Leak repair, drying, or further testing required |
| Access | Area clear and safely reachable | Lift, escort, shutdown, or access plan required |
| Work schedule | Approved work window and area control confirmed | Tenant, trade, security, or facility coordination pending |
Conditions that need correction
Contamination, loose coatings, damaged walls, and leftover adhesive can keep the vinyl from reaching a sound surface. The survey should note what must be cleaned, removed, repaired, or allowed to dry before installation. Do not label an area ready because a flaw looks small in a wide photo.
Special coordination before release
Some surfaces may be ready while the site is not. A finished wall can still require a lift plan, security escort, furniture move, power shutdown, or after-hours work window. Treat these needs as release conditions, not informal notes, because they affect crew access and sequencing.
Release an area for installation only after each remediation item has an owner, due date, and verification method. A new photo, written facility approval, or follow-up visit can confirm the correction.
What should the final installer handoff include?
The final installer handoff should combine approved artwork, measurements, marked photos, material specifications, access instructions, contacts, scope boundaries, removal requirements, and signoff criteria in one dated package. Each open item needs an owner and due date so the crew receives an installation-ready plan instead of scattered email threads.
Files, materials, and installation scope
Start with a current artwork package that matches the approved measurements, elevations, panel breaks, and placement notes. List each file name, version, scale, color reference, and production contact. Include marked site photos or drawings that show where every graphic belongs.
- Provide print-ready artwork, proofs, and a clear record of client approval.
- Confirm the vinyl, laminate, adhesive, and any edge-sealing products by name.
- Match each material to its planned surface and note any limits found during the survey.
- Define included work, such as surface cleaning, graphic placement, trimming, and hardware removal.
- List excluded work and any tasks that another trade must finish before installation.
Contacts, access, and approvals
Name one decision-maker for the agency or brand team, one site contact, and one installer lead. Add phone numbers, email addresses, work hours, loading instructions, parking details, and access rules. State who can approve a field adjustment if actual conditions differ from the survey.
See examples of completed work in AP Installations’ project portfolio when aligning expectations for the final result. The commercial sign installation guide can also help teams define installation scope and responsibilities.
Removal, waste, and final walkthrough
The handoff must state whether the installer will remove existing graphics before the new work begins. Identify what stays, what goes, and whether removed material needs to be saved. Also define who handles backing paper, vinyl scraps, packaging, old graphics, and other waste.
Set the final walkthrough process before installation day. Name the person authorized to inspect the work and approve completion. Give the team a written acceptance list so feedback stays tied to the agreed scope.
- Review placement, alignment, panel joins, edges, cuts, and visible finish.
- Compare completed work with approved proofs, elevations, and survey photos.
- Photograph each finished area and record any open item with its owner and due date.
- Document approved field changes, unused materials, care notes, and removal instructions.
- Collect final signoff from the installer lead and the authorized client representative.
Frequently Asked Questions
What should be included in a commercial vinyl installation site survey?
A commercial vinyl installation site survey should record exact dimensions, substrate type, surface condition, access limits, lighting, temperature, and moisture exposure. It should also document obstacles, seams, electrical fixtures, required equipment, work-hour restrictions, and safety rules.
How do you inspect a site before installing commercial vinyl graphics?
Begin by identifying each application surface and checking it for damage, loose coatings, dirt, moisture, texture, and recent paint. Measure every installation area and photograph corners, edges, obstacles, and access routes. Any uncertain surface should receive an adhesion test before production.
How do you verify the right adhesive for a vinyl graphics installation?
Match the vinyl and adhesive system to the substrate, surface texture, exposure, expected service life, and removal plan. Review the manufacturer’s technical data for approved surfaces, temperature ranges, preparation steps, and cure requirements. Test adhesion on a small area when the substrate or coating is uncertain.
How should a site be prepared before commercial vinyl installation?
The installation area should be accessible, well lit, and free from traffic, dust, debris, and movable obstacles. Surfaces must be stable, clean, dry, and compatible with the selected vinyl system. Confirm power, lifts, permits, and building access before the crew arrives. After installation, follow practical vinyl graphics maintenance tips to protect the finished work.
Ready to plan your vinyl installation with confidence?
Waiting to confirm site conditions can lead to late scope changes, schedule conflicts, and avoidable questions after graphics enter production. Starting the survey now gives your agency, brand team, and installer time to review measurements, access needs, surfaces, and project constraints together.
Request a quote from AP Installations to discuss your site survey, installation goals, and next steps with an experienced commercial vinyl installation partner.