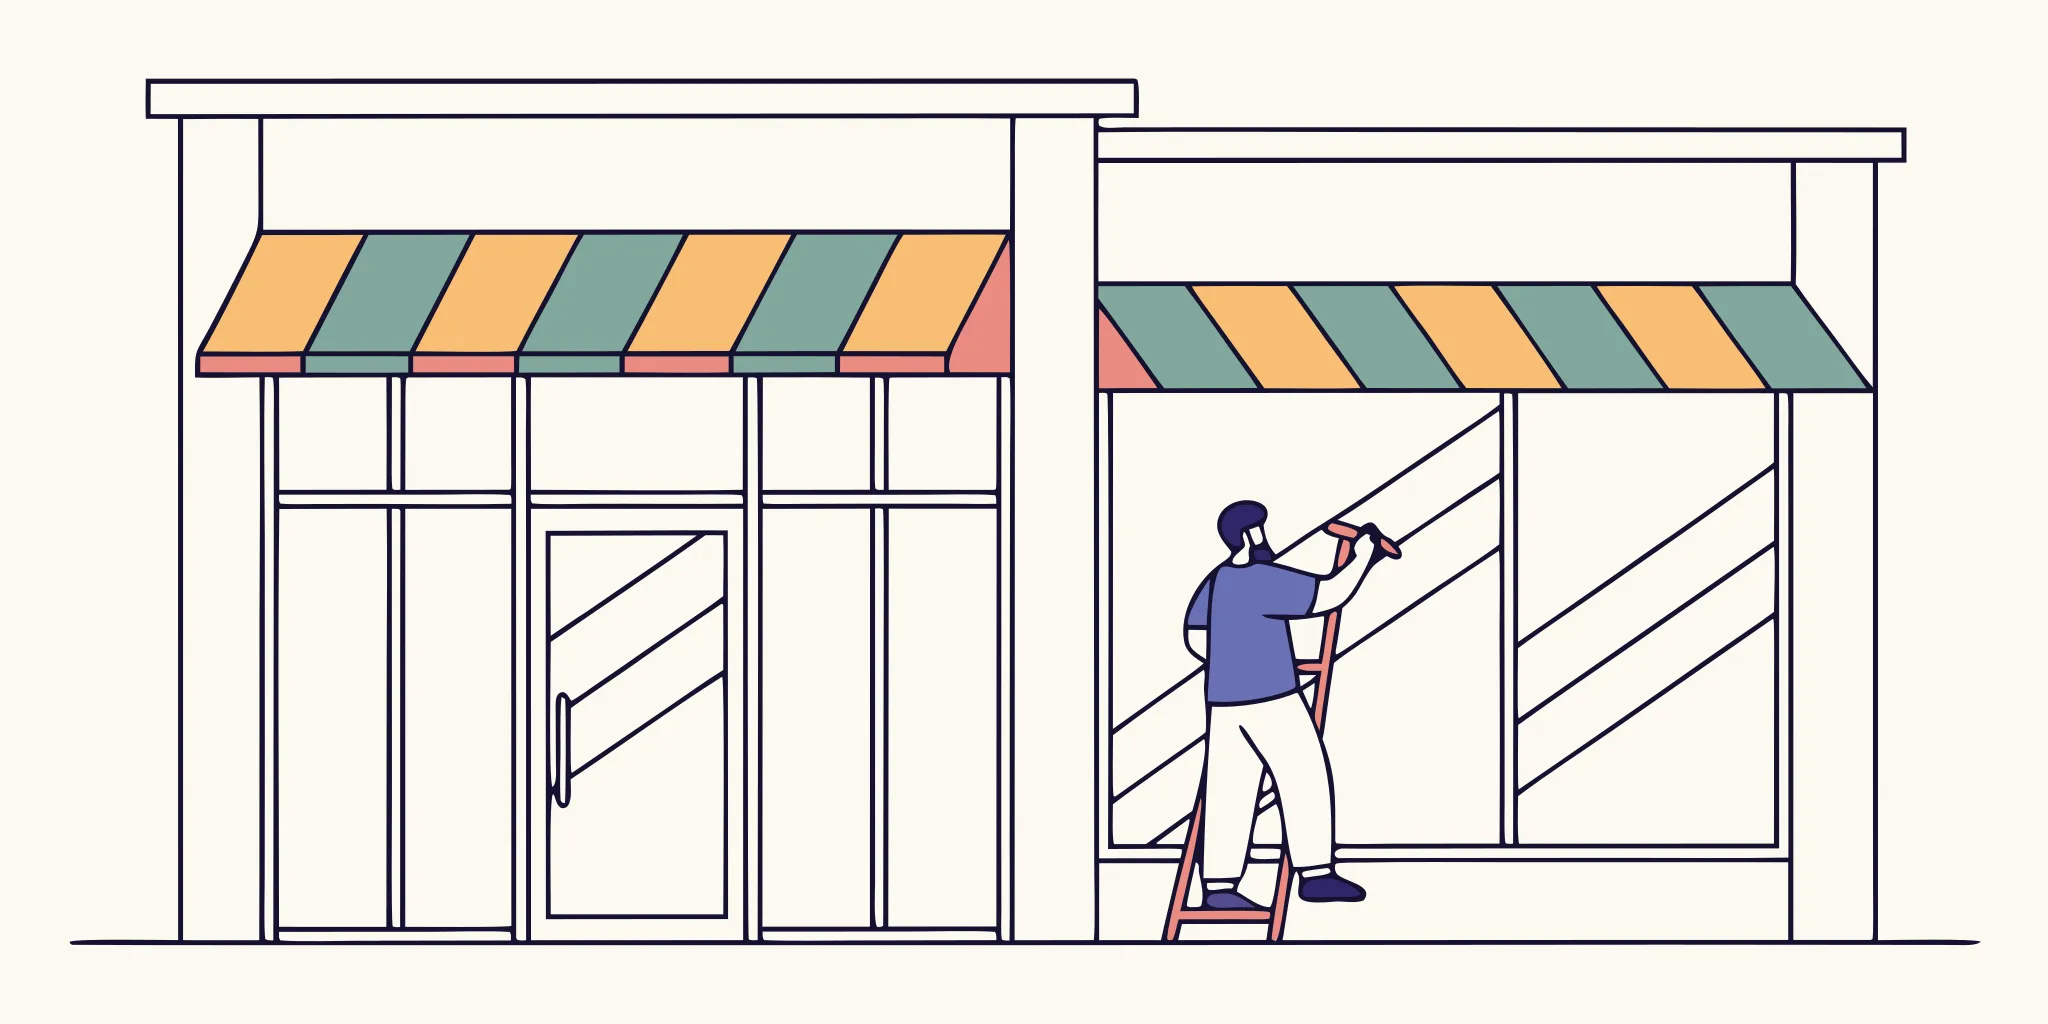
A missed graphics deadline can stall your entire seasonal marketing campaign. Waiting too long to book installers often leads to empty windows on launch day.
Contact AP Installations to plan your seasonal graphics rollout.
A retail graphics changeout is the expert way of updating in-store signs and props to keep a shopping space fresh for new seasons. This update includes wall murals, window signs, and point-of-sale items that guide how shoppers act in your store. Experts at AP Installations explain that these updates keep your brand look the same and stop signs from looking worn. By using update kits, you can refresh your branding without the high cost of replacing every store stand. This method makes it easier to match your physical store with your online ads. A smooth changeout makes sure your store looks active and ready for new stock. It also helps you avoid gaps in your marketing by timing the removal of old signs just before new ones arrive.
Planning a campaign for many sites needs a clear path from the first print to the final sweep. You must plan for shipping times so your installers can meet the deadline. Build the retail graphics changeout plan backward from launch.
Build the retail graphics changeout plan backward from launch
A good retail graphics changeout planning phase starts at the finish line. To hit a launch date, you must map out every task in reverse order. This method ensures that art, materials, and installers all arrive at the store at the same time. Planning this way helps brand leaders keep a consistent brand representation across all store spots during a rollout.
Set the launch date and work back
Start by picking the day your new campaign must go live. From there, subtract the time needed for setup, shipping, and printing. You should also leave a small buffer for shipping delays or site issues. This backward timeline makes it clear when you must finish the final art to meet your goals. It helps teams manage time-sensitive rollouts without the stress of last-minute rushes.
Mapping these dates early is vital for big campaigns. It lets you book pro installers before their schedules fill up. It also gives your team time to solve site-level problems, such as unique store layouts or limited hours, before they block your progress. Clear dates keep every person on the same page from start to finish.
List your graphics and tools
Before you print anything, you need a full list of every graphic in the store. This list should include wall murals, window displays, and floor graphics. Check the size and material of each item to ensure your new files fit well. Knowing exactly what you have lets you use cost-effective update kits rather than replacing full display fixtures.
This list also helps you find the right tools for the job. Some graphics might need specific heat guns or scrapers for removal. When you know the site details, you can give your setup partner a clear scope of work. This reduces the risk of surprises on launch day and ensures a clean, expert finish for every display.
Steps for a backward planning cycle
Follow these steps to build your timeline and ensure your store stays on brand. This sequence helps you catch small errors before they become big costs.
- Define the go-live date for the full campaign across all stores.
- Book your 3M Preferred Installer to secure their time for the rollout.
- Set a firm deadline for art approval and file hand-off to the printer.
- Confirm that all materials and update kits will arrive at the store three days before the launch.
- Assign a team lead at each site to verify that surfaces are clean and ready for the update.
Following a strict plan helps you avoid gaps in your visual marketing. It ensures that old graphics come down and new ones go up without leaving walls bare. This steady flow keeps your store looking active and influences shopper behavior by providing clear, fresh visual cues during their visit.
How do you plan removal and assess installation surfaces?
A smooth retail graphics changeout starts with a clear plan for removing old materials. You must know what type of vinyl and glue was used on the existing displays. Some films leave a heavy mess or can pull paint if they are too old. Assessing these factors helps you choose the right tools and cleaning soaps. This prep work stops delays and ensures the new surface is ready for a fresh application.
Check glue and surface conditions
Before any removal begins, you should test how well the current vinyl sticks to the wall or window. Older graphics may become brittle and break into small pieces, which takes more time to scrape off. You also need to check the substrate, which is the surface under the graphic. If a wall has loose paint or a rough feel, it can affect how the new vinyl stays in place. The retail graphics changeout planning stage should always include a full look at these site conditions.
Surface cleanliness is also vital for long-term success. Dust, oils, and leftover glue can stop new graphics from sticking. You must ensure the space is clean during the update to help the new materials last as long as possible. According to research from the National Institutes of Health, the clarity of visual images is a key factor in how well people understand signs. A clean, smooth surface makes sure your branding stays sharp and easy to read for every shopper.
Record surface damage before work
It is common to find minor damage like scuffs or scratches behind old graphics. You should take photos and notes on any issues before you start the removal process. This step protects your brand and helps with risk management by showing what was already there. As a 3M Preferred Installer, we know that certified expertise is the best way to protect your brand investment. High-quality work ensures that every large-format graphic is applied right without bubbles or poor alignment.
If you find major damage, you might need to fix the wall before putting up new visuals. This extra step helps maintain brand consistency across all your store locations. Following a managing seasonal graphics changeouts guide can help you keep track of these site-level details. Professional partners can manage these complex tasks so your seasonal marketing campaign stays on track and looks its best.
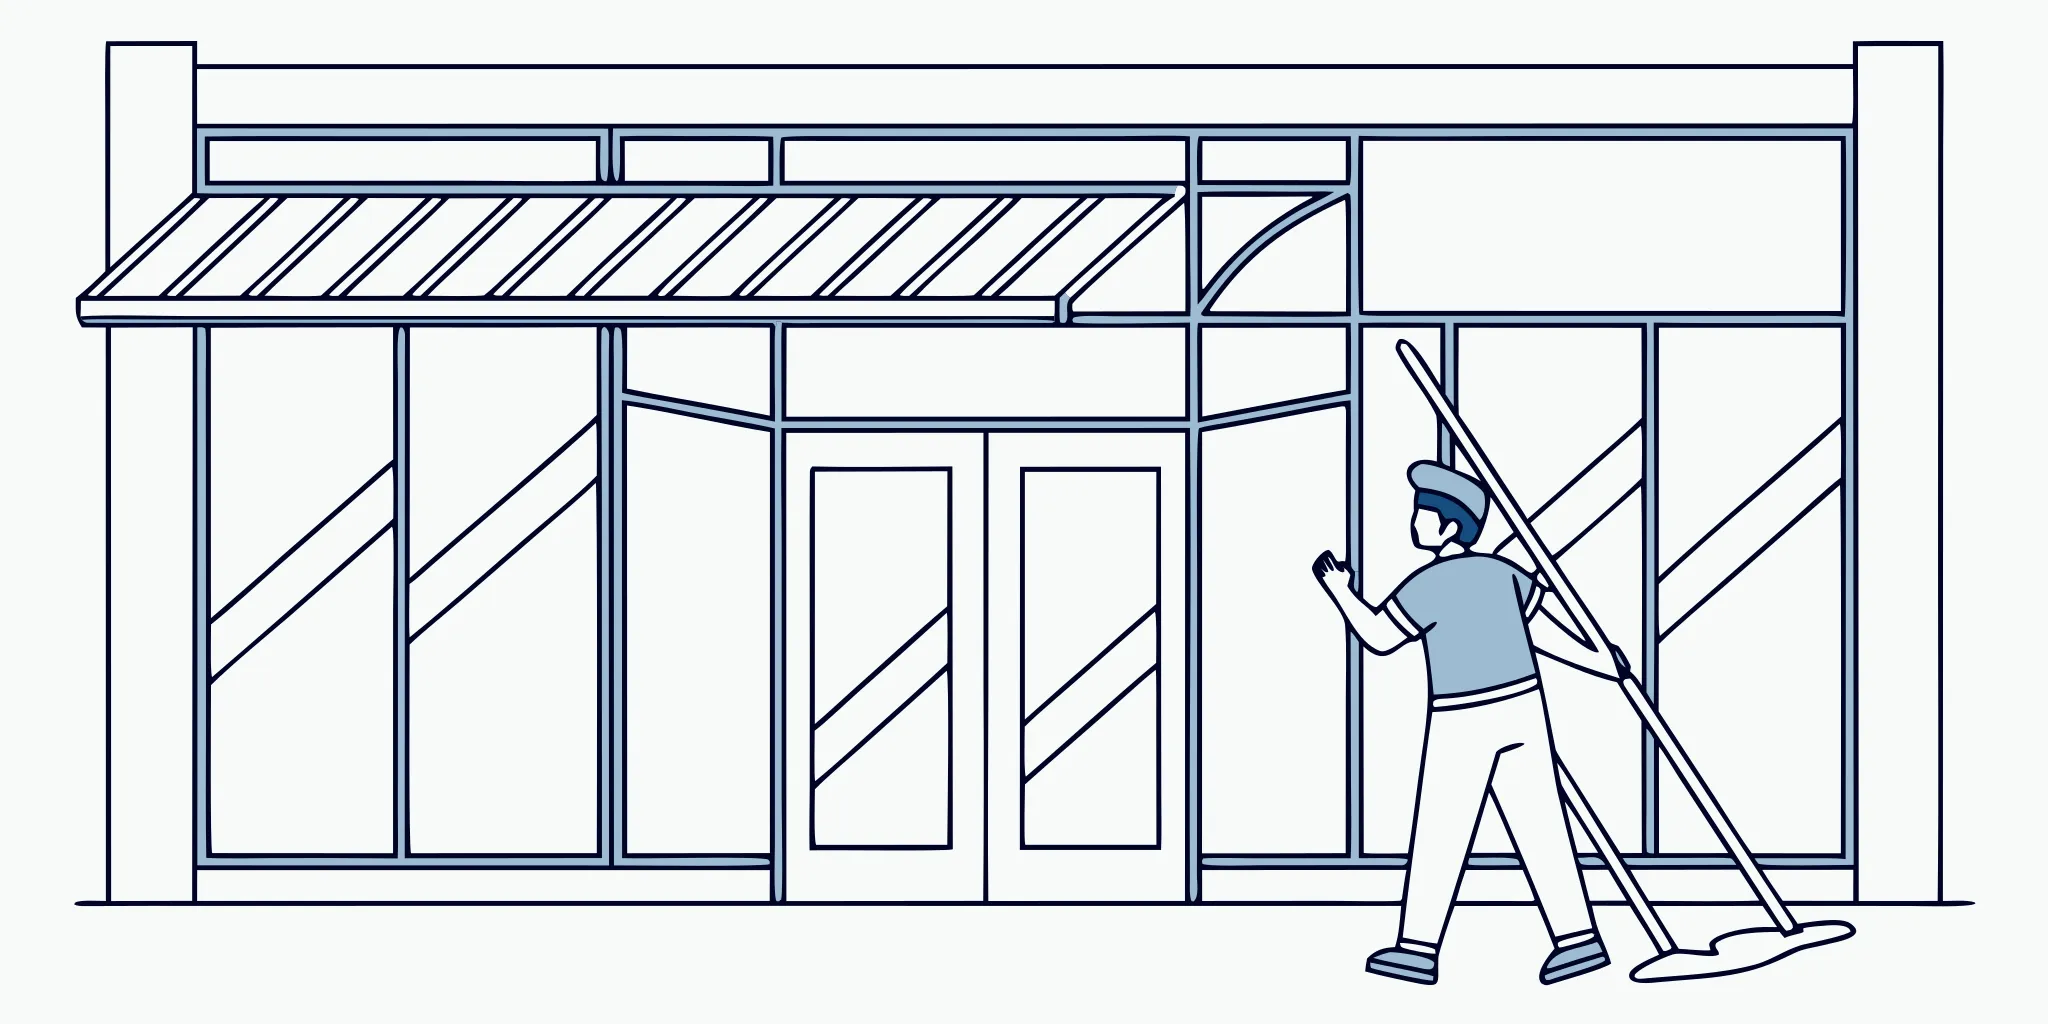
For more detail, review how professionals handle vinyl graphics removal without surface damage.
Choose installation windows that protect store operations
A retail graphics changeout planning starts with a smart schedule. You must pick times that keep your store running smooth. If you work while guests shop, you risk their safety and your sales. Most stores choose to work after hours to avoid these problems. This lets the crew use ladders and tools without blocking the aisles. It also keeps your staff free to help customers instead of watching the work site.
Coordinate with store staff
Your team needs to know when the crew will arrive. They should clear the areas where the new graphics will go. If the site is ready, the work goes fast. This is vital for a retail graphics changeout that hits a tight deadline. Clear paths let the installers move gear with less risk. Good prep also ensures the surface is clean for a better bond. When your staff and the installers talk early, you avoid delays that cost money.
Manage weather and lighting
Exterior work needs the right light and dry skies. If you put up window film, the glass must be at the right heat level. Too much sun can make the film stick too fast. Rain can ruin the glue before it sets. Proper lighting is also a key part of visual clarity for the final look. Installers need to see the edges well to make sure everything is straight. If you work at night, you may need extra lights to see the work area clearly.
Plan for security and access
The crew needs a way to get into the building after hours. You must plan for a key or a guard to let them in. This keeps your store safe while the work happens. It also helps with managing seasonal graphics changeouts across many sites. When you have a clear plan for access, you save time and stress. The crew can start and finish on time, so you are ready to open for business the next day.
Request help coordinating your multi-location retail graphics changeout.
How can you keep graphics consistent across multiple locations?
Managing a retail graphics changeout planning phase for many stores at once is a big task. Each shop has its own layout, wall size, and light. If you do not have a strong plan, your brand can look different in every city. This hurts how people see your shop and can lead to wasted time and money.
To keep things the same, you must use clear rules for every site. This starts with knowing every store before the work begins. Visual cues like signs can change how shoppers act and what they buy. Because these signs are so strong, they must look right in every place. This gives the same brand feel to all guests.
Run site surveys for every shop
A good rollout starts with a full look at each store. You need to know the exact size of every wall and window. You also need to check the surface type. Some walls are smooth. Others are rough or have paint that graphics do not stick to well. A site survey finds these facts early. This stops surprises on the day of the job.
During these surveys, take clear photos of every spot where a new sign will go. Use a standard way to name these files so the team can find them fast. This help is vital for managing seasonal graphics changeouts across a large fleet. When you have these facts, you can make kits that fit each store like a glove.
Use location kits and clear guides
Sending the same box of signs to every store often leads to errors. Instead, make kits that match the needs of each site. These kits should have every piece for that shop. Label each part by where it goes. This makes the work faster for the crew. It stops them from using the wrong sign in the wrong spot. Clarity is key when you want to reach diverse groups of people with your visual message.
Each kit needs a simple set of steps for the crew. These guides should show exactly where to place each graphic. They should also show how to clean the area first. If a store has a weird wall, the guide must say how to handle it. Clear rules for all sites stop the crew from making their own choices. This keeps your brand look the same in all spots.
Set up a path for help
Even with the best plan, things can go wrong. A wall might be broken, or a sign might arrive with a tear. You need a clear way for the crew to ask for help fast. This path should lead to one person or team who knows the whole project. They can make quick calls to keep the work on track. This saves the look you want.
The crew should also send photos as they finish each spot. This lets you check the work in real time. If something looks off, you can fix it before they leave the store. This high level of care is how you keep your brand safe across the map. Using a pro team can help you reach seasonal retail graphics installation goals with less stress.
| Execution Path | Brand Look | Time Spent | Cost Over Time |
|---|---|---|---|
| Central Plan | One look for all | Less per site | Lower waste |
| Local Choice | Varies by shop | More per site | Higher waste |
| Mixed Style | Not the same | Moderate | Not known |
Choosing a central plan saves you from the risks of local choice. When each store does its own thing, you lose control of your visual voice. A central path ensures that every retail graphics changeout meets your high standards. This keeps your brand strong and your costs under control as you grow.
Close every changeout with a punch list and documentation
Completing a retail graphics changeout takes more than just one last step. To get long-term wins, you must check that every piece of vinyl meets your brand rules. A clear punch list acts as your final filter. It catches small errors before they lead to costly store visits. This step is a must for managing seasonal graphics changeouts across many sites.
Use a site-level punch list
A punch list is a simple tool to track small tasks that need a fix before a job is truly done. During a changeout, this means checking for air bubbles, loose edges, or wrong colors. Clear visual tools are key to talking with shoppers. Even small flaws can take away from your message. Facts show that the clarity of visual cues is a big part of how well people understand store info, as noted by the National Institutes of Health.
You should walk the site with your installer to check every part. If a graphic does not meet the 3M Preferred rules for layout and grip, it needs a fast fix. Finding these issues early saves time and guards your brand. It also ensures that your seasonal retail graphics installation looks great from the start.
Gather final closeout photos
Files and photos are your best proof of work. You need a full set of photos for each store. These prove that the install matches the plan. These shots show that the graphics are in the right spot and that the space is clean. This data helps lead teams see that the work is the same across the whole chain. It also gives you a base for future care or for the next seasonal update.
Photos also help you manage odd cases. If a store wall was not right or a part was missing, a photo gives the proof needed to adjust the plan. This level of detail is a core part of how expert teams manage site-level complexities for national brands. Without these records, you have no way to check site status without a long trip to the store.
Handle storage and disposal
The end of one changeout is the start of the next one. You must decide what to do with old graphics and extra parts. Some stores use update kits to swap only a small part of a display. This is a smart way to keep costs low. If you have extra parts, store them in a cool, dry place to keep them safe. This helps your displays last longer and cuts down on waste over time.
For old vinyl you no longer need, have a clear plan for trash. Taking down old graphics the right way is just as vital as putting new ones up. It keeps the store looking sharp and stops ghosting on walls. By closing the job with a clean site and full records, you set the stage for a smooth start the next time your brand needs a new look.
Use a preflight checklist before crews arrive
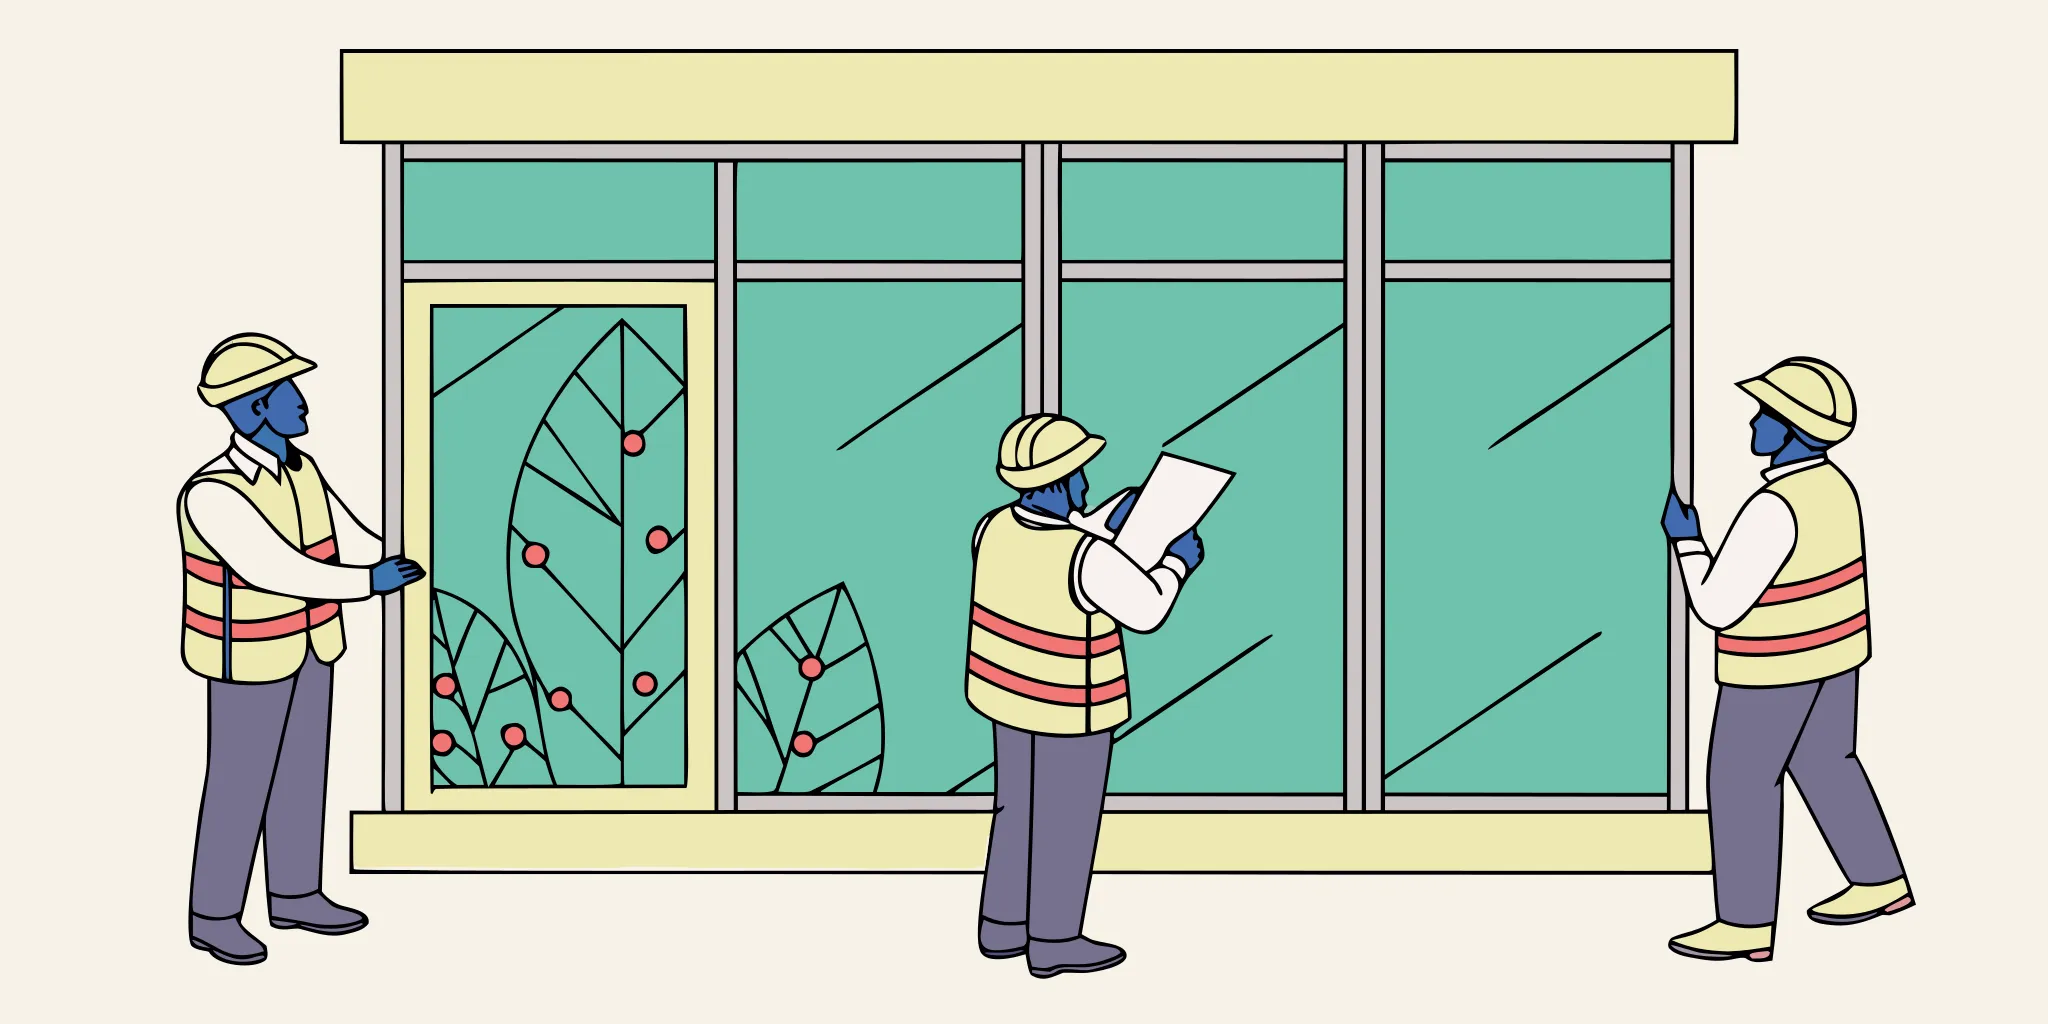
Planning for a retail graphics changeout takes more than just picking a date. Site readiness is the main goal for a smooth rollout. When your crew arrives, they need a clear path to work. Small delays in the morning can lead to missed deadlines for the whole store. Using a detailed list helps your staff prepare the space and handle site-level complexities before the first graphic is unrolled.
Check your graphic inventory
Start by checking every piece of the shipment as soon as it arrives. You must confirm that all panels, hardware, and update kits are on-site and in good shape. Check the sizes against your order to catch any errors early. If a panel is missing or torn, you can fix the issue before the crew starts. This step prevents wasted time and ensures your brand looks its best. Proper retail graphics changeout planning relies on having all materials ready for use.
Storing your graphics in a safe, flat area is also vital. Cold or damp storage can damage the adhesive and lead to failures later. Keep everything in a room with a set temperature until the installers are ready. This protects your investment in high-quality visual materials. Clear labels on the boxes help the team find the right graphics for each part of the store without searching.
Prepare the installation site
A clean site allows the crew to work fast and safely. You should move all display racks, manikins, and stock away from the walls and windows. Clean the surfaces with the right tools to remove dust and grease. Research shows that clarity in visual materials is key to communicating with your customers. A smooth, clean surface ensures the best bond for your vinyl graphics and a professional finish that lasts.
Confirm that the crew has access to every part of the store they need. This includes keys for cases, power for tools, and cleared paths for ladders or lifts. If your site has specific store hours or layout rules, share these with the team ahead of time. Managing these details helps prevent surprises that can slow down seasonal retail graphics installation projects. A site that is truly ready for work makes the shift from old to new visuals easy.
Set up points of contact
Pick one person to be the main contact for the installation crew. This person should have the power to sign off on the work and solve problems as they come up. Make sure they know the final design plan and where each graphic goes. Having a clear leader on-site keeps the project on track. They can also give extra materials or tools if the crew needs help. Good communication is the best way to manage a large rollout across many store locations.
Contact AP Installations before your next seasonal campaign launch.
Frequently Asked Questions
Why are retail graphics changeouts important for in-store marketing?
According to AP Installations, these updates keep your store looking fresh and new. Clear signs and bright displays can help change how guests shop. High-quality visuals make the store feel better to visit and can help people stay longer. Regular updates also keep your brand look the same across many shops. This makes sure your store matches your ads and helps stop your displays from looking old or torn.
What types of visual elements are included in retail graphics?
Retail graphics cover many kinds of signs used to help your brand. These often include large wall murals, window signs, and floor graphics. You may also see small signs at checkout stands and tools that show guests where to go. Using many types of visuals helps make a full brand space. According to the National Institutes of Health, keeping these images clear is the best way to share information with everyone who visits.
How do update kits help with retail graphics changeouts?
Update kits are a smart way to refresh your store without a huge cost. These kits let you change just the top layer of a sign instead of the whole stand. As noted by AP Installations, this helps your store look new for a lower price. You can use these tools to match your shop with new ads or seasonal trends. This method helps your display stands last much longer. By using these kits, you can keep your brand look high-quality while you save on gear and shipping.
How can you ensure a successful retail graphics changeout?
Success starts with clear plans and clean sites. You should set up a schedule to swap signs before they start to look worn. Make sure the surface is very clean before you put up new vinyl so it sticks well and lasts a long time. It also helps to move displays to new spots to catch the eye of guests. Hiring a 3M Preferred Installer like AP Installations makes sure your signs are put up right and look professional.
Ready to book your next seasonal retail graphics update?
Waiting too long to plan your retail signs can hurt your profits. When your wraps go up late, you miss the peak of the shopping year. You also risk working with teams who might damage your store walls or leave bubbles in the vinyl. This can cost you more money in repairs and hurt how people see your brand. By booking your team now, you make sure your store looks its best right on time. You can avoid the stress of last-minute fixes and focus on your sales goals instead. Our expert team will help you handle the hard parts of a large rollout for your retail graphics so you stay on track for your next big project. Planning early means you get the best dates on our list before they fill up.
Ready to get started? Call (503) 270-5524 to schedule a retail graphics installation consultation.